About six years after the film released, a huge lot of cars used in "Mad Max: Fury Road" are going to be sold off by Australian auction house Lloyds. And these aren't just some of the background cars, but rather the ones driven by the heroes and villains of the post-apocalyptic movie.
Admittedly, the villains of the film may have the best rides. Among them is the Cadillac monster truck called Gigahorse. It was driven by the leader of the Citadel, Immortan Joe (no, that's not a typo), and it combines two 1959 Cadillacs, as well as two supercharged V8s (made to look like they were turbocharged). And of course there's the Doof Wagon, the former missile carrier converted into a rolling wall of speakers. This carried the Doof Warrior, the man shredding with a flame-throwing guitar to amp up the troops as they charge into battle.
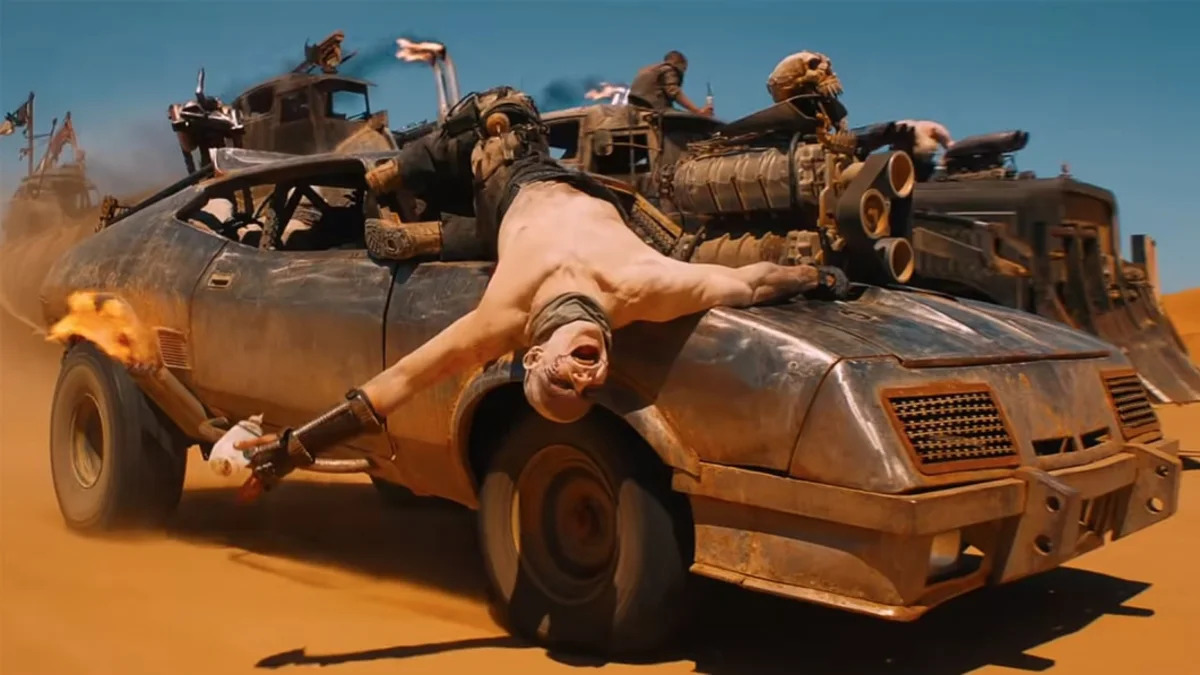
But a couple of key hero machines are available, too, such as Furiosa's War Rig. It's a tractor trailer she used to smuggle Joe's captive women out of the Citadel, and it's a heck of a ride with tandem V8s and six-wheel drive. Nux's hot rod, which had Max strapped to the front as a blood bag before they both joined Furiosa's convoy is also available. Straddling the line of hero car and villain car is the titular Max's former Ford XB Interceptor. In the film, he was captured by the people of the Citadel, and his Ford repurposed for them. It became silver, lifted and dual-supercharged.
These are only four of thirteen total cars being sold by Lloyds. Others include a twin-V6-powered hot rod, a ratty old Jaguar, and another gun-toting Cadillac, all of which you can check out at this link. Each vehicle is available individually, and is being sold in a tender-style auction in which all bids are placed secretly, and the winning bid is announced at the end. Bidding is going on now, and ends on September 26.
Related Video:

Sign in to post
Please sign in to leave a comment.
Continue