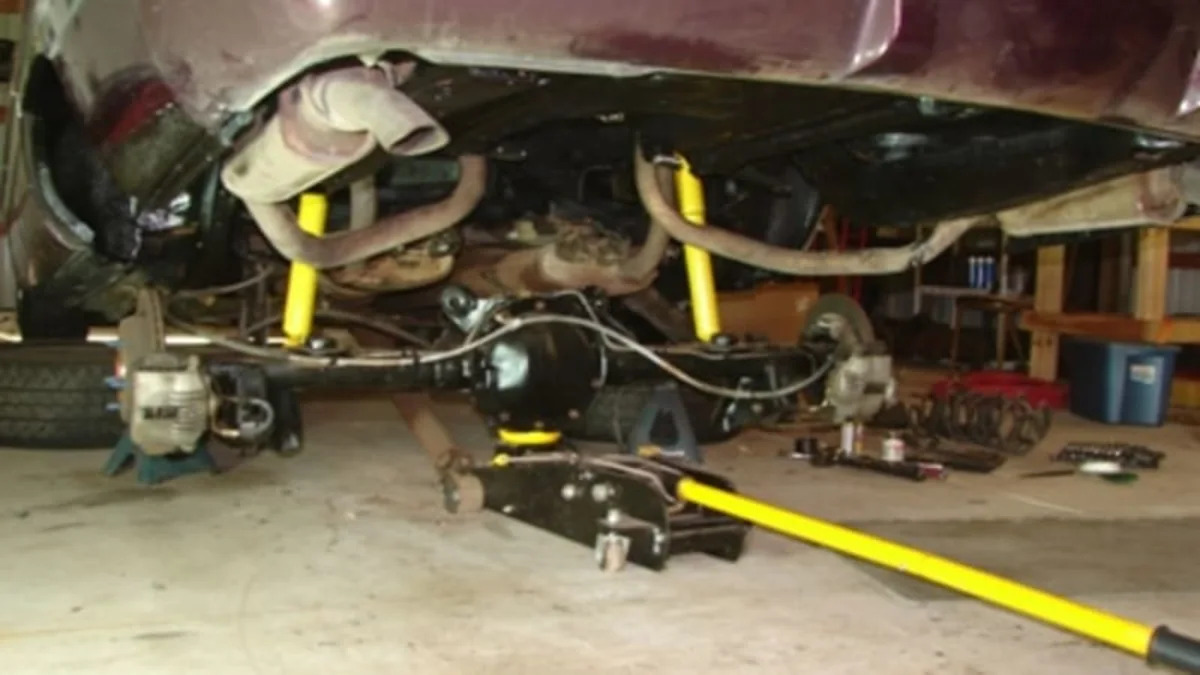
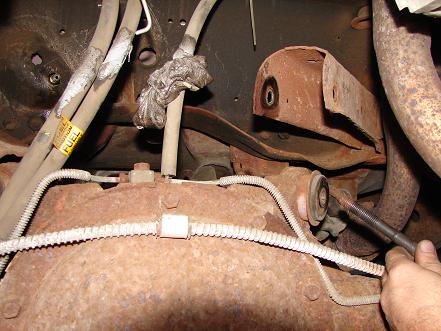
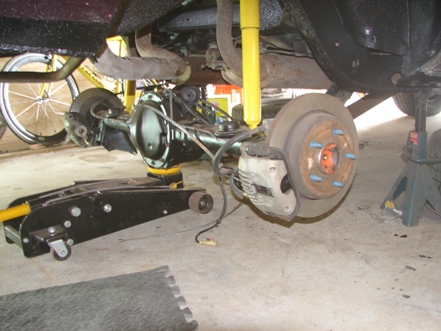
So, with that being said, let's crawl underneath the car, remove the old drum-brake axle, and slide in the freshened Impala SS rear axle with its 12" disc brakes, lower gearing, and limited slip diff. The first thing you may note in these pictures is that the gas tank has been removed. That has nothing to do with this particular project; rather, we decided to replace a weak fuel pump while the vehicle was in the air.

Note that in subsequent pics, the tires are still on the axle. For some reason, I had it in my head that I could leave them on and simply roll the axle out from under the car. Of course, I didn't have the rear of the car raised enough to do this, and so I should have simply removed the tires at this earlier point.


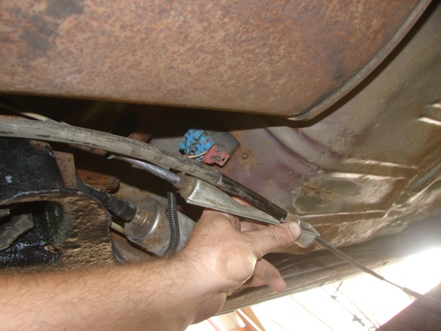
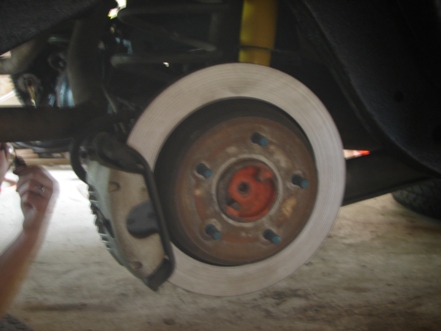
Without a doubt, this was the single worst part of this project.
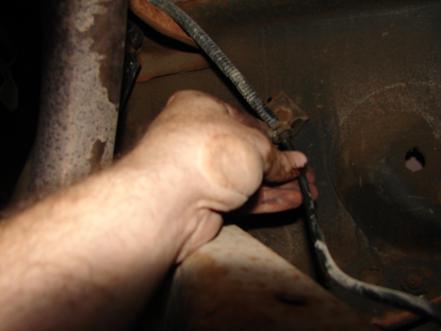
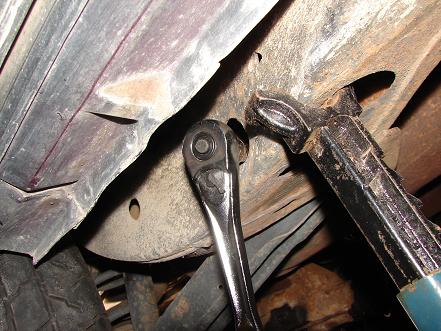
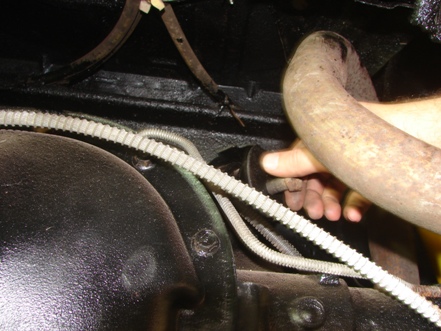
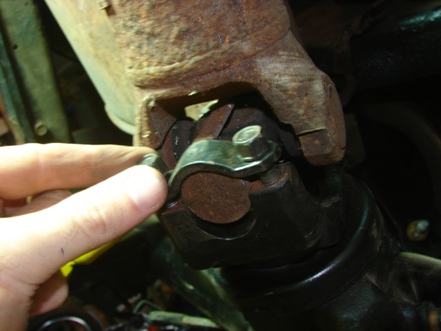
Not shown is the cutting of the parking brake cable, as the adjuster was frozen after a decade of winters and we had no patience left for it.
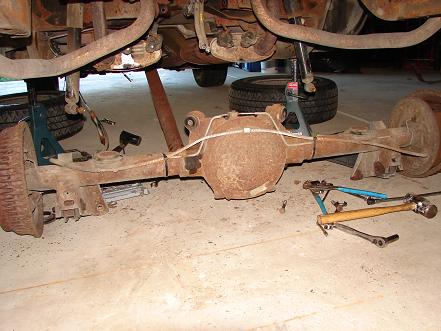
At this point, the axle can considered to be officially removed from the vehicle.
I don't recall what the large pair of Channel-Locks were used for, but I'm sure it had something to do with the two hammers that are also lying about.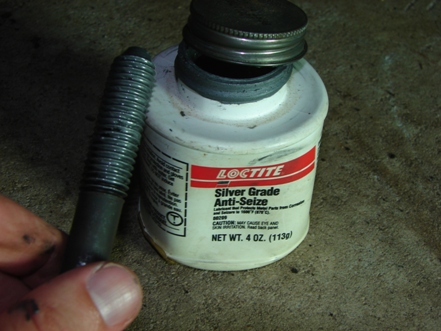
At this point, it's time to start the installation process. Remember, every fastener that goes back on the vehicle should be coated with either anti-seize or threadlocker (especially in any areas subject to underbody corrosion).
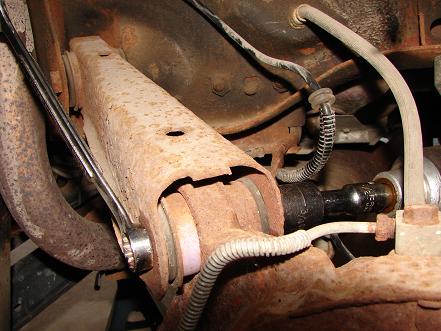
We installed new bushings in a set of repainted upper control arms, so those go on the vehicle first as this is the best time to access the front set of bolts. Keep these fasteners a couple of turns from fully tight for now.
From this point on, you'll notice that we've cleaned up the undercarriage a bit. More on that in a later post.
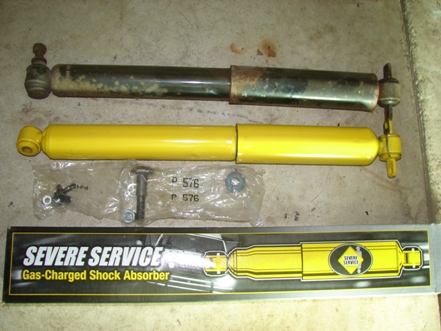
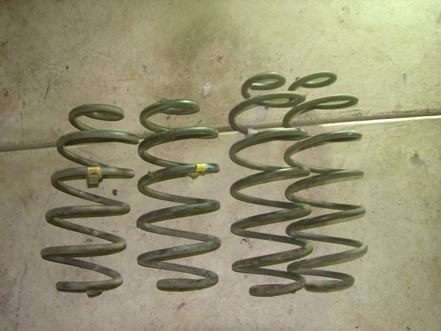
New shocks were in order for this wallowing whale, so Monroe's robust Severe Service shocks were purchased. They're the same length as the stock Roadmaster shocks, so the axle will still drop down far enough to remove the tire from behind the fixed fender skirts.
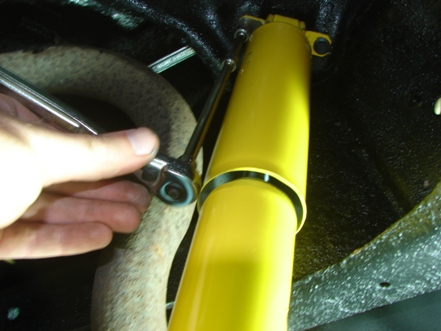
Using the new hardware supplied with the shocks, we attached the upper mounts (it's far easier to get a wrench on top of the frame to hold the backing nuts when the axle is out of the way).
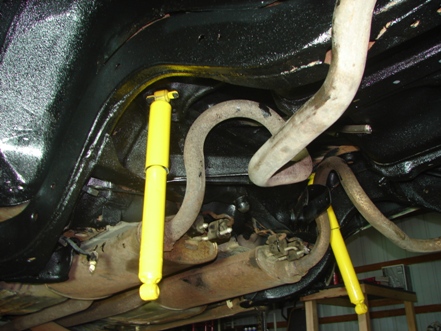
With the shocks now in place, we hold the upper control arms level with the vehicle and tighten the bolts. Ideally, this wouldn't be done until the axle is in place and the vehicle is back on the ground, but it's rather difficult to access these fasteners at that point. This, we feel, is a reasonable compromise.
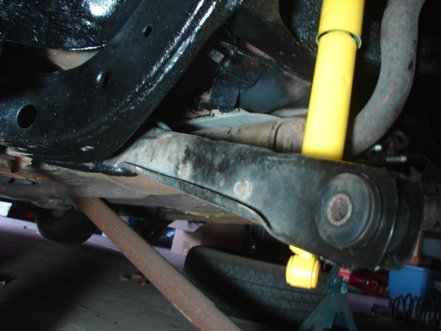
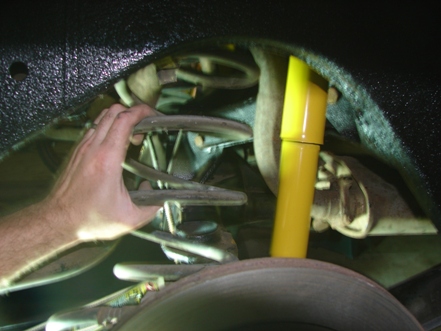
Instead of fitting new bushings to the Roadmaster lower control arms, we used some leftover Impala SS parts. This will allow a rear sway bar to be fitted at a later point, after we upgrade the front suspension (yes, the Roadmaster left the factory with no rear bar to assist the pillow-soft springs).
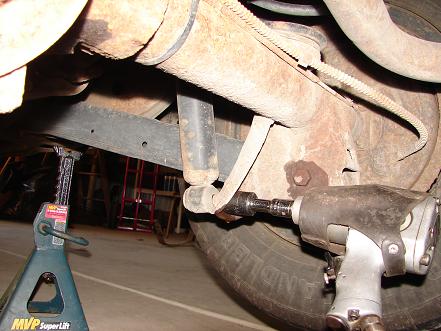
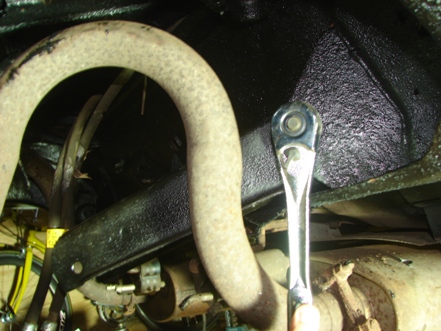
The lower control arms are attached to the frame, but the bolts are kept just loose enough to keep the arms from flopping all over the place when we try to line up the axle.
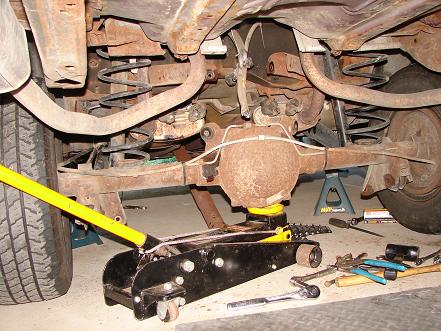
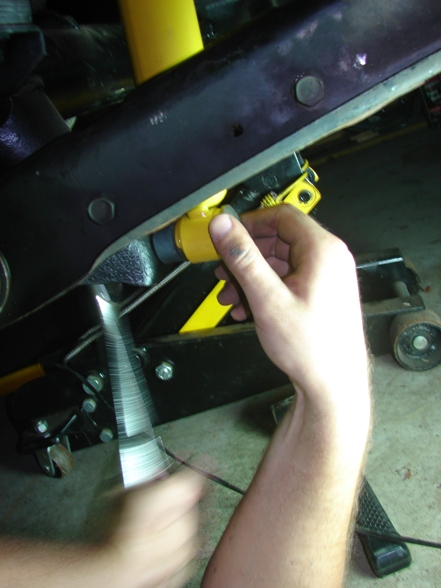
... it's balanced on the jack and rolled into place under the vehicle. This is another moment where a second set of hands is rather helpful.


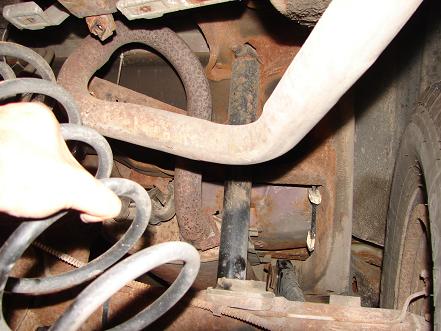
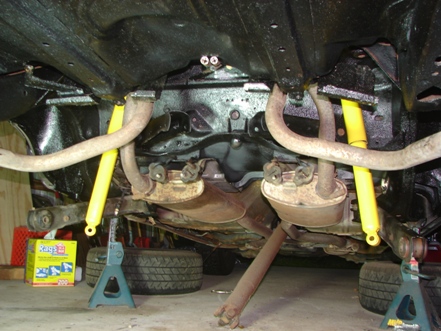
With the springs in place, jack up the axle to its approximate normal ride height, and torque all of the control arm fasteners to spec. This ensures that the control arm bushings will be clamped in the proper position. If the fasteners are torqued with the axle at the full droop position, the bushings will be excessively twisted once the car is lowered to the ground, and the ride will suffer (as will bushing life).
And with that, the project is nearly complete. Obviously, we need to bleed the brakes, and for that it is helpful to either utilize a pressure bleeder, or to at least jack up the axle such that the bleeders are closer to the high point in the system (which is the line between the axle and the frame). Then give all of the fasteners a once-over, reinstall the tires, drop the car off the stands, and take an appropriately gentle test drive.
The speedometer still needs correction via PCM programming to accommodate the new rear axle gears, but that's a straightforward task that can be accomplished via DIY software, or one of the many mail-order programmers.The brake pedal now has a properly firm feel, and the car stops hard, straight, and true. Why drum brakes have stuck around this long, we simply don't know, but we're definitely happier with a decent set of discs at each end of any vehicle.

Sign in to post
Please sign in to leave a comment.
Continue