Autoblog may receive a share from purchases made via links on this page. Pricing and availability are subject to change.
If your headlights have been looking a little cloudy, consider this a sign to clean them up. Believe it or not, it's really not that hard and it can make a big difference in the overall look of your vehicle. The video above features AMMO's Larry Kosilla as he goes through the step-by-step process to restore your headlights, addressing common mistakes and detailing exactly what you'll need to take the project from start to finish. We've also included links to anything you might need for the job, below. Of course, always keep in mind that each car is different, which means the process may vary slightly from vehicle to vehicle. Always be sure to consult your manual before doing any type of work on your car.
ScotchBlue Original Multi-Surface Painter’s Tape, 3 rolls - $11.49
First thing's first, you'll need some masking tape to tape off the area around the headlights. If you need to pick up a new roll, this one is as good as any.
Amazon Basics Microfiber Cleaning Cloth (24 pack) - $11.83 (15% off)
There's a good chance you'll already have a few of these laying around the garage, but on the off chance you're in the market for some new microfiber towels, these are a great option. These Amazon Basics cleaning cloths are 12" x 16" and come in a 24-pack, so you'll have plenty to choose from when shining up your headlights.
Rayson Empty Spray Bottle - $4.23
Obviously, any old spray bottle will do the trick for this job, but we did promise this list would be "everything you'll need," so just in case you need to pick up a new one, this is a super affordable option with a "comfort grip" trigger.
Tockrop 5-Inch Hand Sanding Blocks - $11.59
You'll need a sanding block at a few different points in the process, and this pack gives you two options for the price of one. Either design, the round shape or mouse shape, works with standard 5-inch sander discs. They can be used for wet or dry sanding and they're designed to allow the user to quickly and easily replace discs.
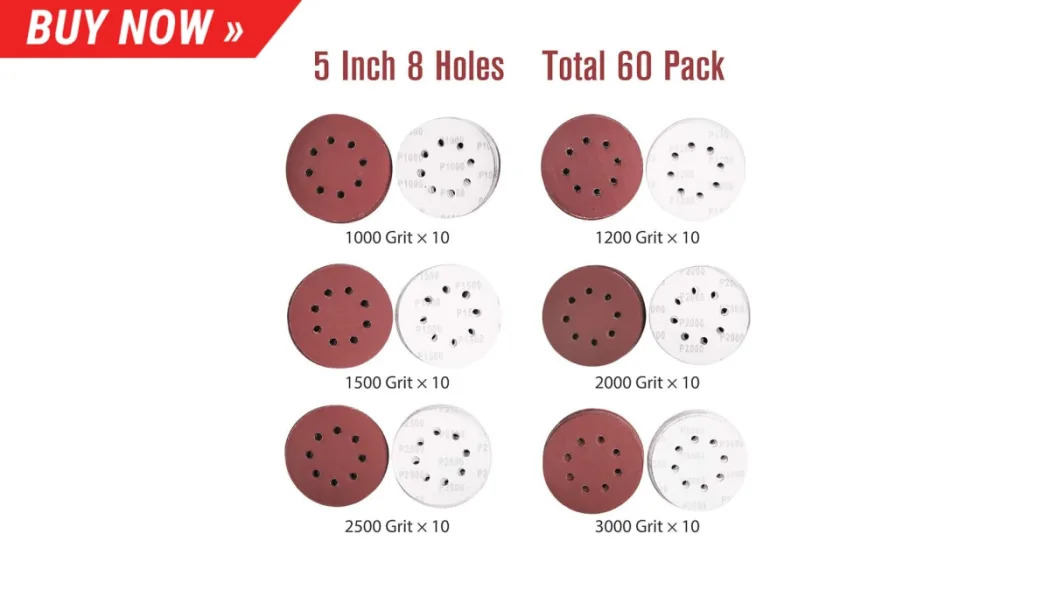
For the job of restoring your headlights, you'll only need a few sanding discs. In fact, you should only need one 1,000 grit disc, one 1,500 grit disc and one 3,000 grit disc. This bundle includes all of those and much more. While you may be able to run to the local hardware store and save a few bucks by purchasing a la carte, this package is so affordable it's almost not even worth the trouble.
Meguiar's Ultimate Compound - $16.99
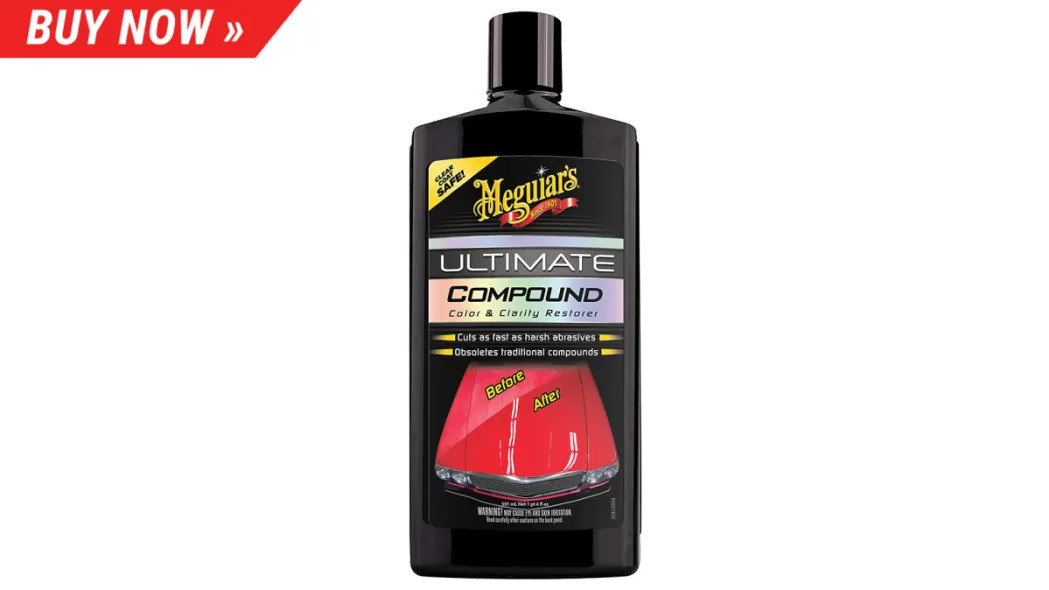
In our how-to video above, Larry suggests using your "favorite" compound for the job. Well, this is one of ours. Meguiar's is a trusted and respected brand in the automotive space, and although you can use pretty much any compound you like, this 20 oz. bottle is a great option.
BLACK+DECKER 8V MAX Cordless Drill - $28.25
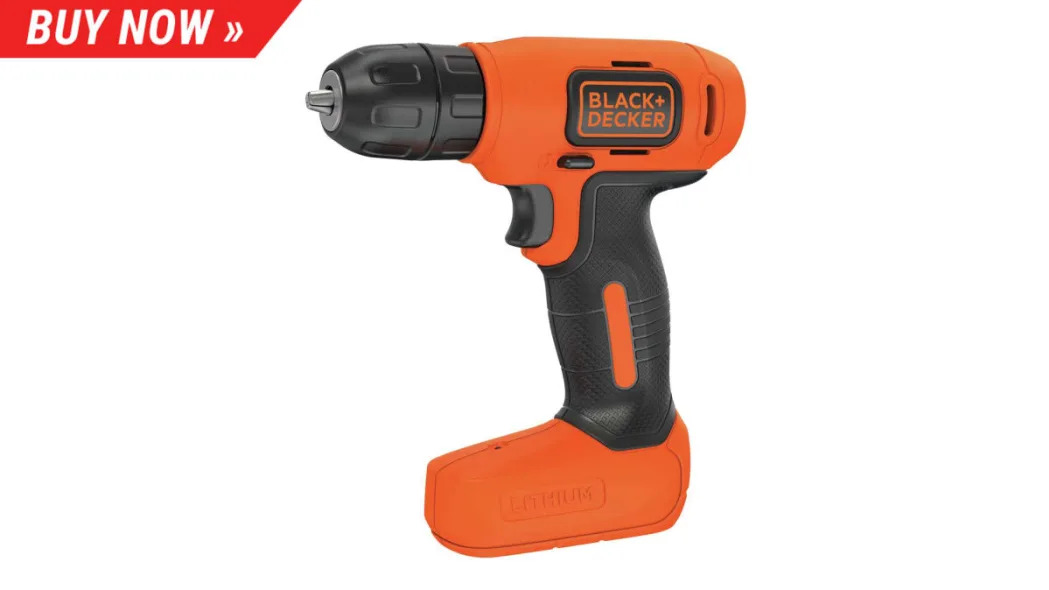
Don't worry, you won't be drilling into your headlights for any reason, but a drill is helpful to attach a wool pad to for the compounding portion of the headlight restoration. We've got an option for the wool pads and an adapter just below, but if you don't have a drill lying around, this Black+Decker lightweight cordless drill is a great option. At just under 30 bucks, it's very hard to ignore.
Car Foam Drill Polishing Pad Kit 22-Piece, 3-Inch Buffing Pads - $12.99 (24% off)
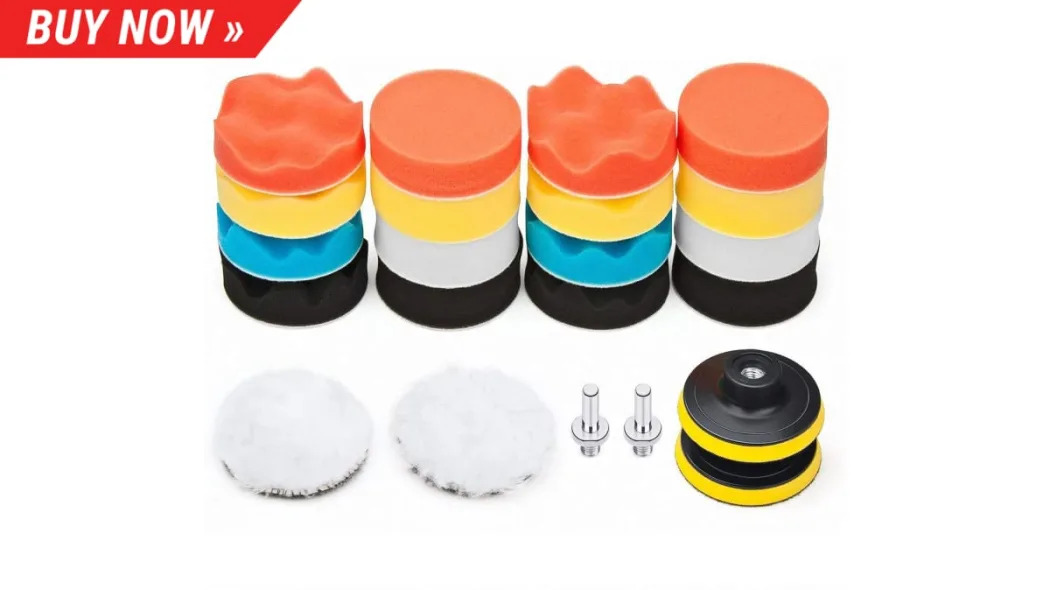
This 22-piece package includes 16 sponge polishing pads, 2 woolen buffer pads, 2 drill adapter and 2 suction cups. For your headlight project, you'll probably only need a wool pad, a polishing pad, and one of the drill adapters, but at this price it's easy to keep some extras around.
Swan Isopropyl Alcohol - $7.76

There's not much you can really say about rubbing alcohol. Is it alcohol? Yep. Can you use it on your headlights as part of the restoration process? Also yep. Feel free to pick up this 16 oz. bottle or use any old rubbing alcohol you have around the house.
Meguiar's Ultimate Polish - $12.99
Much like the compound portion of your project, you can use your own favorite polish as well, but if you're looking for a recommendation, this one is solid. It's effective when used by hand or with a polisher and should do a good job of removing swirls and towel marks from the headlights.
Meguiar's Keep Clear UV Headlight Coating - $8.44

Last but not least, you'll need some UV protective coating to spray on your headlights to make sure all of your hard work shining up your headlights doesn't go to waste after a few days of sun damage. You can choose any UV coating you like, but be sure to read the directions on whichever one you choose before applying. For under 10 bucks, this option from Meguiar's is a great one.
Video Transcript Instructions:
[00:00:00] Headlights are like the eyes of your car and when they're hazy, yellow, and foggy seeing well at night can be an issue. And during the day, the look like this. Find out how to restore their clarity today on Autoblog Details. This vehicle was detailed from start to finish in 10 episodes. Visit autoblog.com/details to see the entire detailing transformation. For step one, open the hood or tape off the surrounding areas to avoid paint damage.
[00:00:30] Masking tape is perfect for this application. Wash the headlight with water and a microfiber towel to clean off any heavy debris that may interfere with the sanding disks. Place 1000 grit sandpaper on a foam block and move from side-to-side, no circles, no up-and-down, and no water during this phase of the process. This is called dry sanding. As you'll notice, the dead headlight's skin is flaking away leaving behind a white residue. This is normal, so don't panic.
[00:01:00] Once the headlight is evenly sanded from side-to-side, wipe or blow the dust off the surface of the headlight. Any remaining dust may contaminate the next process causing deeper scratches or haze that may be a challenge to finish out so it's important to work clean. Place 1500 grit on a foam block and spray the sandpaper with water before applying it to the light. Just a few quick squirts is sufficient. This is called damp sanding. Now move the paper in up-and-down motions and not side-to-side as we did for step one.
[00:01:30] This is done to counteract the first sandpaper marks in the opposite direction. Once completed, spray water on the headlight and wipe again to ensure no particles are remaining for the next step. Next switch to 3000 grit paper and repeat the same process but in side-to-side motions once again to counteract the 1500 grit sanding marks created in the previous step. This is your final hand-sanding which will the headlight to a point of refinement that can be easily restored with a machine.
[00:02:00] The polisher will get the very fine marks out of the headlight with more consistency than by hand. So gradually refining by hand until you can use a machine is the safest way to complete this project. Next compound the 3000 grit sanding marks in the headlight with a microfiber cutting pad or a wool pad and your favorite compound. This can be done with a home drill or a three inch detailing machine. I've chosen to use a three inch pneumatic because I have access to compressed air. After just a few passes with compound the headlight lens should look much clearer.
[00:02:30] After a thorough compound, quickly polish the plastic with a foam pad and your favorite polish to remove any super fine scratches left behind after the compounding step. Use a detailing light to check your work or simply turn on the headlights themselves to get a better look at the lens. If everything looks good, wipe the headlight clean with rubbing alcohol to remove any oils or polish residue in preparation for the final protective coating. A UV protective coating should be immediately applied to the lens after the process is complete.
[00:03:00] Clearly the original UV coating applied at the factory has faded and anything that remained would have been removed from the previous abrasive steps. So applying a new UV layer is vital to avoid a hazy or yellow lens within weeks, or even days, if left untreated. Before applying any UV protection, be sure to read the directions of your particular coating. Finally, apply the UV coating four to six inches away from the lens with medium arm speed. Allow to dry for three to five minutes and then apply a second coat.
[00:03:30] Don't remove the masking tape for at least 15 to 20 minutes and avoid getting the lens wet for at least two hours to allow the coating to cure properly. Keep in mind, at first the coating doesn't look very smooth but once it dries, it levels out and you can't even tell it's there. This repair was performed during the restoration of the entire vehicle which was shown over 10 consecutive episodes from start to finish. You can see the entire process on autoblog.com/details. Lastly, restoring your headlights is not just a cosmetic fix. It can increase the light output by 20-30% to help you see the road and get home safely.
[00:04:00] If you found this video helpful, please share and keep up with all the latest detail videos by liking or subscribing to the Autoblog page. I'm Larry Kosilla from ammonyc.com. Thanks for watching.

Sign in to post
Please sign in to leave a comment.
Continue