Click above for a high-res gallery detailing the install
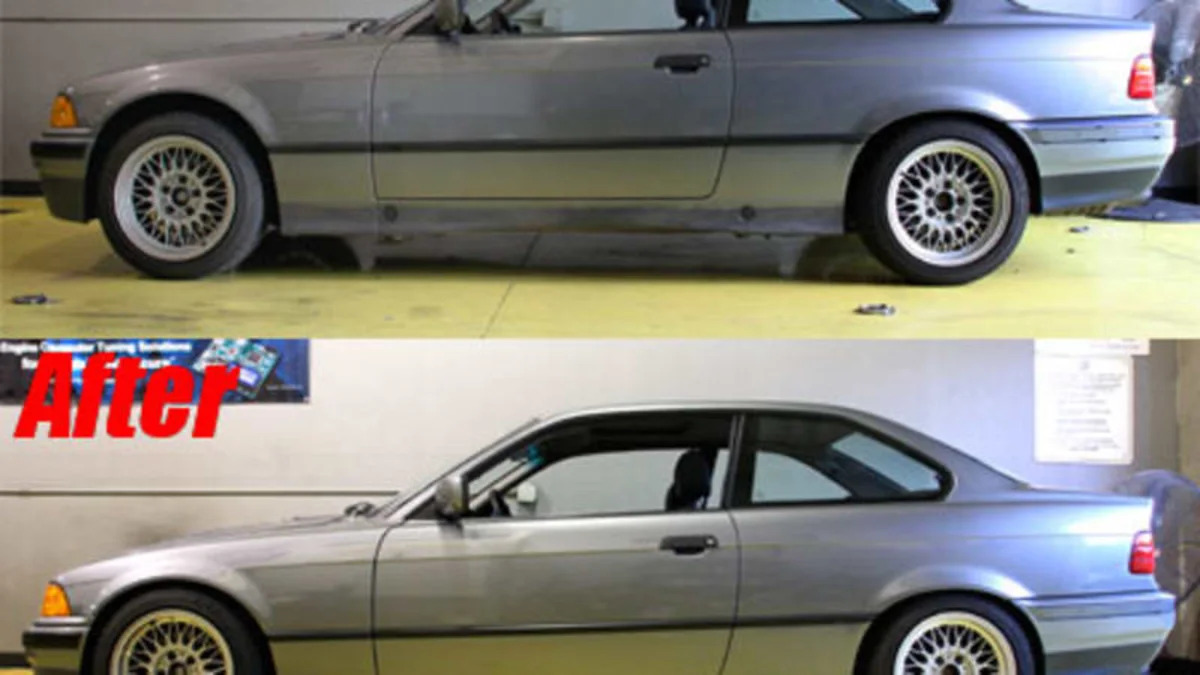
With over 140,00 miles on the clock, the stock suspension of our BMW 318is project car was far from ready for its upcoming track assault, and the stiffer sidewalls and stickier rubber we fitted in our first installment accentuated the tired springs and shocks. Thankfully, the popularity of the E36 chassis makes shopping for new suspension bits an easy, if slightly overwhelming, affair. The choices range from pieced together spring/shock combos to race-ready coilovers, so we decided to split the difference with one of H&R's Touring Cup Kits (31005T-1). The package includes springs and shocks that lower the front by 1.5-inches and the rear by one inch, balancing ride comfort and stiffness while allowing us to traverse speed bumps without having to worry about teetering on our oil pan.
Hit the jump to read our impressions on how the H&R kit fared during our first week of testing and you can read through the entire suspension swap in our tagged gallery below.
The installation took just under three hours, but with the right equipment and a minimum of smoke breaks, there's little doubt that you could be on your way to stiff bliss in two hours or less. We should also mention that we performed a mild roll of the rear fenders, since the right-rear tire would rub due to a minor dent on the back edge of the blister. The process was painless enough, but might be unnecessary on other E36s.
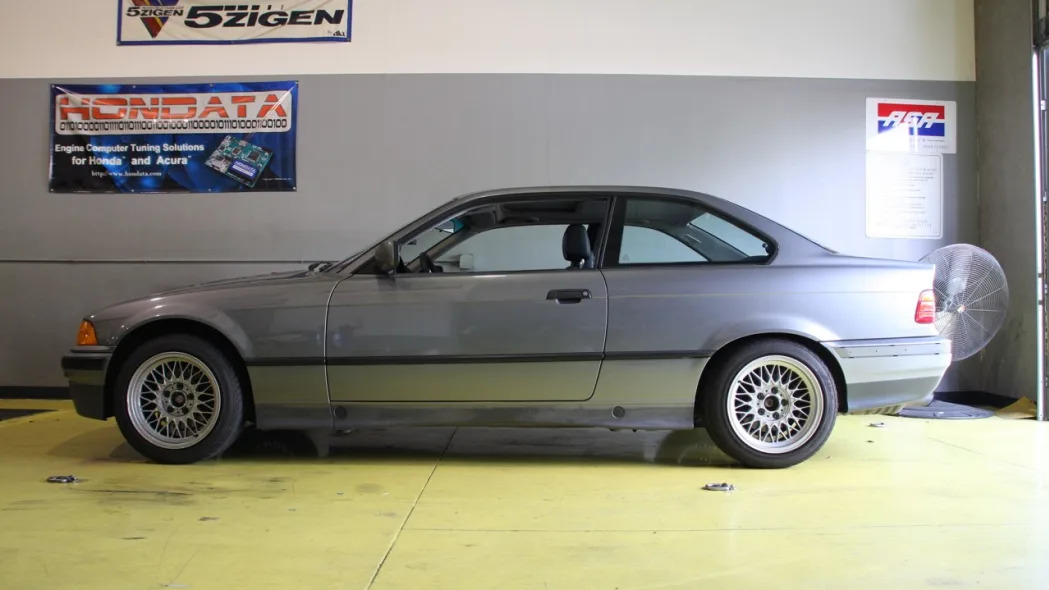
After getting everything torqued to spec and going for a quick jaunt around the block to allow everything to settle in, the new springs and struts were a revelation over the 16-year-old stock setup. The on-center steering feel impressed before we even left the parking lot, providing noticeably more feedback during small corrections. Turn-in felt more direct when tackling a few corners outside the shop and as the week wore on, our confidence continued to grow during a handful of late-night performance "tests."
Most of the understeer that we experienced before has been dispatched in favor of a more neutral feel that allows easier mid-corner corrections through both the steering and throttle. Trail-braking, which had little effect with the squishy stock suspension, has become a regular routine on the back roads, predictably rotating the rear and allowing the Bimmer to take a set with a minimum of drama. Overall, we're suitably impressed with the setup and are confident that the H&R kit will balance our needs both on the road and on our first track day in July.
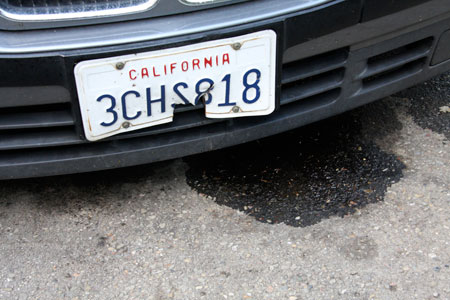
Next on the agenda is trying to source a used 3.91 LSD and dealing with some damage caused by a minor (okay, major) on-road argument between our Bimmer and a large chunk of metal on 680 North. It hit with enough force to take a chunk out of our license plate before cracking the bumper, shredding the auxiliary fan and shroud, slicing open a couple of power-steering hoses and destroying three of the four radiator mounts. Those parts are en route as you read this and should be installed by the end of the week.
UPDATE: Due to popular demand, we've added a gallery of the damage. Click the pic below for a handful of images with captions.
Special thanks to Modacar in Livermore, CA for giving us place to wrench.

Sign in to post
Please sign in to leave a comment.
Continue