Slideshow
Project MR2 - Part 1 - Coilover Install
Jul 23, 2007
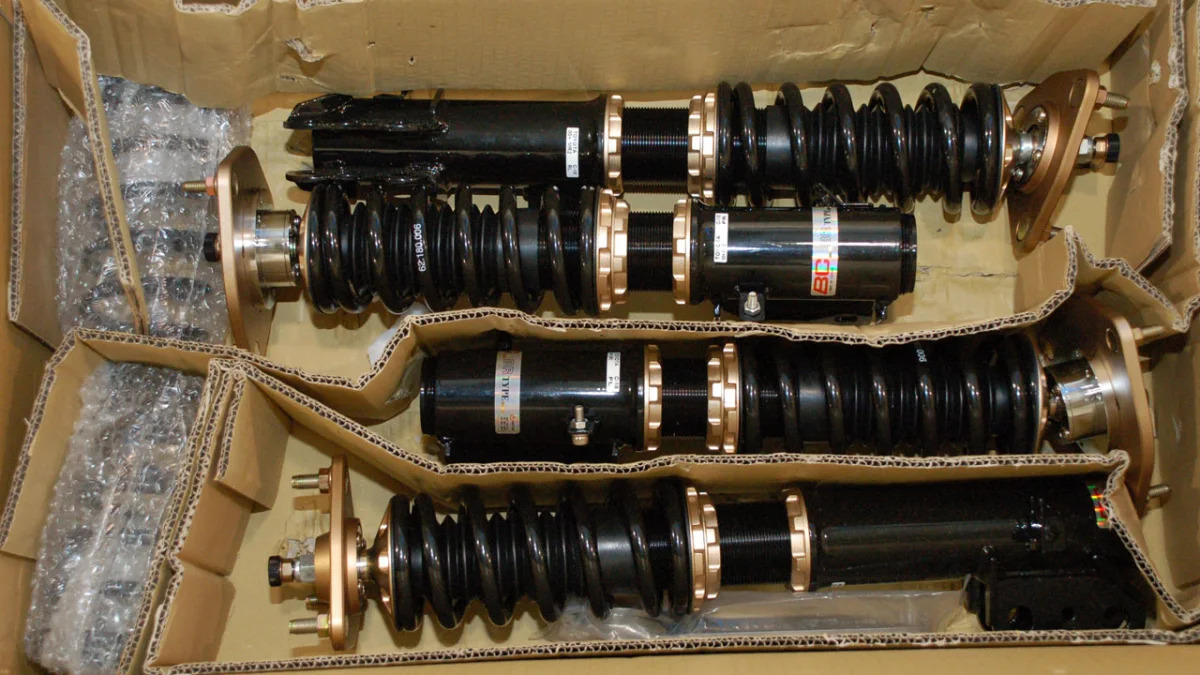
- BC Racing coilovers with 6kg springs (front) and 8 kg springs (rear). The additional set on the left are 4 kg -- just in case.

- Beginning with the rear...

- Disconnected and moved aside.
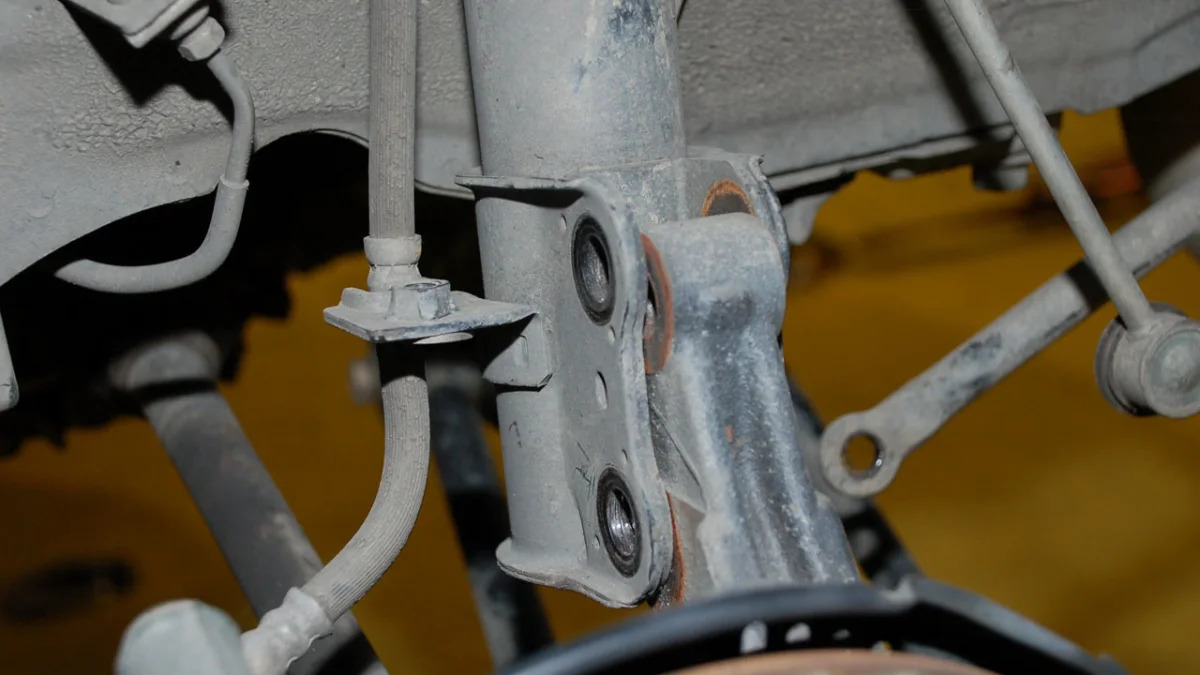
- Grab your shop monkey and a 19mm wrench and socket to remove the two spindel bolts.
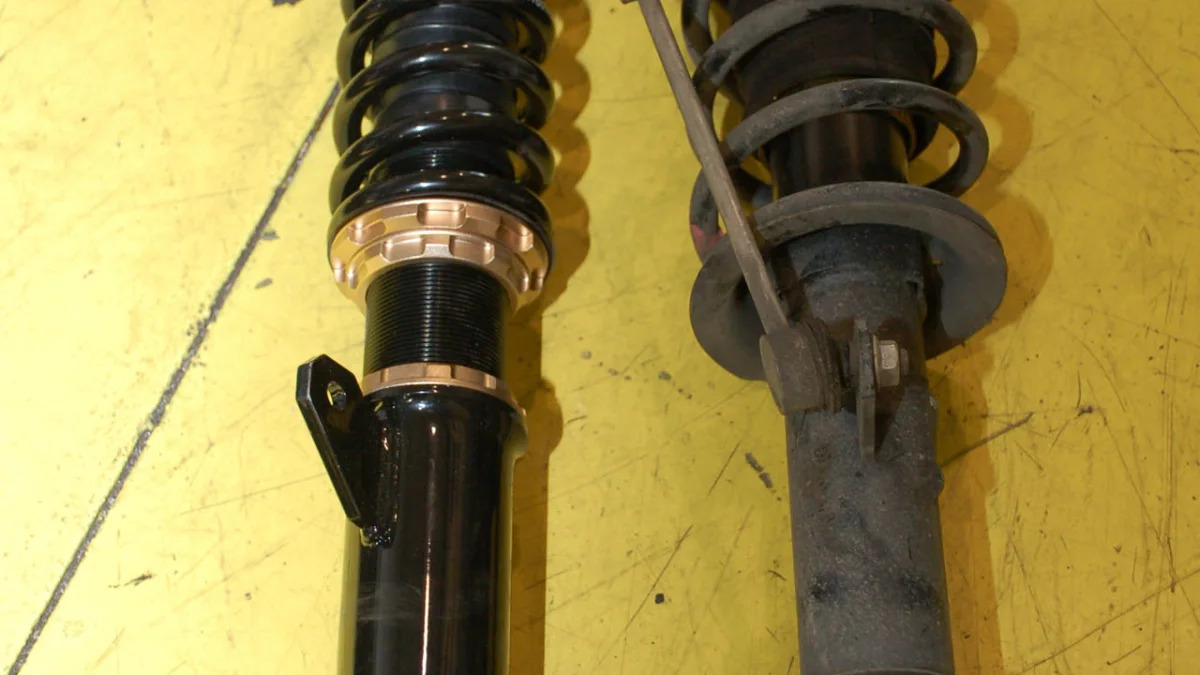
- Old and new, side-by-side. Remove the swaybar end links from the stock strut and...

- Install the new coilover, beginning with the three bolts at the top of the strut (14mm).

- With a good bit of force, jiggling and prayers, the bolts should go though with minimal fuss. Tighten them up with a 19mm socket and wrench.

- Everything looks good so far, the only rub is getting the brake line bracket to fit flush.

- Solution: zip ties. It's not perfect, but we'll be fitting stainless steel lines later, so we're less than worried. On to the fronts...

- Again, we removed the brake line and ABS line. The brake line is attached by a 10 mm bolt, while the ABS line can be removed with an allen. The two lower spindle bolts were removed (19mm), along with the three 14mm nuts holding the strut in up top.

- Awaiting insertion.

- Inserted the strut and tightened down the three, 14mm bolts.

- Then jack it up to reinstall the spindle bolts (19 mm). Putting the bolts in proved a bit more difficult than in the rear, as the holes weren't drilled exactly to spec. No need to grind, just a little bit of wiggling and brute force was enough to get them into their new home. We reinstalled the brake lines (no issues) and the ABS line. Everything was torqued down to spec and so began the hemming and hawing over ride height.

- Dropped 1-1/4 inches in the front and 1-1/8 inch in the rear.