
Featured Gallery

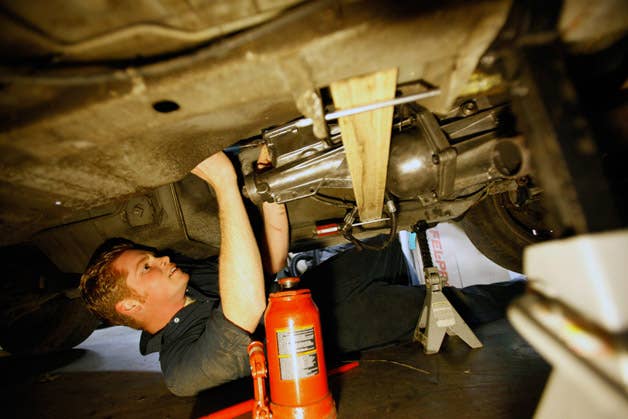
Welding in Maximum Motorsports subframe connectors. Or getting crushed to death. One of the two.

Maximum Motorsports subframe connectors
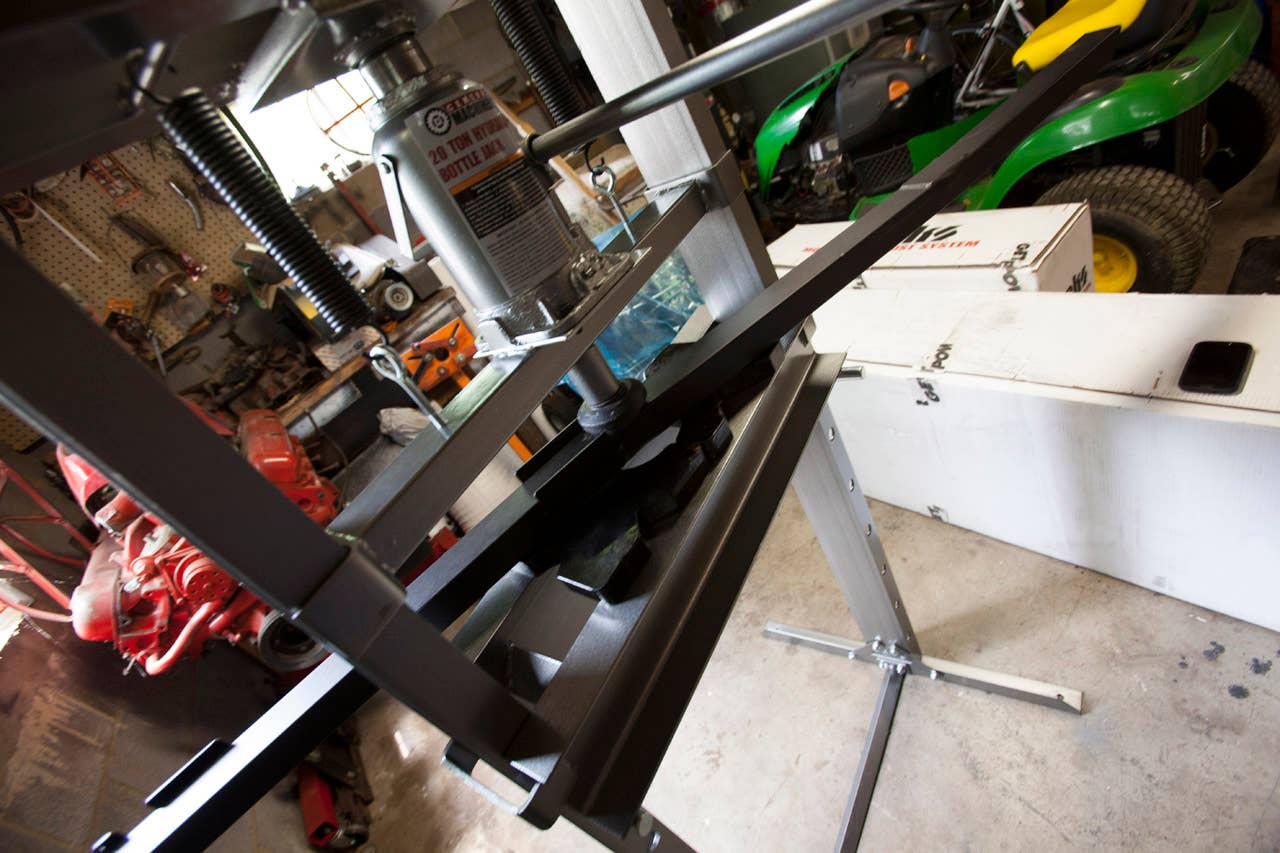
Bending Maximum Motorsports subframe connectors to cope with a bent floor pan.

Preparing the factory frame rail for welding.

Weld-through primer.
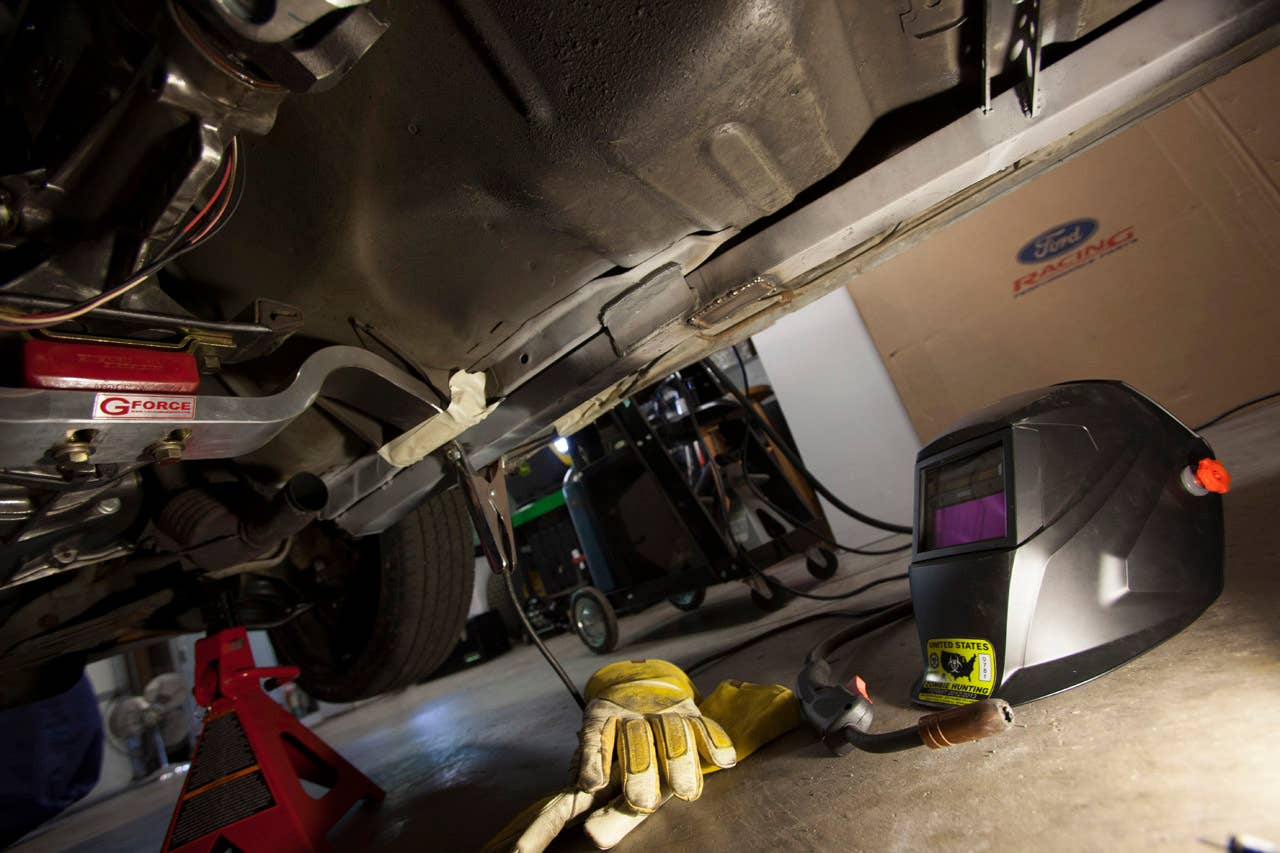
Partially installed Maximum Motorsports subframe connector.

Hard lines protected with heat wrap.

Installing Maximum Motorsports

Welding in Maximum Motorsports subframe connectors.

Maximum Motorsports subframe connectors installed.

Insert Tabs A-Z into Slot B. Don’t panic.

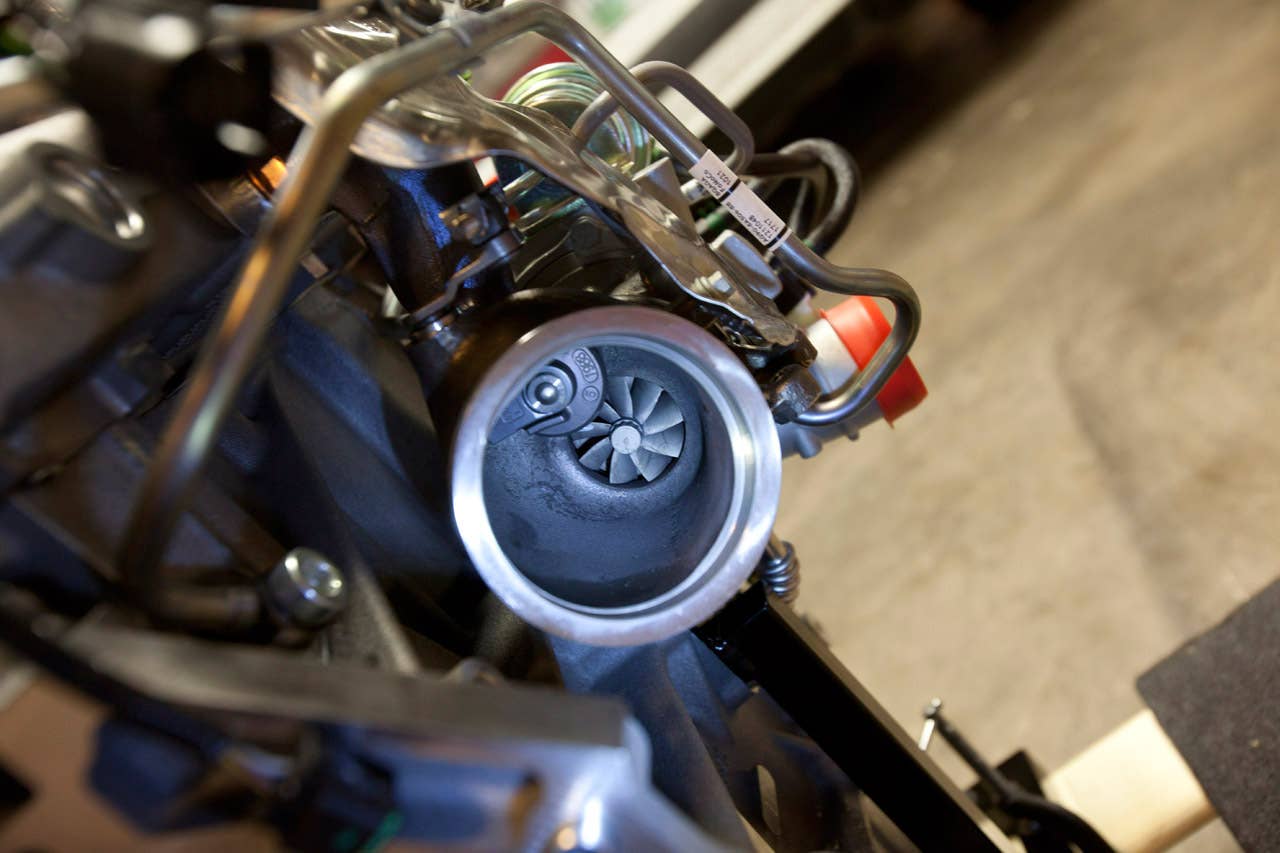
Ugly Horse with a Ford EcoBoost 2.0-liter four-cylinder.

Ford EcoBoost 2.0 Mustang
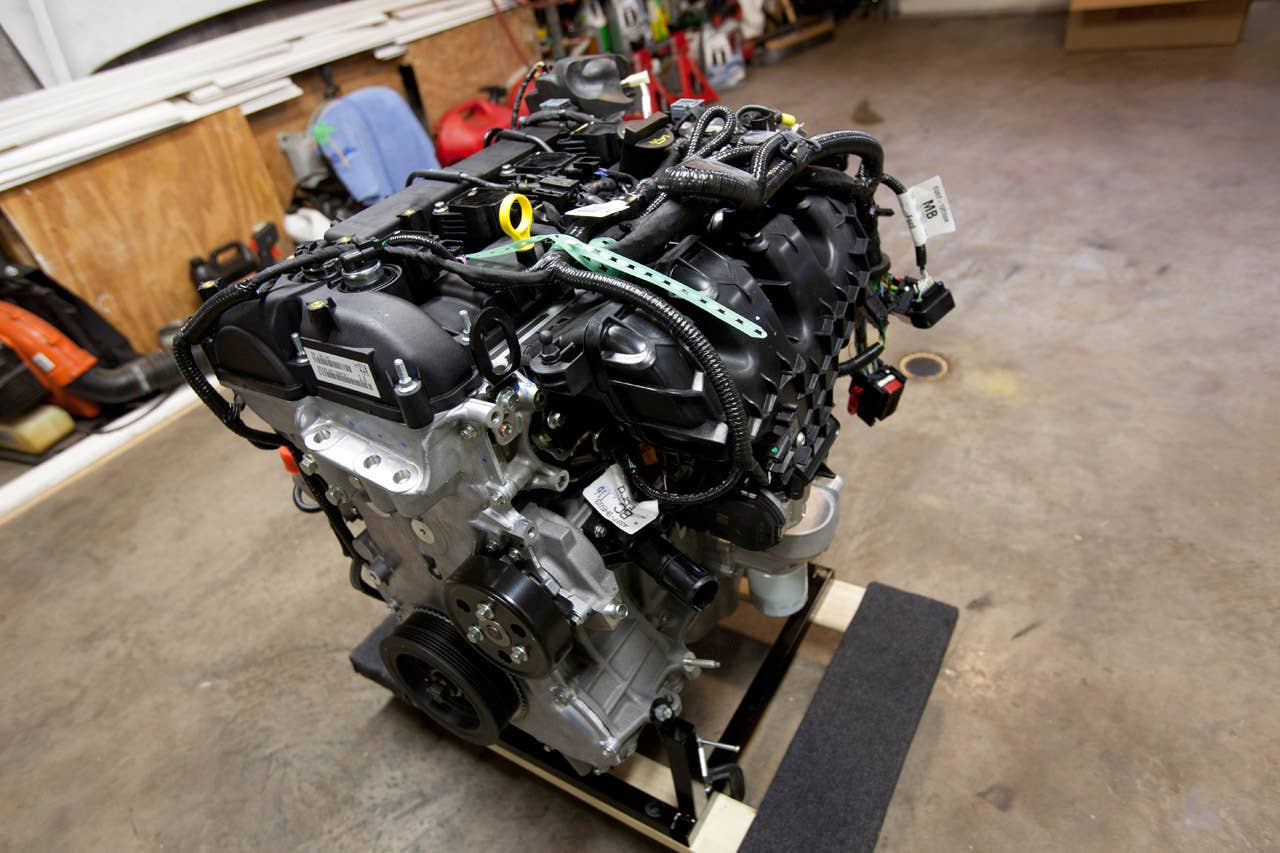
Ford EcoBoost 2.0 Mustang
Ford EcoBoost 2.0 Mustang

Ford EcoBoost 2.0 Mustang

It’s like Christmas, but with more internal combustion.

When they say, “crate engine,” they mean it.

Cherry picker at work.


Project Ugly Horse: 1989 Ford Mustang LX front 3/4

Project Ugly Horse: 1989 Ford Mustang LX front

Project Ugly Horse: 1989 Ford Mustang LX front 3/4 wide

Project Ugly Horse: 1989 Ford Mustang LX front 3/4 wide

Project Ugly Horse: 1989 Ford Mustang LX side
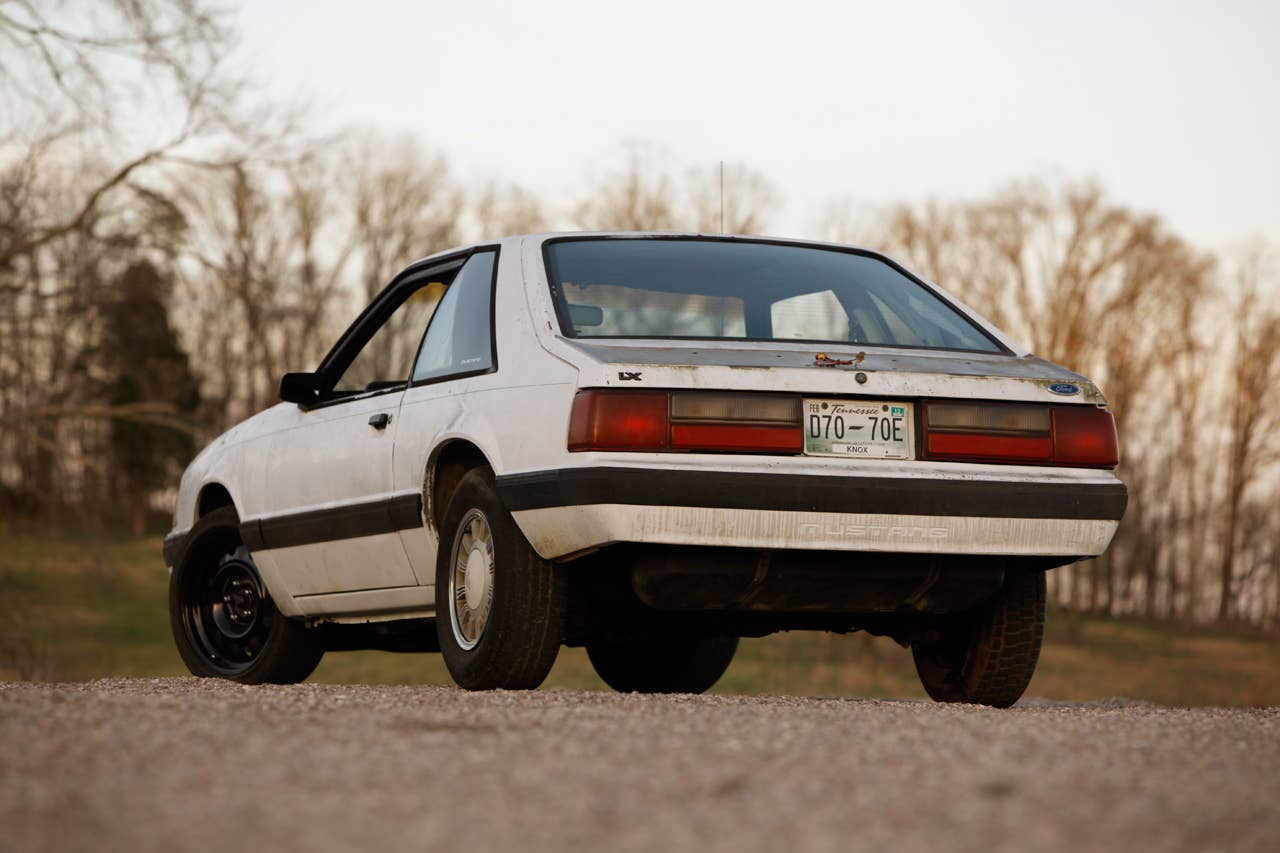
Project Ugly Horse: 1989 Ford Mustang LX rear 3/4

Project Ugly Horse: 1989 Ford Mustang LX rear 3/4
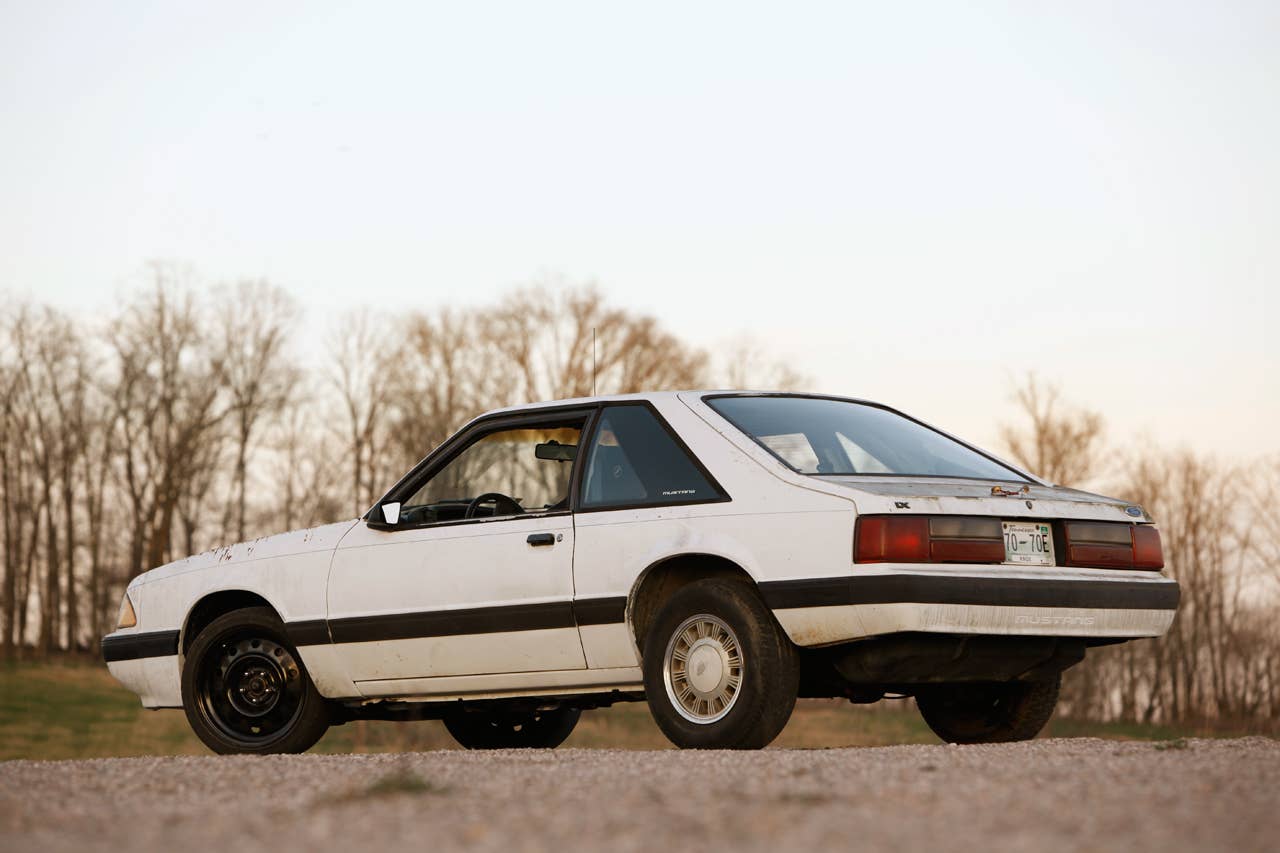
Project Ugly Horse: 1989 Ford Mustang LX rear 3/4 wide

Project Ugly Horse: 1989 Ford Mustang LX rear 3/4 wide

Project Ugly Horse: 1989 Ford Mustang LX rear

Project Ugly Horse: 1989 Ford Mustang LX engine bay

Project Ugly Horse: 1989 Ford Mustang LX with Chrysler steelies

Project Ugly Horse: 1989 Ford Mustang LX

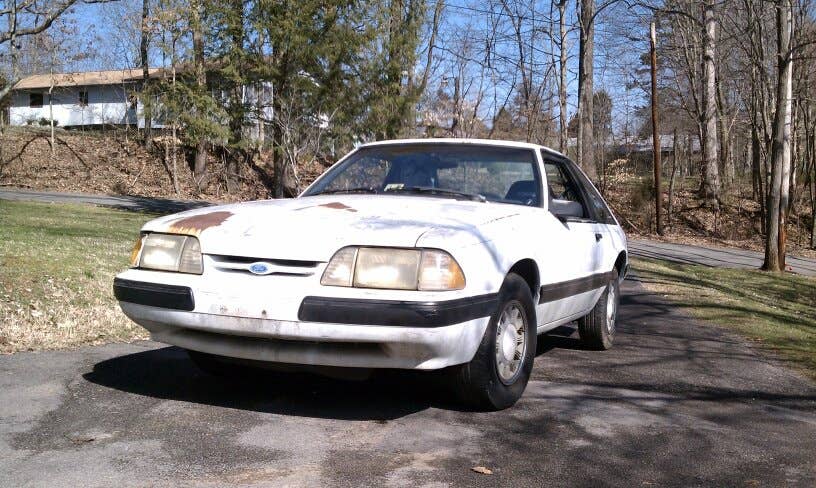
Home at last
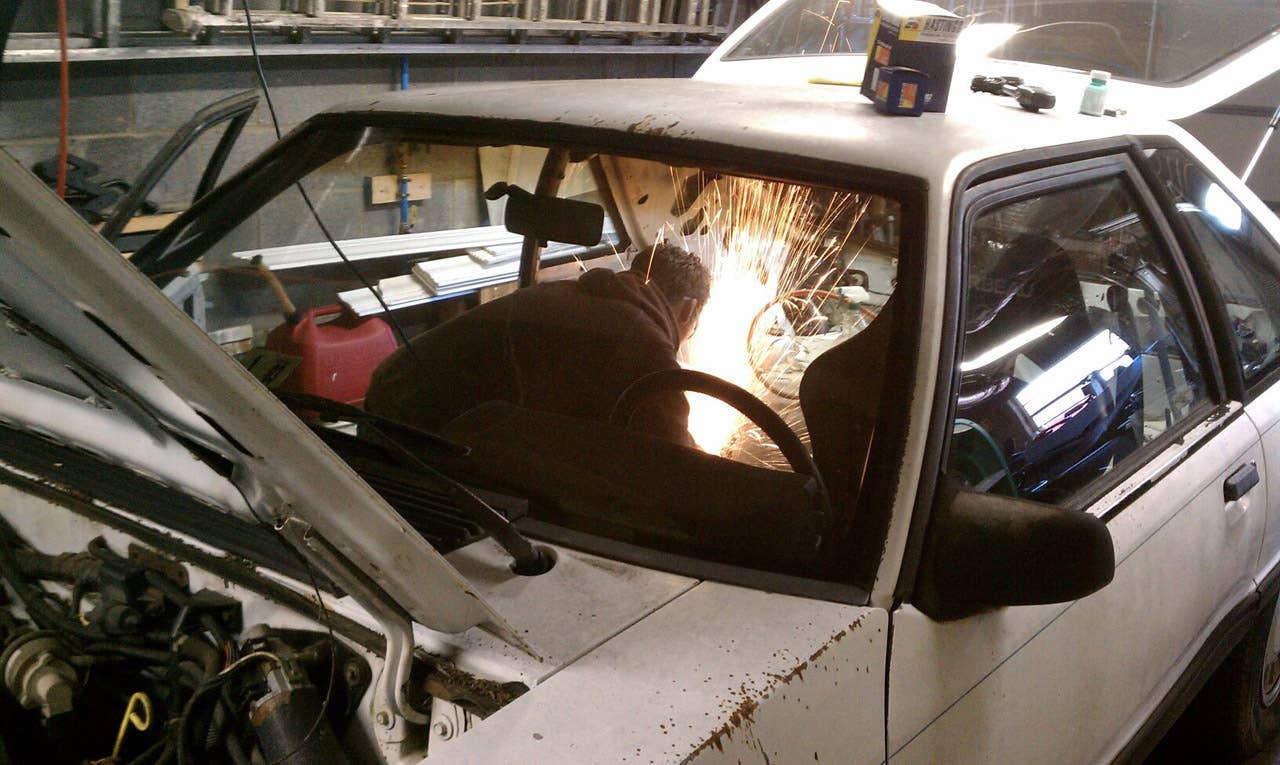
Removing a stubborn seat belt bolt
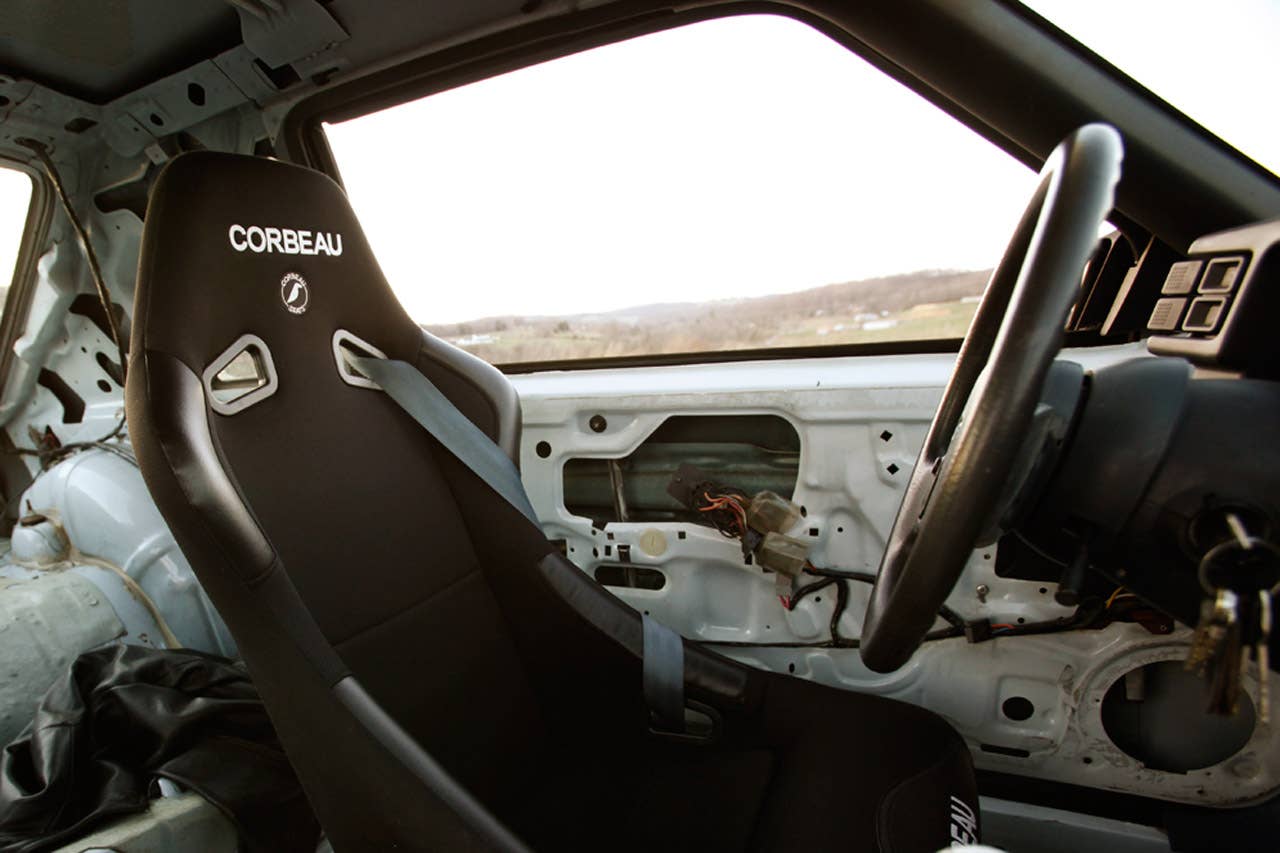
Corbeau Evo driver’s seat

View from the rear hatch

A trail of automatic transmission fluid

Out with the old slush box.

Differences in length: four-speed automatic to five-speed manual.

Gussied up T5 five-speed manual transmission.

New aluminum transmission mount.
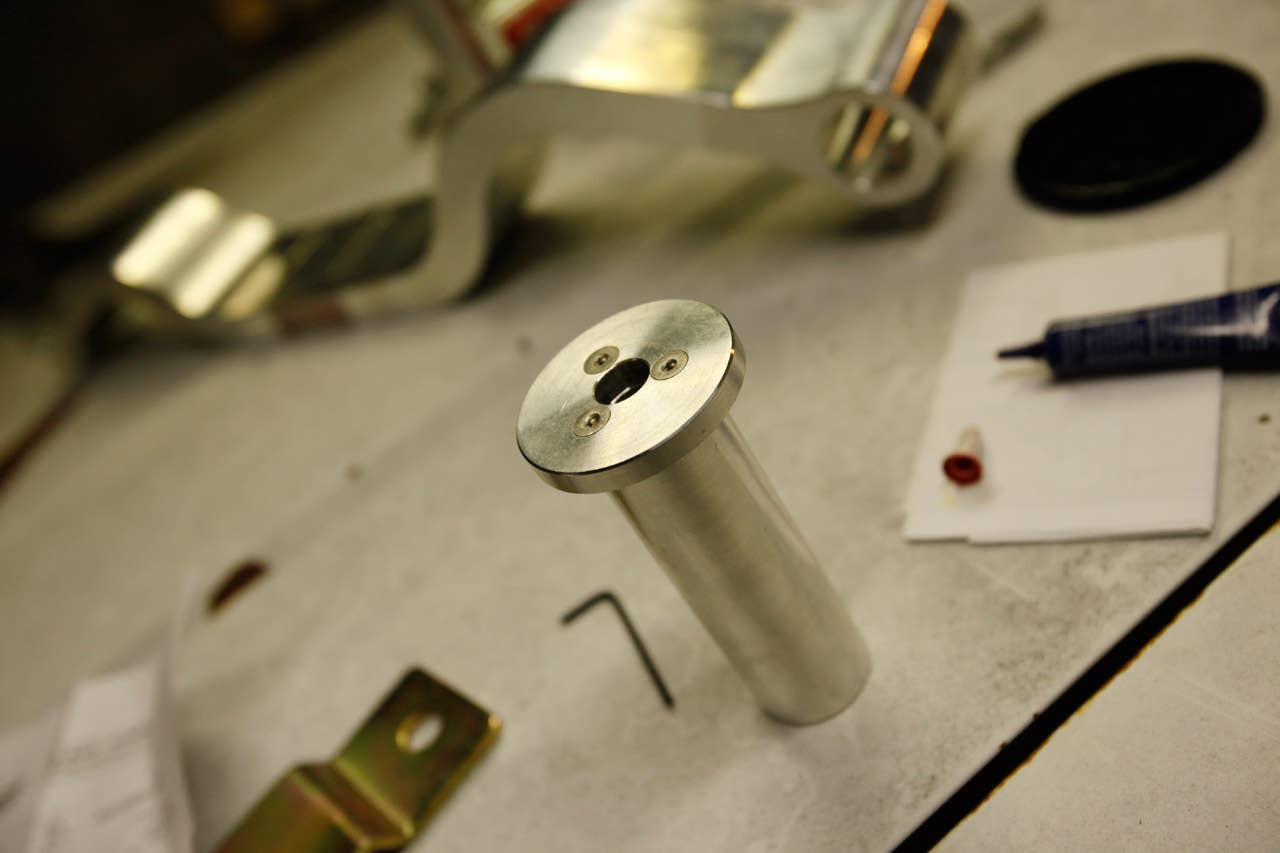
Assembling the end bushing.

This particular piece is adjustable front to rear thanks to a pair of set screws.

Each solid bushing is comprised of two end plates, a center sleeve and six machine screws.

The aluminum crossmember in its fully assembled glory.
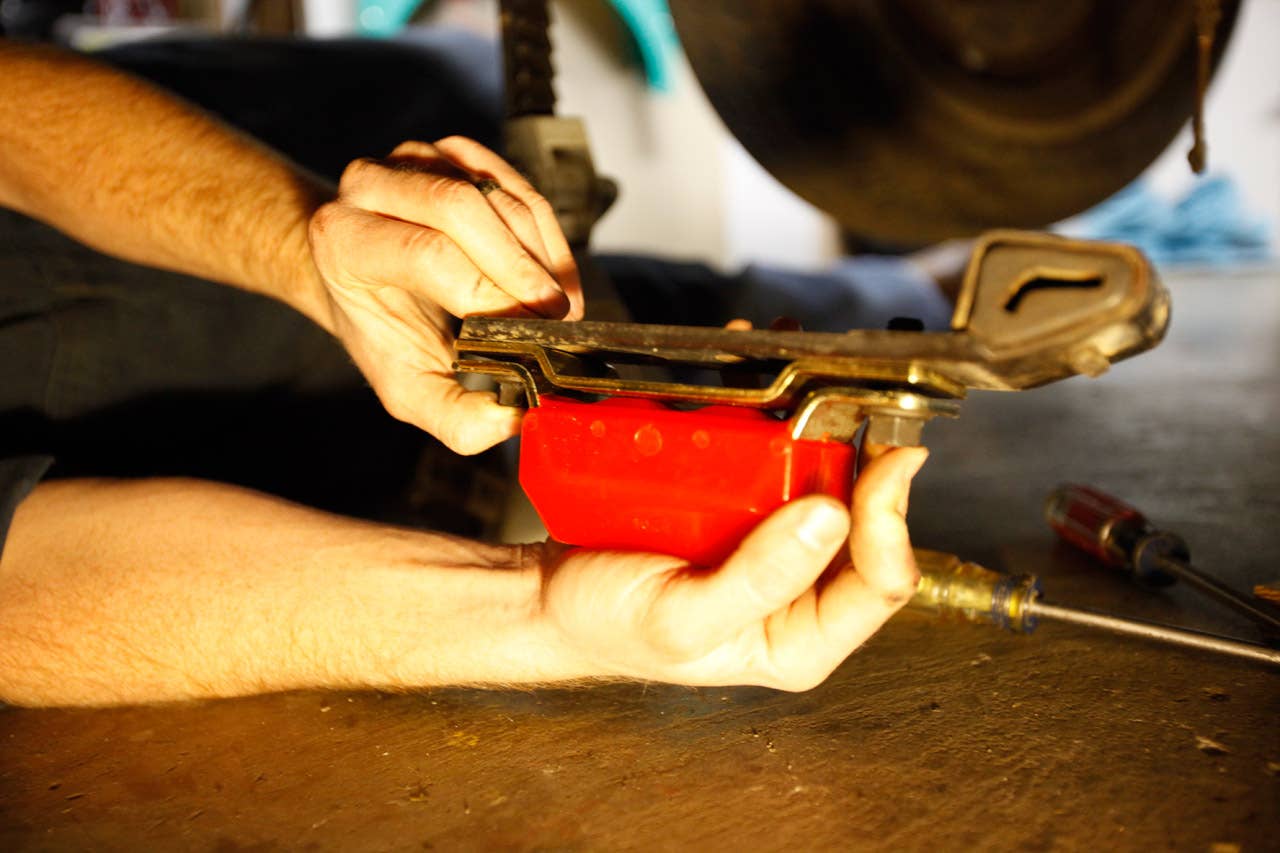
If you want to use the old exhaust hanger, make sure it’s facing the correct direction (passenger side).

Bolting everything in place.

A temporary crossmember solution

Installed.
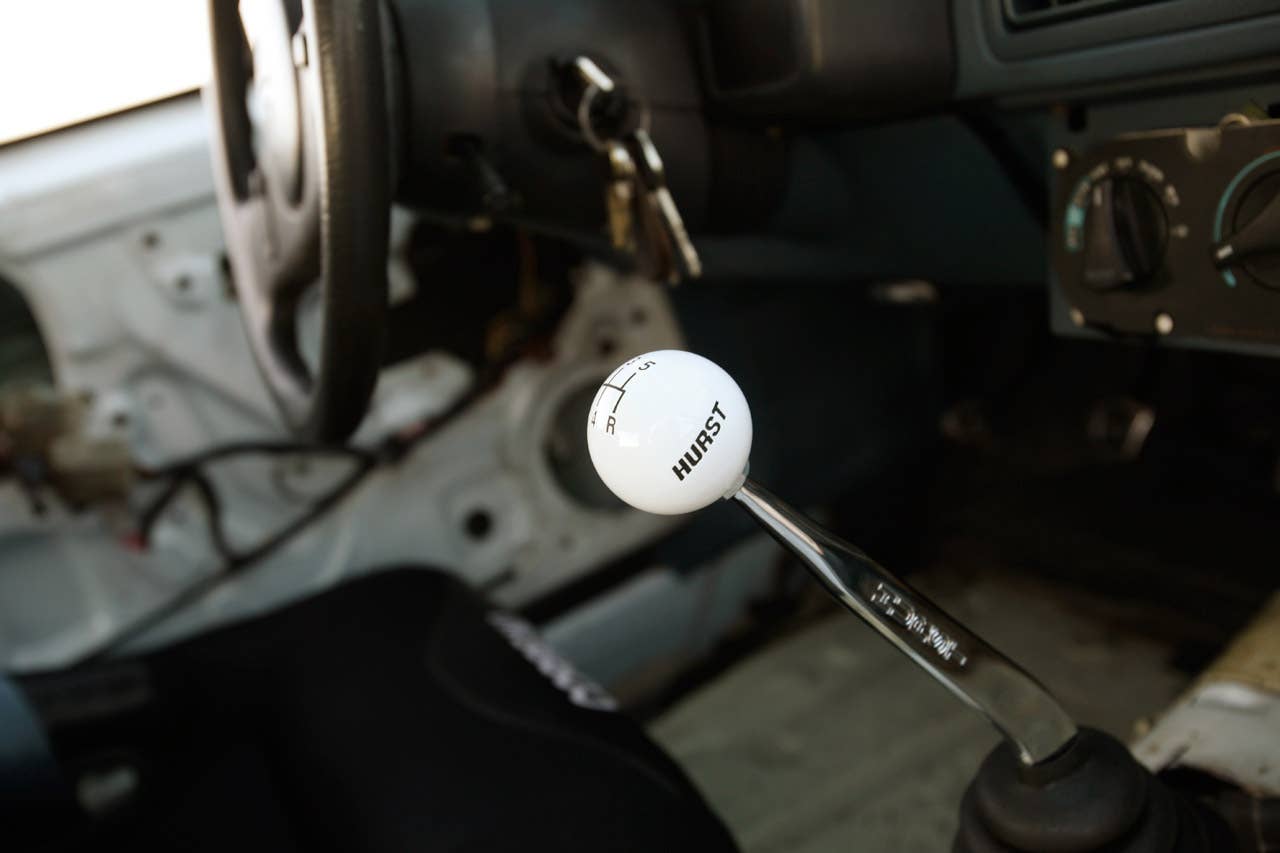
Project Ugly Horse Cabin

Manual Pedal boxes: with clutch tube (right) without clutch tube (left)

Three pedals

Clutch cable adjustment quadrant

Manual pedal box with clutch tube removed

Hurst Billet Plus Shifter

Hurst Cue Ball
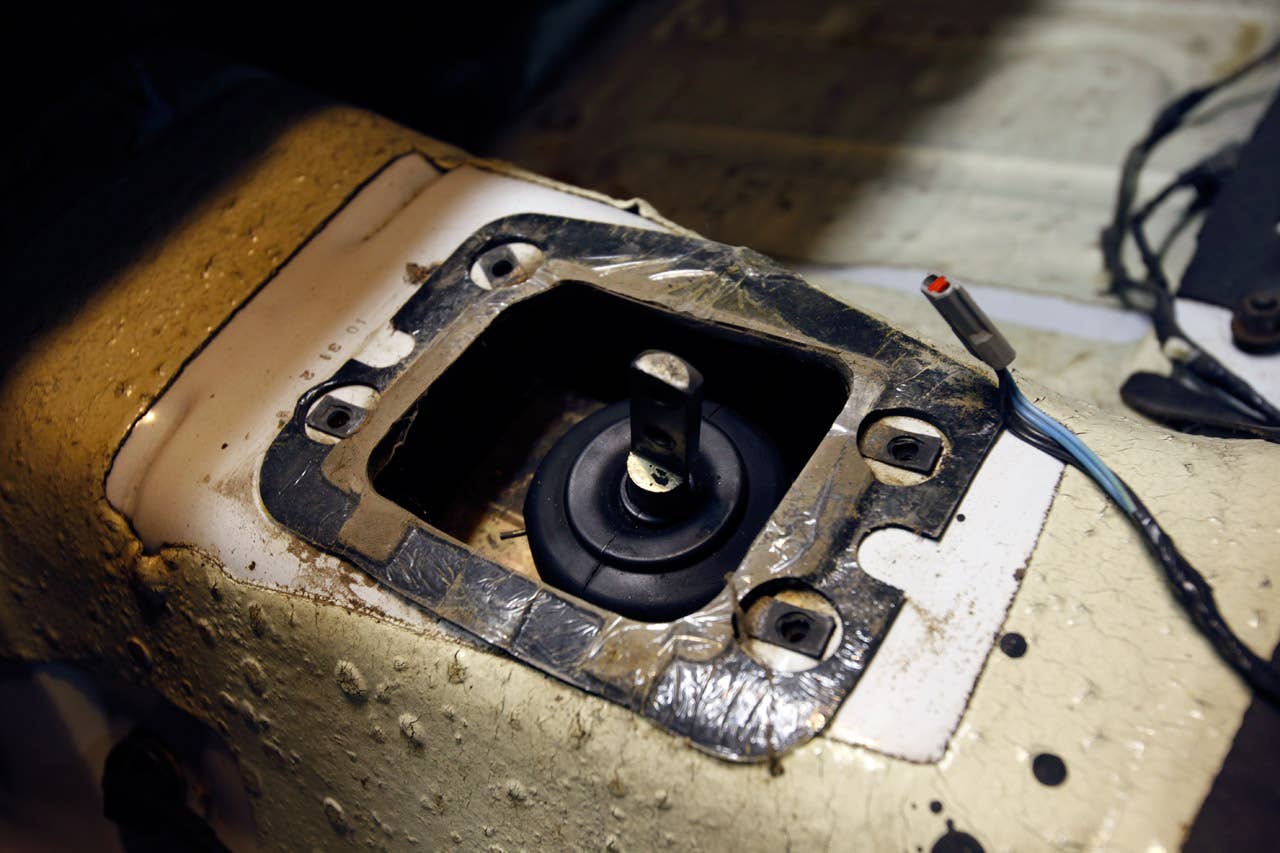
Stock shift mechanism

Hurst Cue Ball

Project ugly horse Cabin
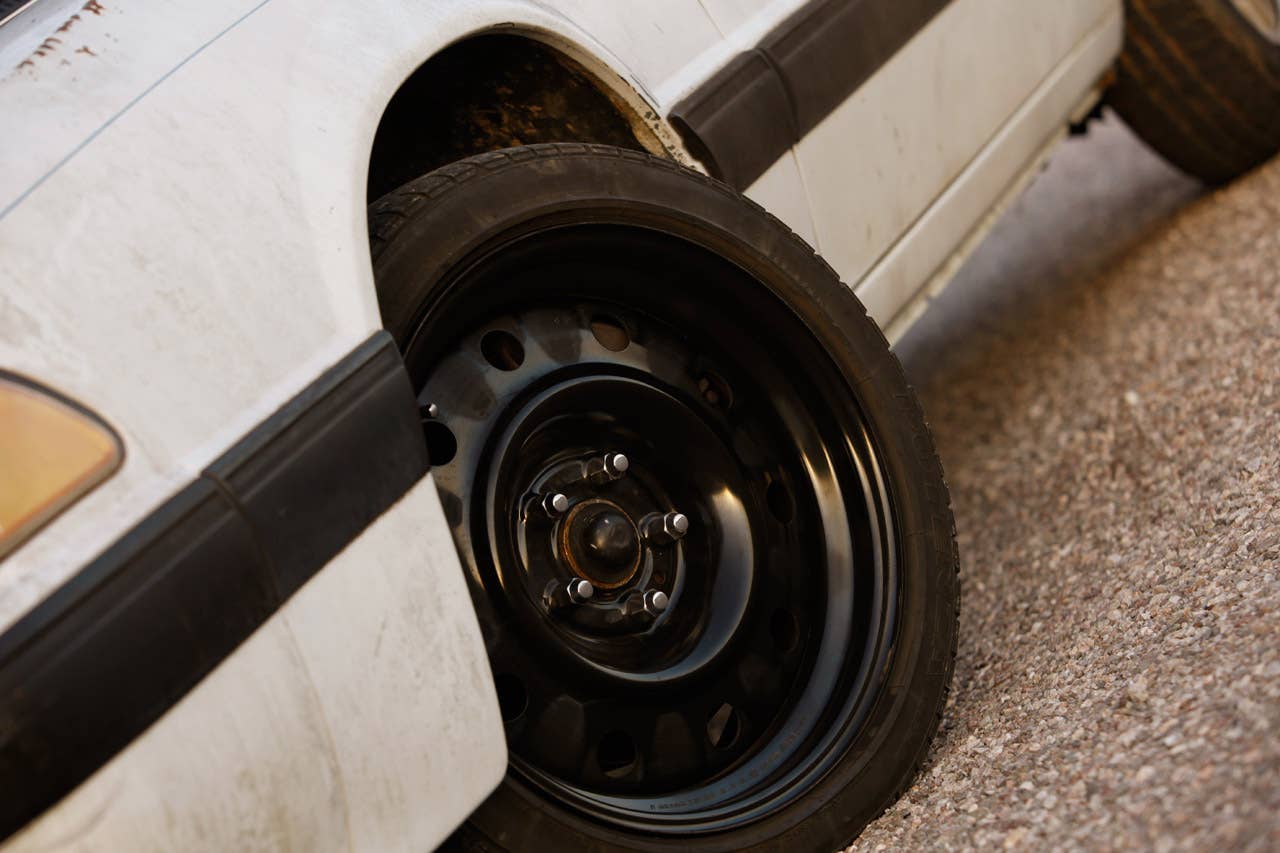
Fox Body five-lug conversion with Chrysler 300 wheels
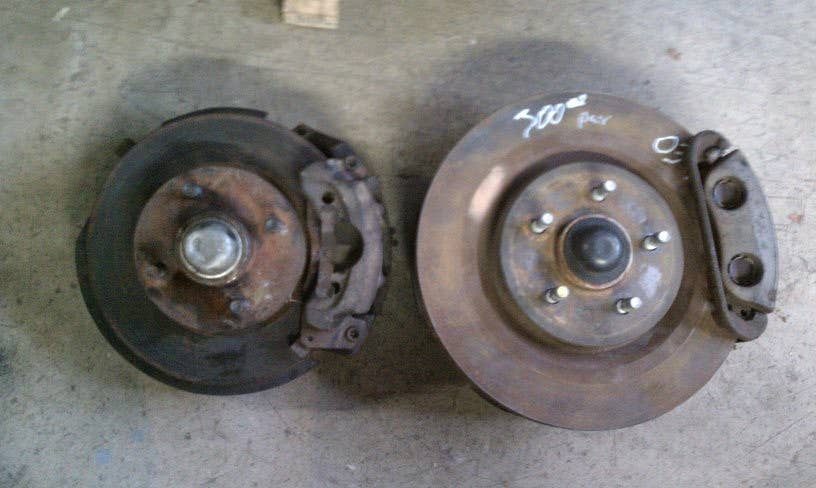
Factory 1989 Mustang brakes (left) with 2003 Mustang Mach I brakes (right)

Original 1989 Mustang brakes
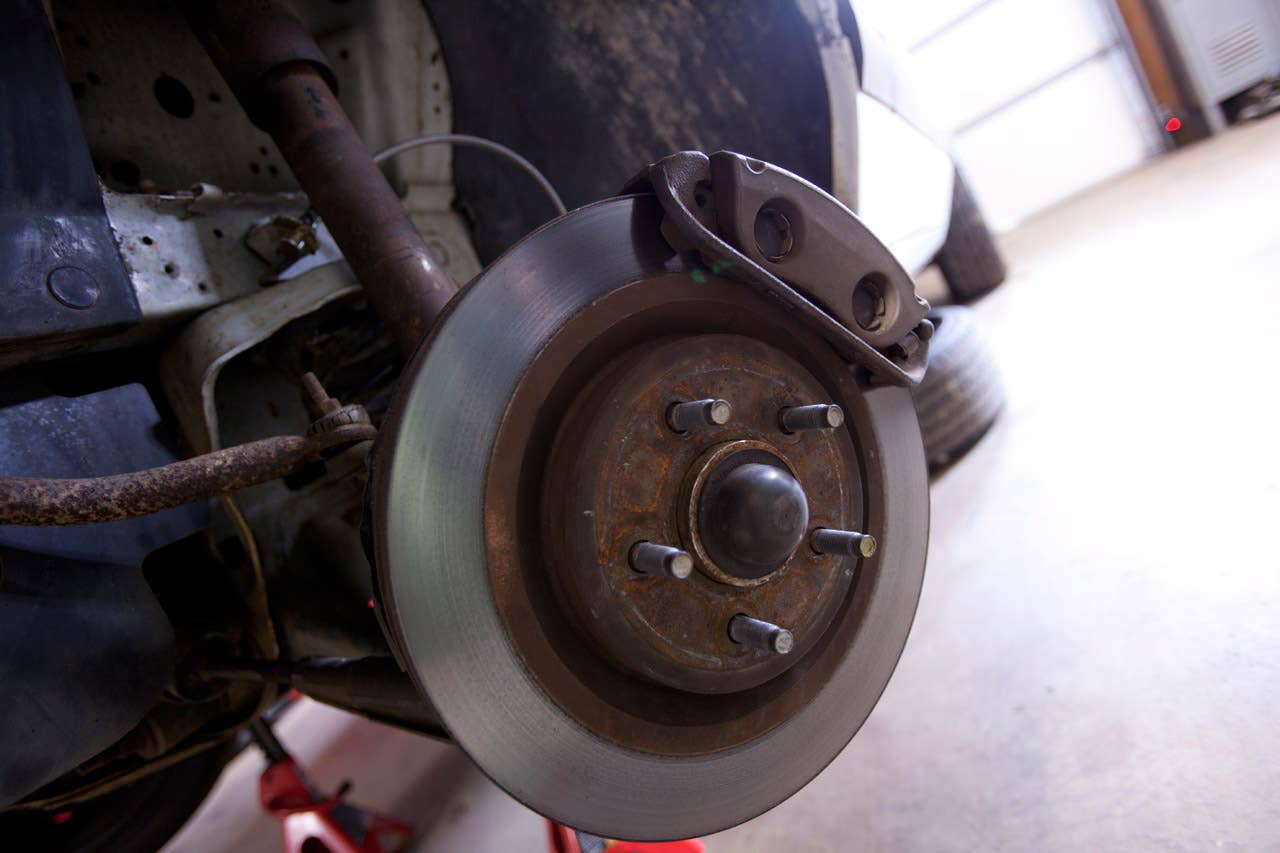
2003 Ford Mustang Mach I brakes installed on a Fox Body Mustang
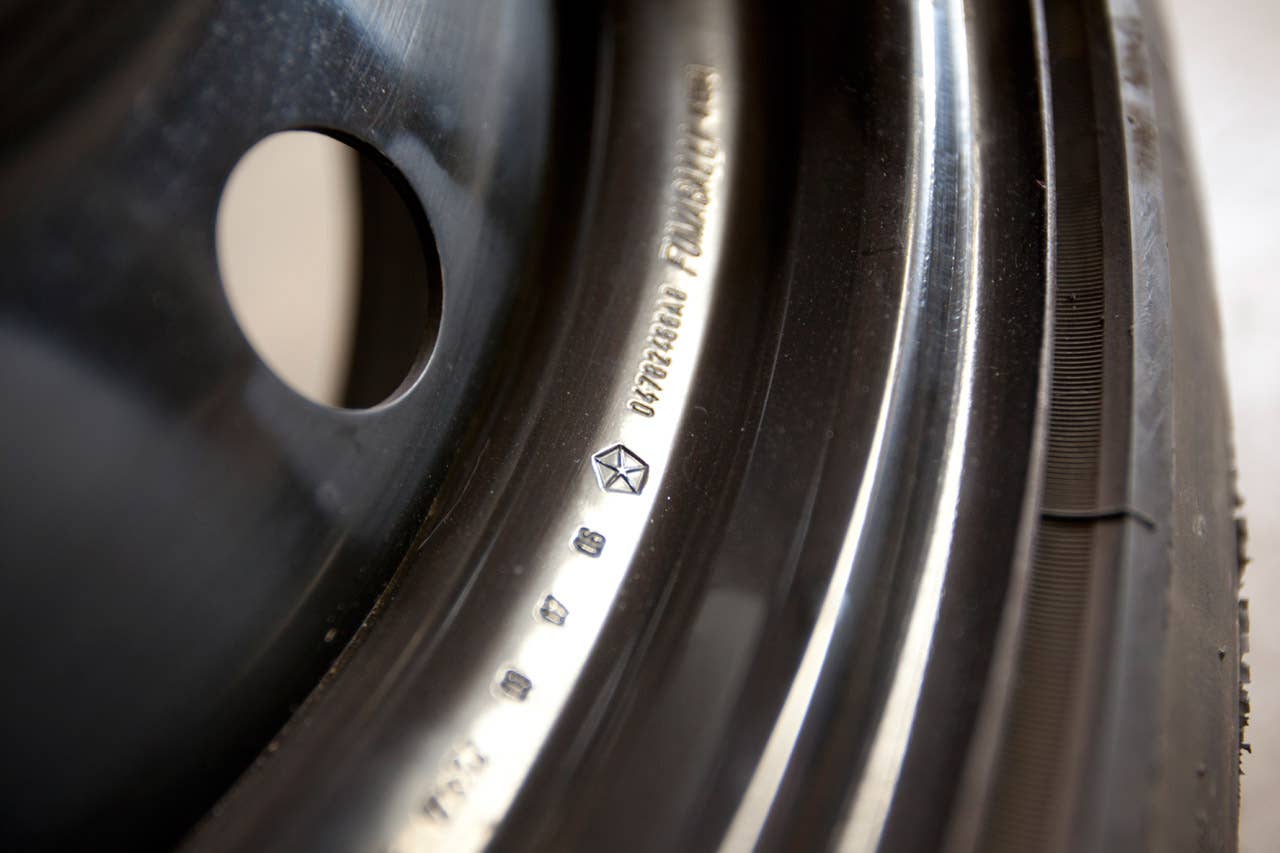
Chrysler 300 steelies
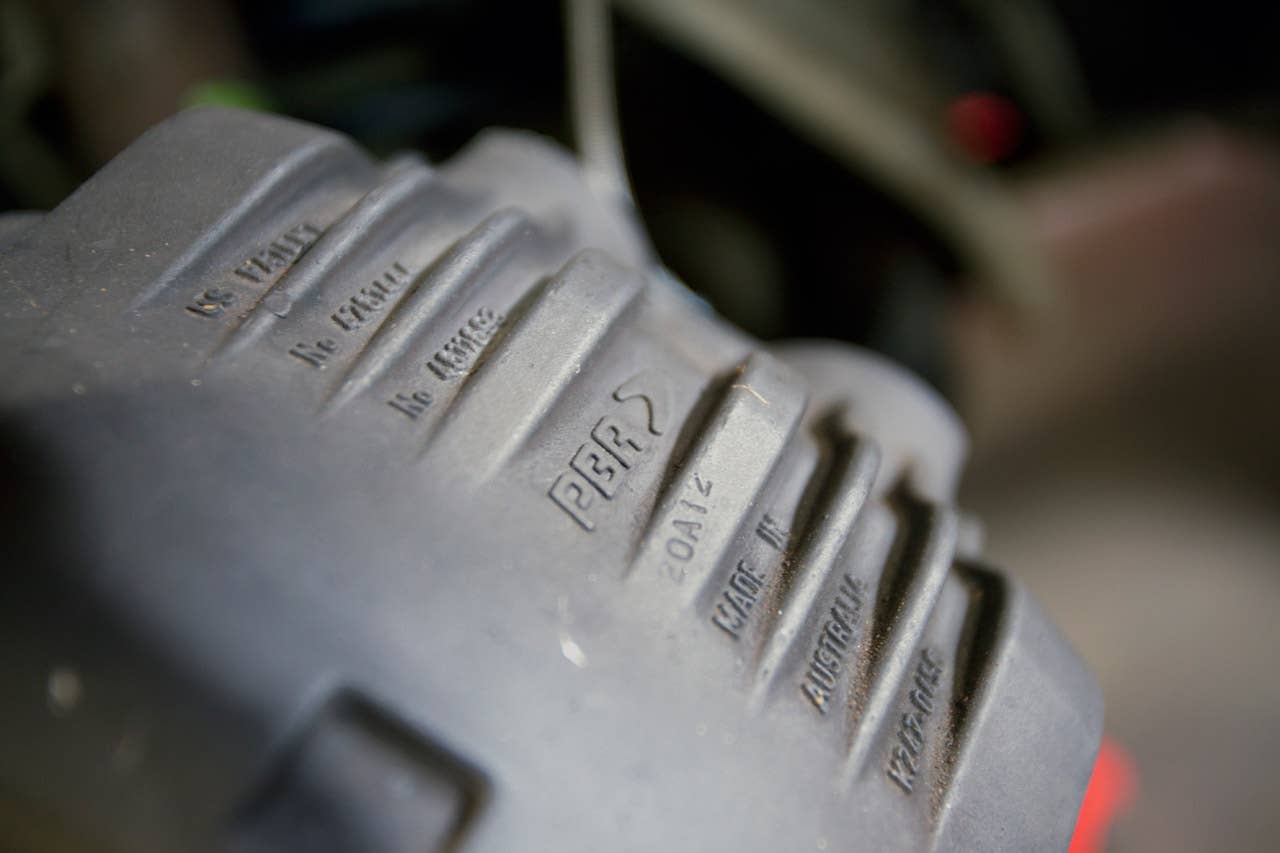
PBR Dual-piston calipers

Braided stainless steel brake line
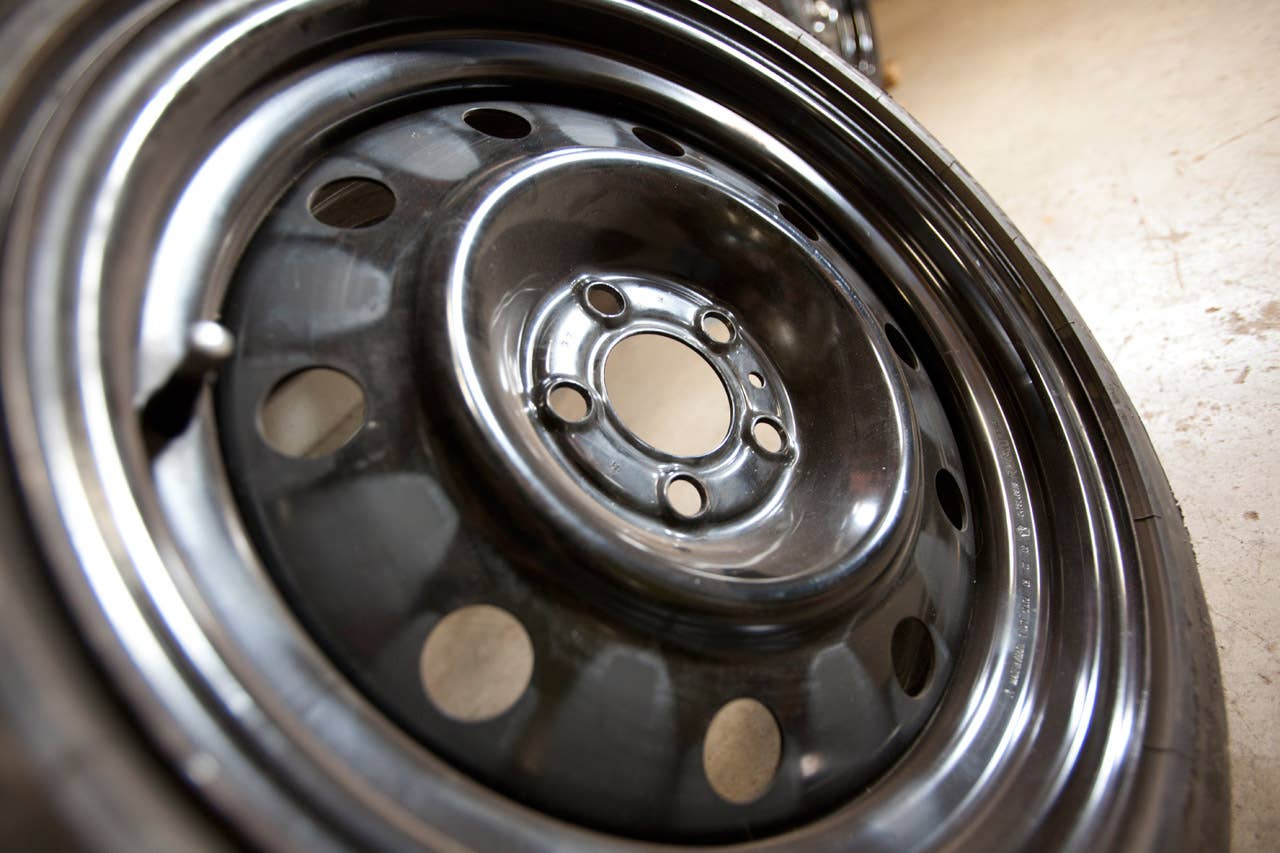
Chrysler 300 Steelies

Project Ugly Horse on the road

Independent Rear Suspension into a Foxbody Mustang

2004 Ford Mustang Cobra IRS

2004 Ford Mustang Cobra IRS into a 1989 Ford Mustang
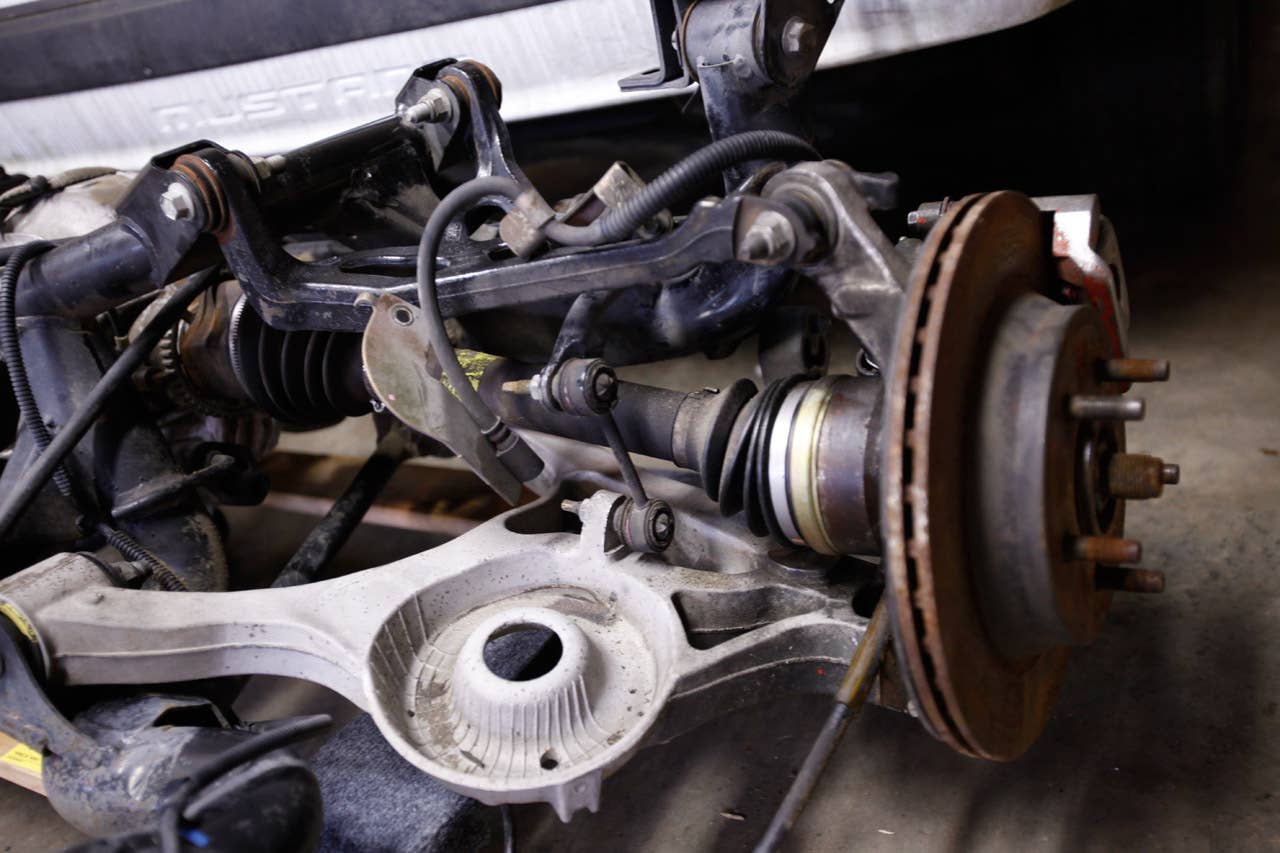
2004 Ford Mustang Cobra IRS detail
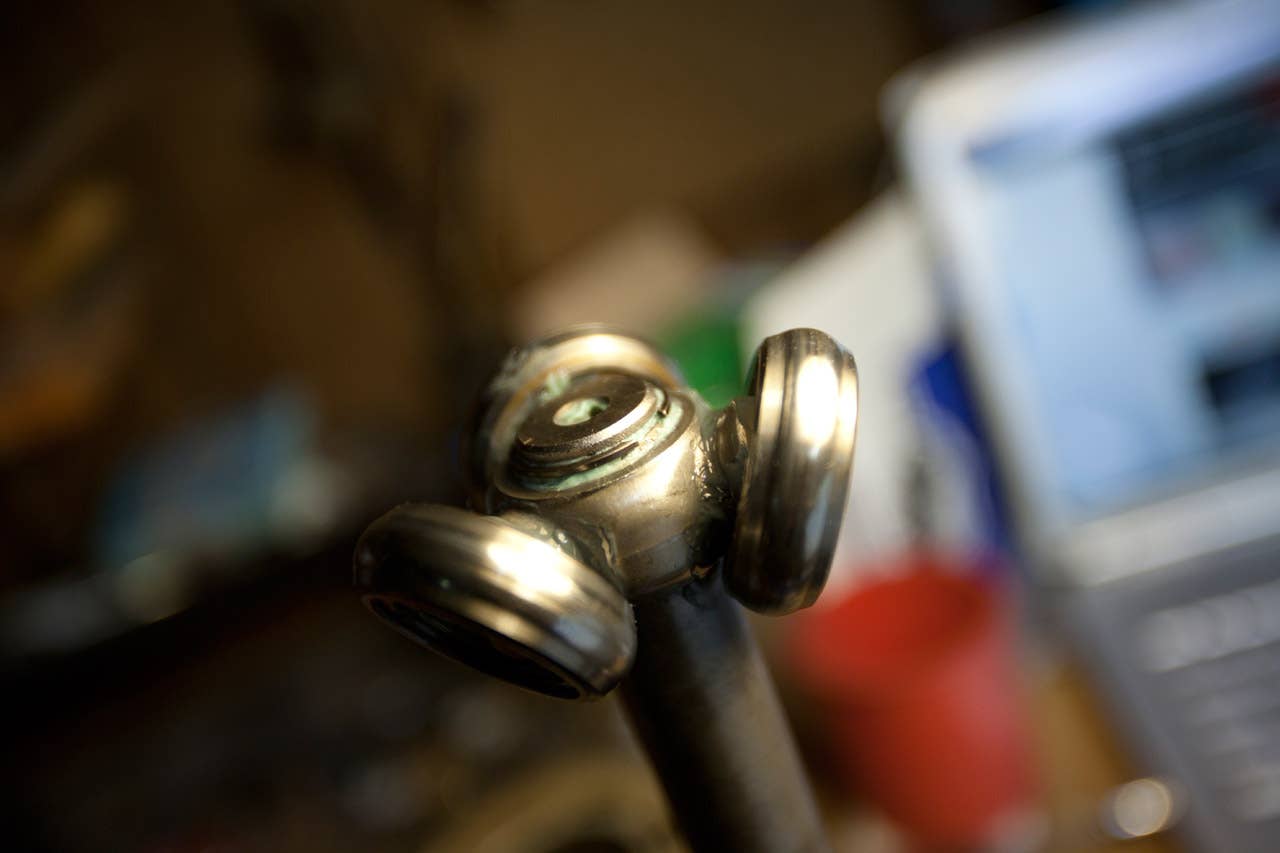
Ford Mustang Cobra Axle dissassembly

Ford Mustang Cobra Axle dissassembly

Ford Mustang Cobra Axle dissassembly

Ford Mustang Cobra Axle dissassembly
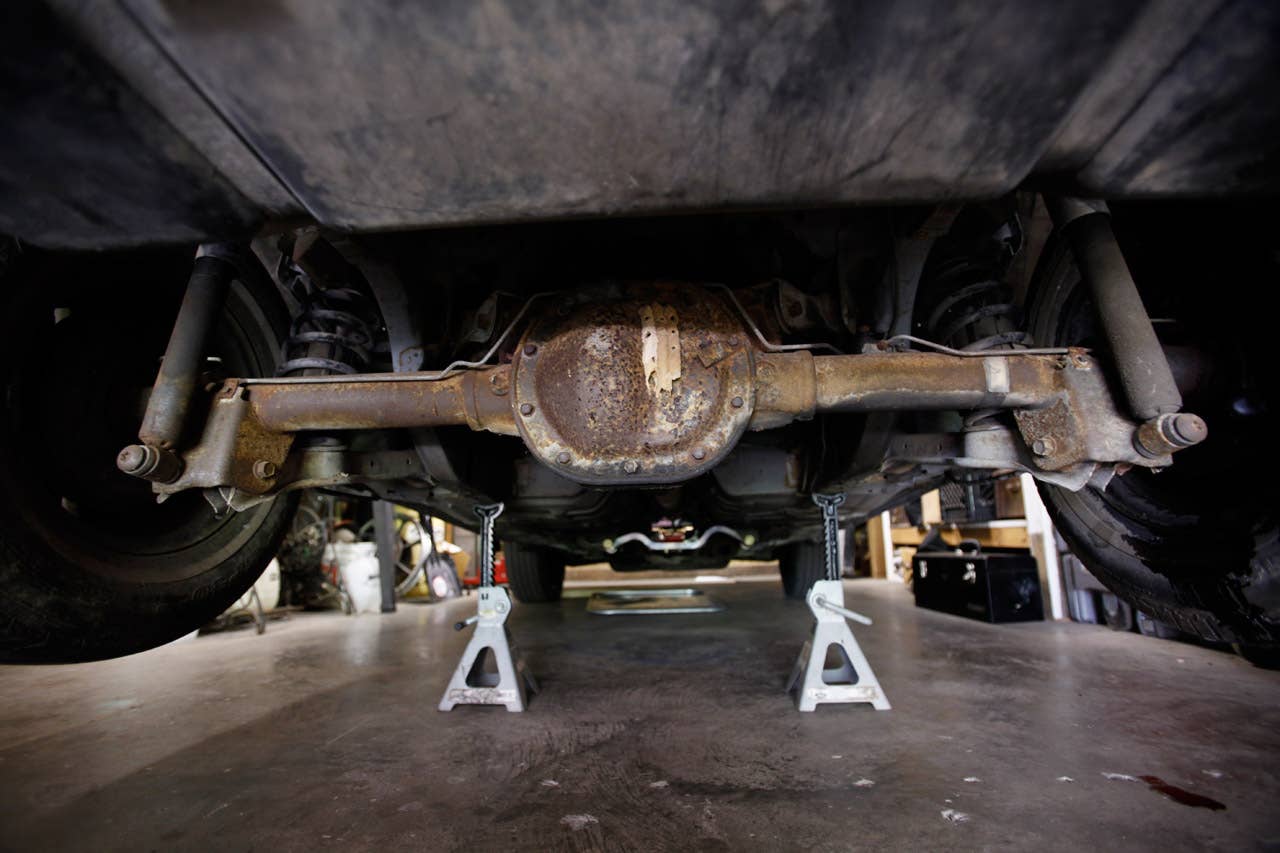
1989 Ford Mustang 7.8 Solid Axle
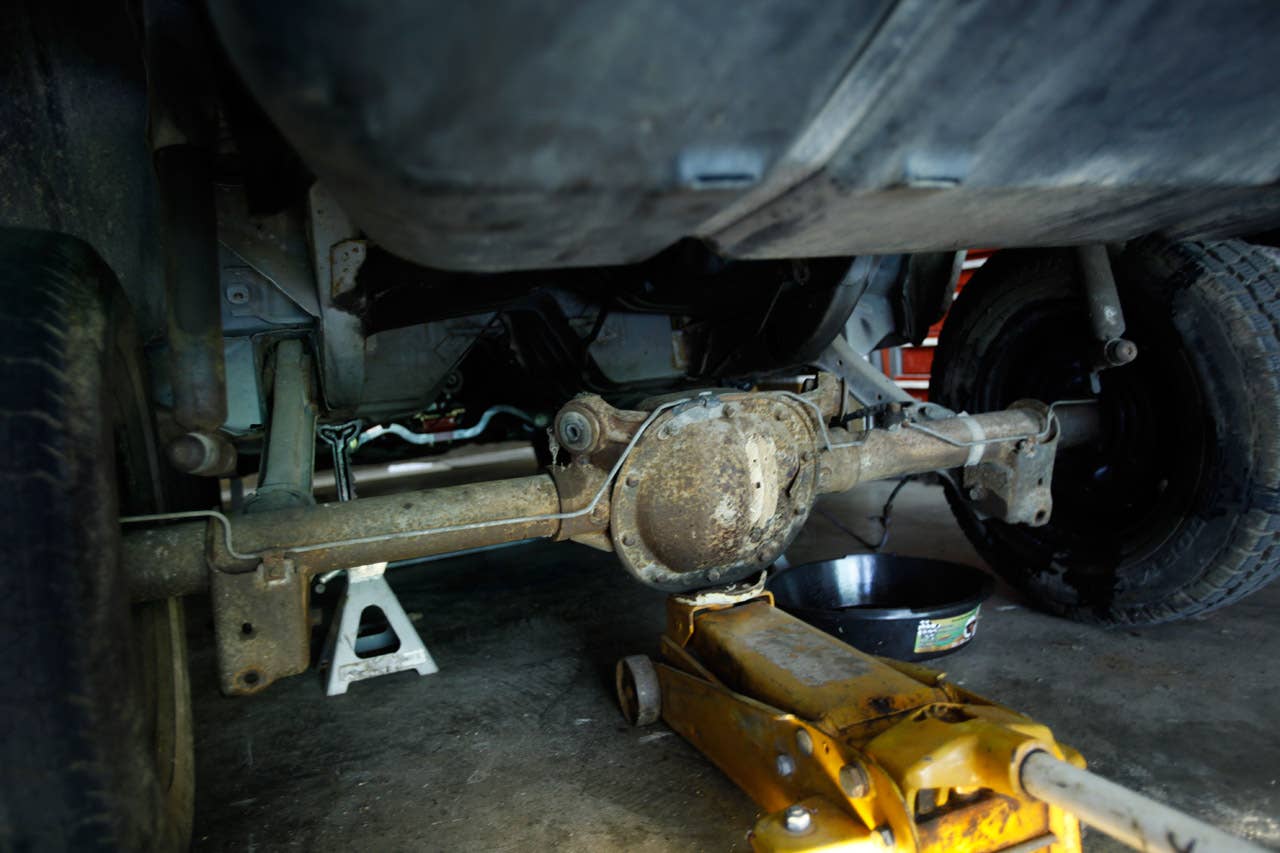
Removing Ford Mustang 7.8 Solid Axle
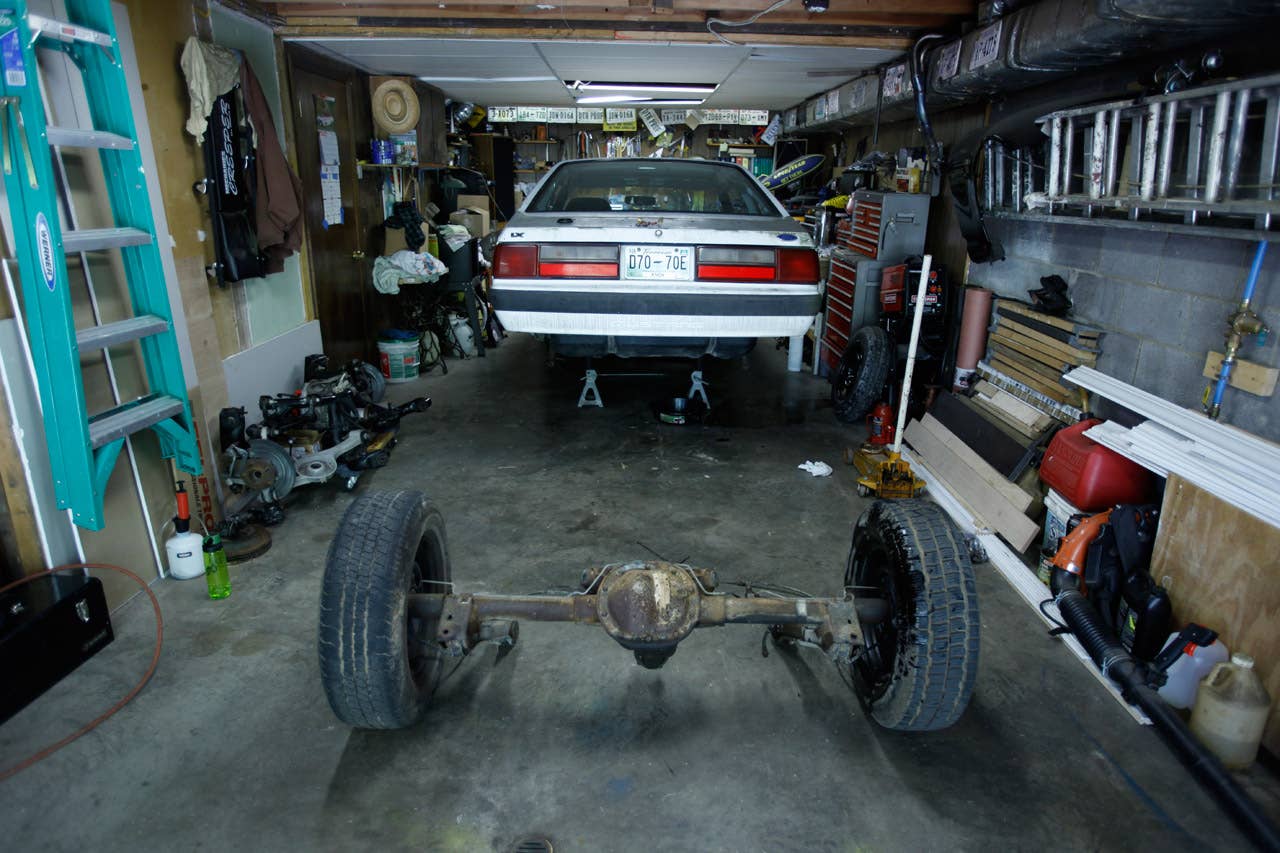
7.8 Solid Axle removed

2004 Ford Mustang Cobra IRS under a Foxbody Mustang

Trimmed inner fender

Marked bracket location

Installed Cobra IRS bracket

Cobra IRS installed in a Foxbody Mustang

New toys

Freeloading brackets

Removing spot welds

Removing spot welds

Routed hard brake lines
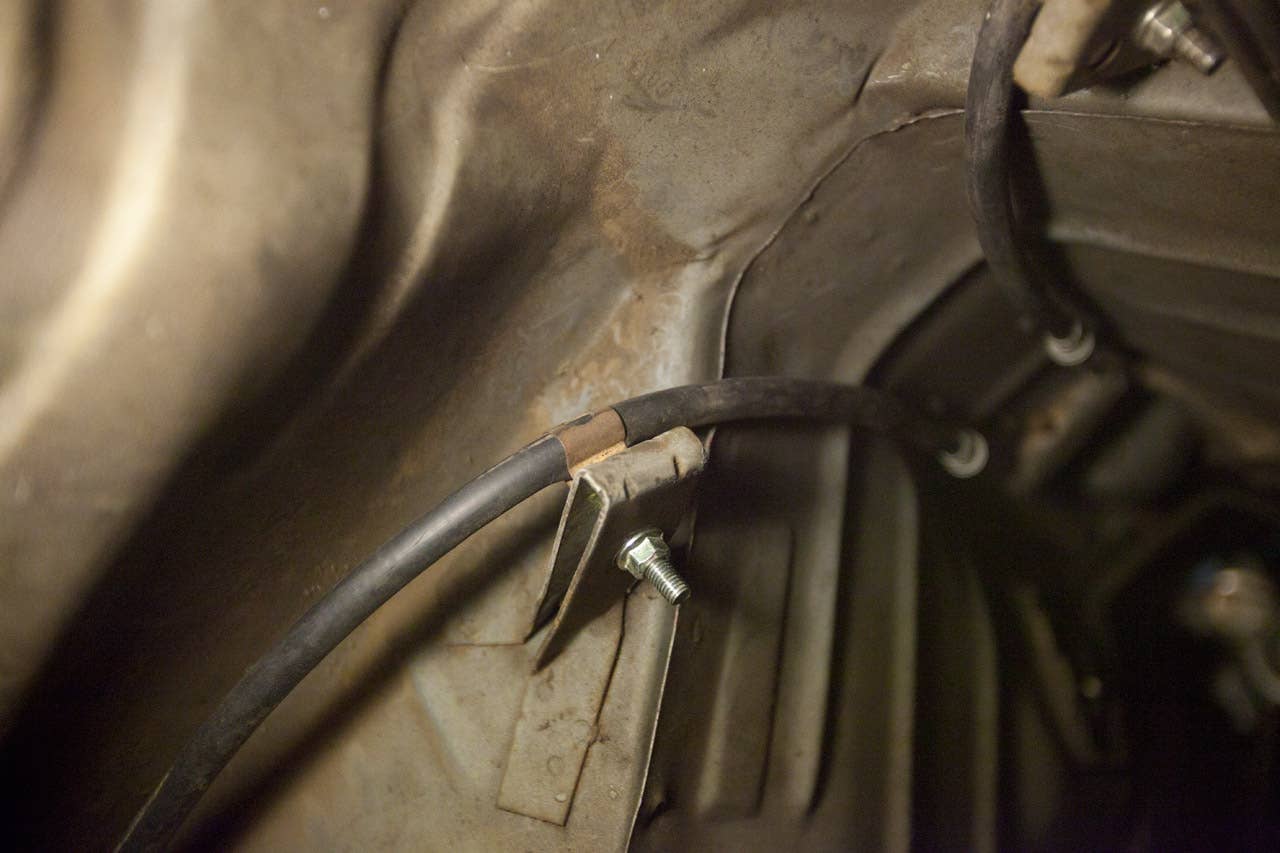
Independent rear suspension emergency brake cables in place
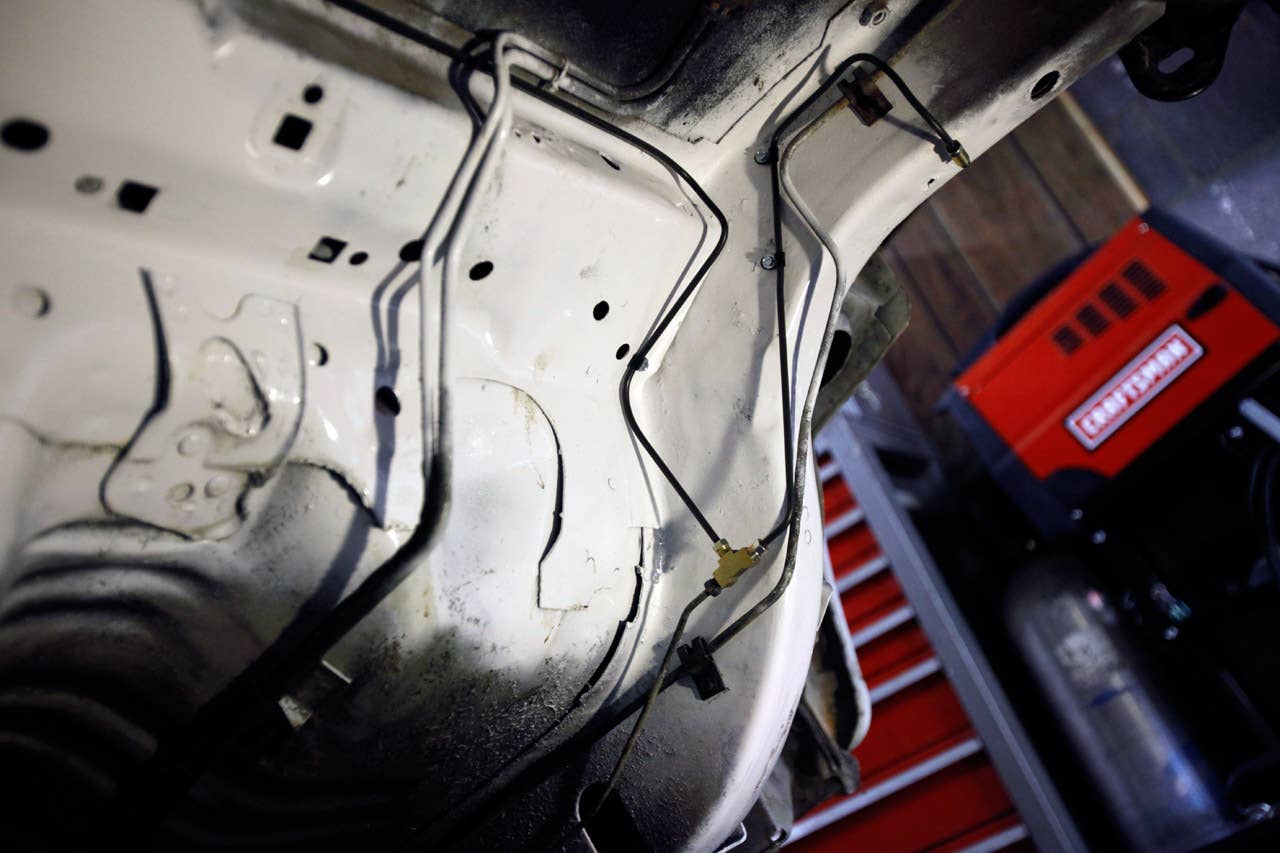
Brass T-Junction

Rear braided stainless brake hoses

Original driveshaft vs Ford Racing driveshaft

Installing the Ford Racing aluminum driveshaft

Companion Flanges. Left to right: GT, LX, Cobra

Companion flanges. Left to right: GT, LX, Cobra.
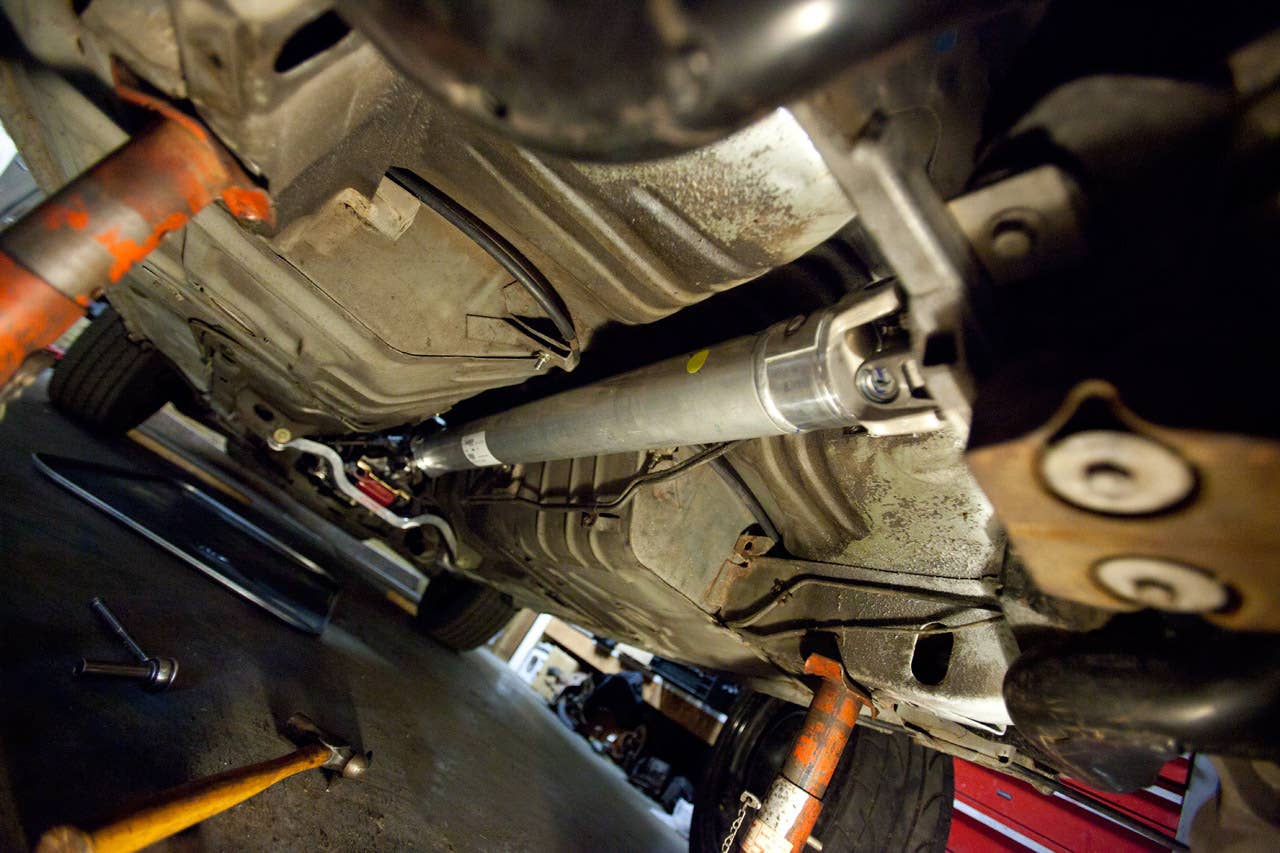
Complete installed driveline
Now With More Manual Transmission
Trust me when I say there is no more detestable a sensation than being slowly overrun by cold tranny fluid.
This isn’t my first rodeo. I have, in the past, pulled any number of transmissions, both automatic and manual, and no matter how many times I do the deed, I’m always astounded at the staggering preponderance of fluid a slusher can stash away in its unknown voids. I started the madness of converting this 1989 Ford Mustang from a four-speed automatic to a five-speed manual by dropping the pan on the old gearbox and letting the super-fried automatic transmission fluid bleed out into a drain pan.
Pulling the old box out of the car was as simple as keeping everything supported while I removed the driveshaft, unbolted the bellhousing from the engine block and sent the one crossmember that supported the transmission packing. But wrestling the contraption from under the car unleashed a small lake of brackish ATF that threatened to flash flood the basement. Trust me when I say there is no more detestable a sensation than being slowly overrun by cold tranny fluid. Please hold your “that’s what she said” jokes until the conclusion of our program.
The T5 manual transmission had come back from the shop with all of its questionable internals sorted for a reasonable price, but I was still in need of a proper bellhousing. Whereas the ’87 Thunderbird rolled from the factory with a nice squishy hydraulic clutch, the Mustang made due with a cable set up. Thanks to an alignment of the crappy car heavens, a cable bellhousing showed up on Craigslist for the paltry fee of $20. After a fun conversation with a gentleman who informed me he was quitting his job to “get into the gun business,” I had what I thought was the last bit I needed to sew the machine together. A little time with a wire wheel on the air grinder resulted in a gussied up case and a bellhousing to match. I shot the whole shindig with clear engine enamel to keep the assembly from going cruddy again anytime soon.
I sourced an el cheapo clutch to use for the time being, and had a friend machine the flywheel from the turbo 2.3 for a grand total of $100. From there, nothing was left to do but hitch up my britches for the swap with me thinking I had all my rubber duckies in a row. After I cleaned up the toxic lake of goo that poured from the old automatic, dropping the flywheel in was as simple as unbolting the old flex plate and placing the flywheel in its place with ARP hardware.
In this case, assuming makes me the ass with no way to support the transmission he just spent two hours wrestling into place.
Time for me to let you in on one of the secrets of playing around with old Ford four-cylinders: As it turns out, there’s massive parts support for the engines and an equivalent base of knowledge thanks to the fact that circle track racers have been abusing the 2.3 for generations. As a result, picking up go-quicker bits for even the naturally aspirated four-pot is as simple as running down to your local speed shop. While I had anticipated a week of infuriated searching for the flywheel hardware, I had ARP fasteners in my hand for $8 after one phone call – a pleasant change from the infuriating parts hunt I’m familiar with from the International.
With the clutch and flywheel snugged into their new homes, getting the gearbox to mate up to the 2.3 was just a matter of wrestling it under the car, onto the transmission jack and into place, except I had neglected one very important piece of this puzzle: the crossmember. I was under the impression the T5 would get along just rosy with the piece that supported the old automatic, but in this case, assuming makes me the ass with no way to support the transmission he just spent two hours wrestling into place. I came up with a somewhat questionable temporary support comprised of a piece of oak flooring and a pair of valiant screwdrivers, while I tracked down the component I need.
As it turned out, sourcing a manual transmission crossmember for a foxbody was no cheap exercise, so rather than deal with the roached bushings of a used piece, I tracked down a polyurethane mount and handsome adjustable aluminum crossmember to fill in the blank spaces. Despite the chunky nature of both bits, the pieces weigh about what the old stamped steel and rubber hardware did, plus, the new parts look like a piece of modern art lurking around under the otherwise decrepit Mustang. Who doesn’t like a good Easter egg every now and again?
The stock mounting brackets required a bit of fudging to accommodate my larger hardware, but otherwise, the install went in as smooth as could be. I dropped in a salvaged driveshaft from a V8 car for the time being and turned my attention toward actually getting the gearbox to work in its new home. Stay tuned for swapping pedal boxes, installing the clutch cable and a fancy new shifter.