
Featured Gallery

Welding in Maximum Motorsports subframe connectors. Or getting crushed to death. One of the two.

Maximum Motorsports subframe connectors
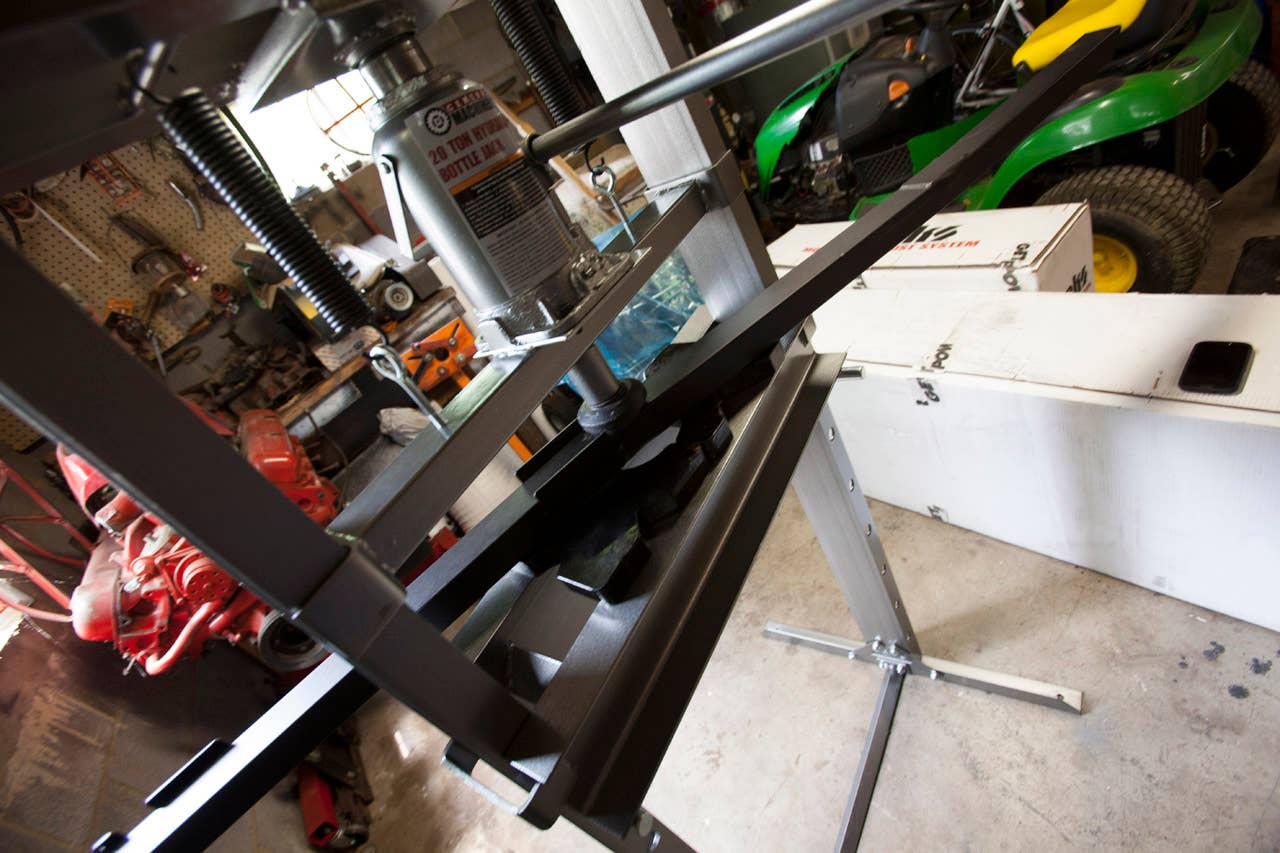
Bending Maximum Motorsports subframe connectors to cope with a bent floor pan.

Preparing the factory frame rail for welding.

Weld-through primer.
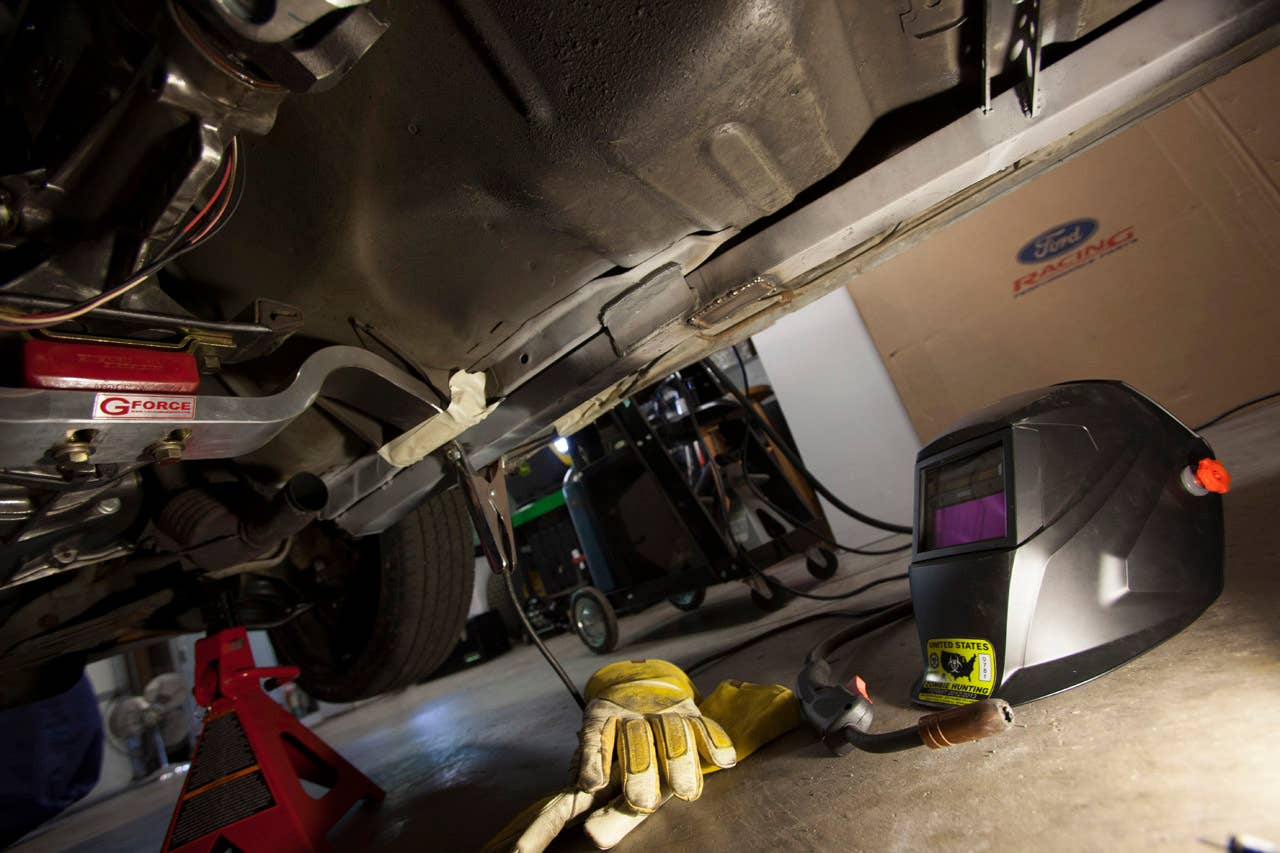
Partially installed Maximum Motorsports subframe connector.

Hard lines protected with heat wrap.

Installing Maximum Motorsports

Welding in Maximum Motorsports subframe connectors.

Maximum Motorsports subframe connectors installed.

Insert Tabs A-Z into Slot B. Don’t panic.

Ugly Horse with a Ford EcoBoost 2.0-liter four-cylinder.

Ford EcoBoost 2.0 Mustang
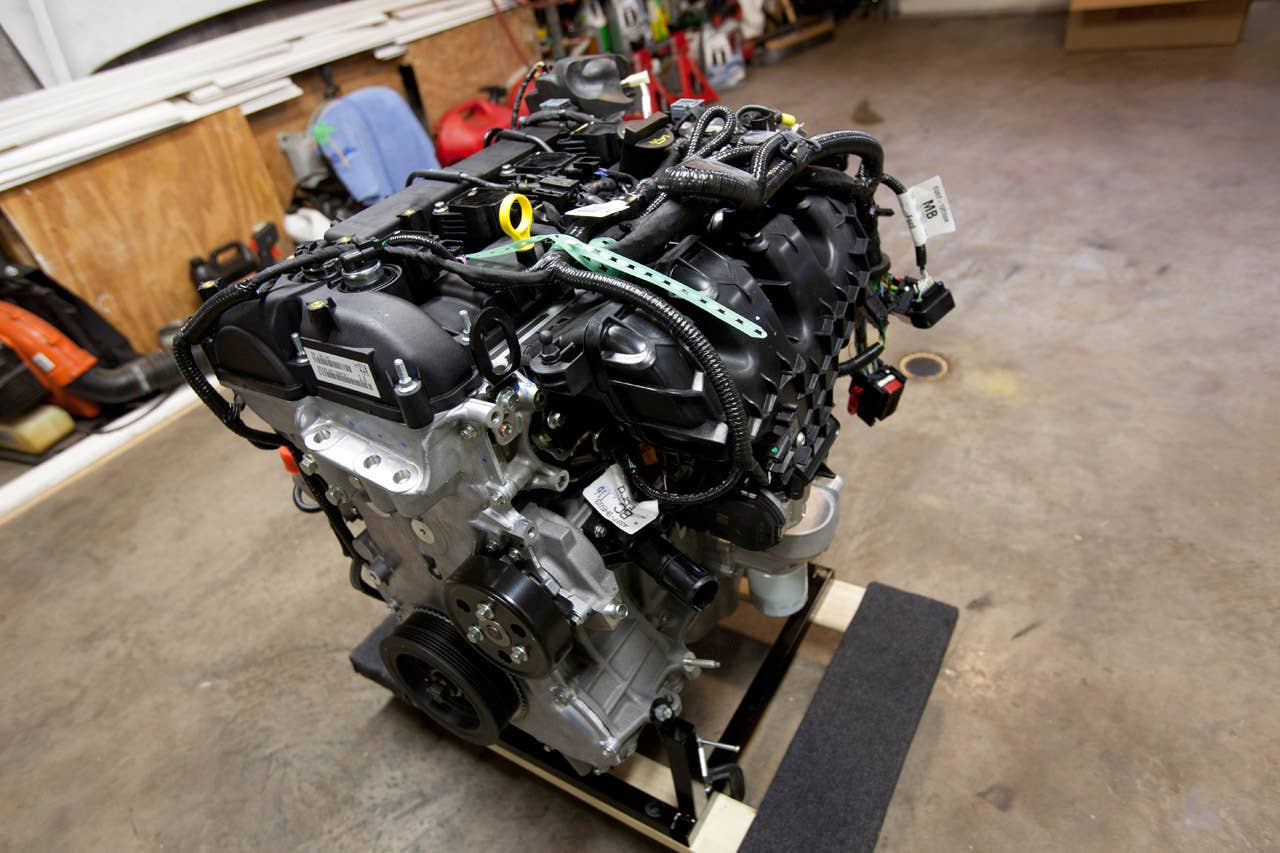
Ford EcoBoost 2.0 Mustang
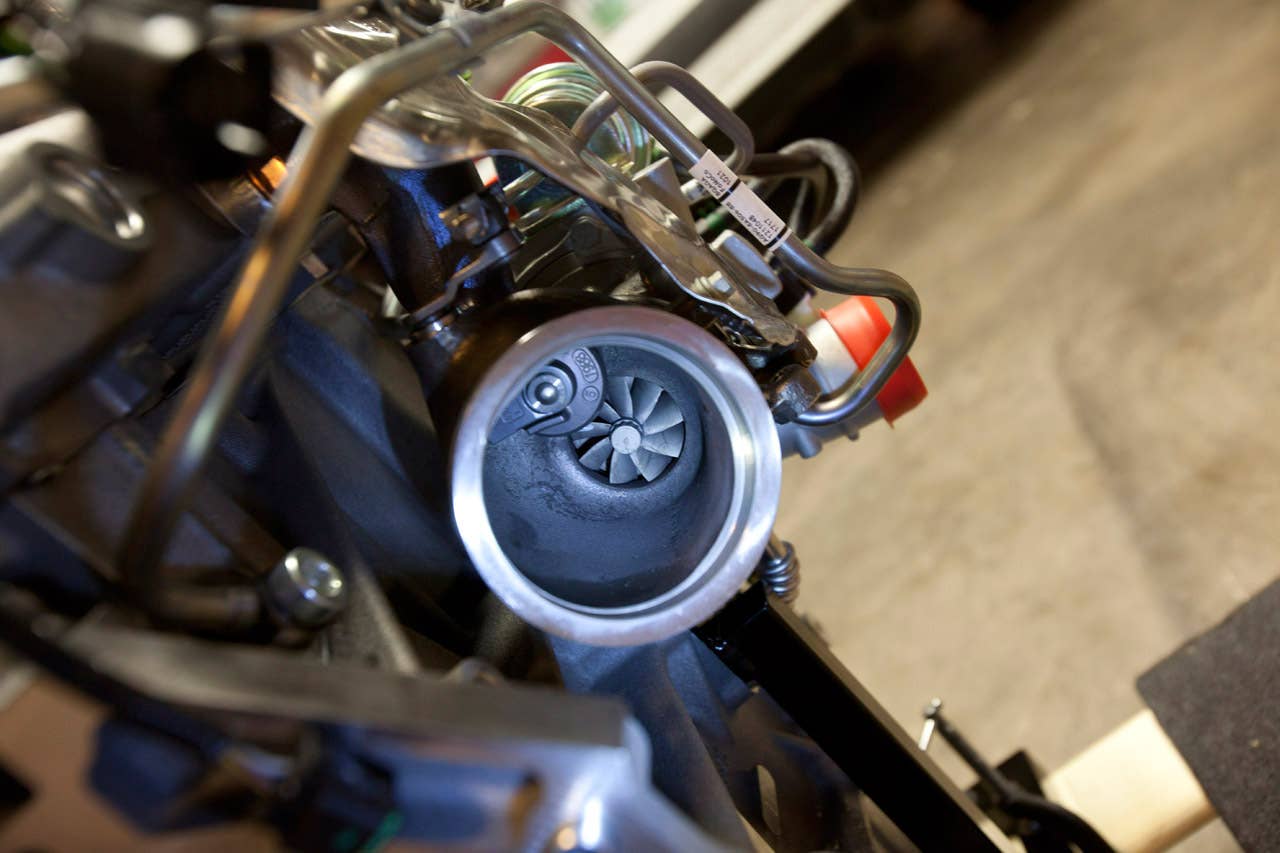
Ford EcoBoost 2.0 Mustang

Ford EcoBoost 2.0 Mustang

It’s like Christmas, but with more internal combustion.

When they say, “crate engine,” they mean it.

Cherry picker at work.


Project Ugly Horse: 1989 Ford Mustang LX front 3/4

Project Ugly Horse: 1989 Ford Mustang LX front

Project Ugly Horse: 1989 Ford Mustang LX front 3/4 wide

Project Ugly Horse: 1989 Ford Mustang LX front 3/4 wide

Project Ugly Horse: 1989 Ford Mustang LX side
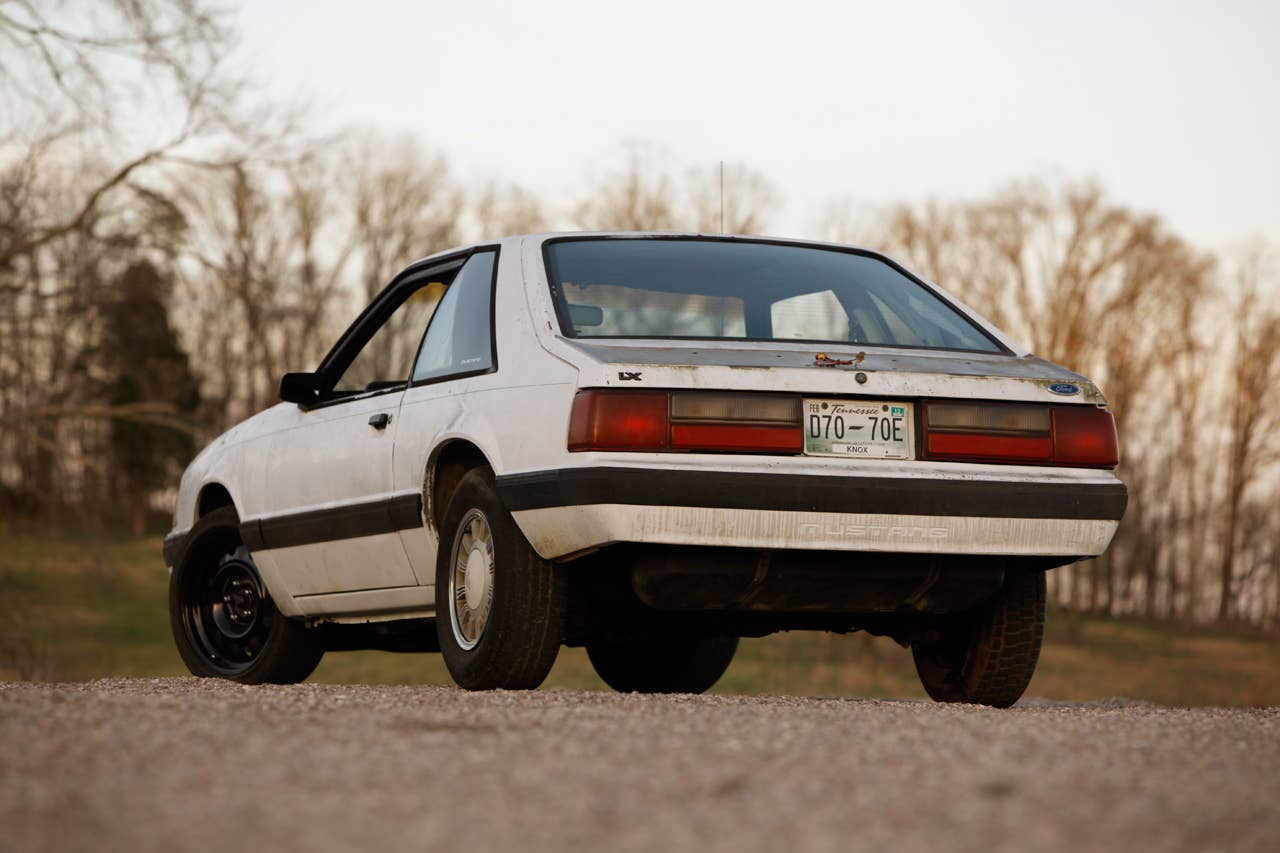
Project Ugly Horse: 1989 Ford Mustang LX rear 3/4

Project Ugly Horse: 1989 Ford Mustang LX rear 3/4
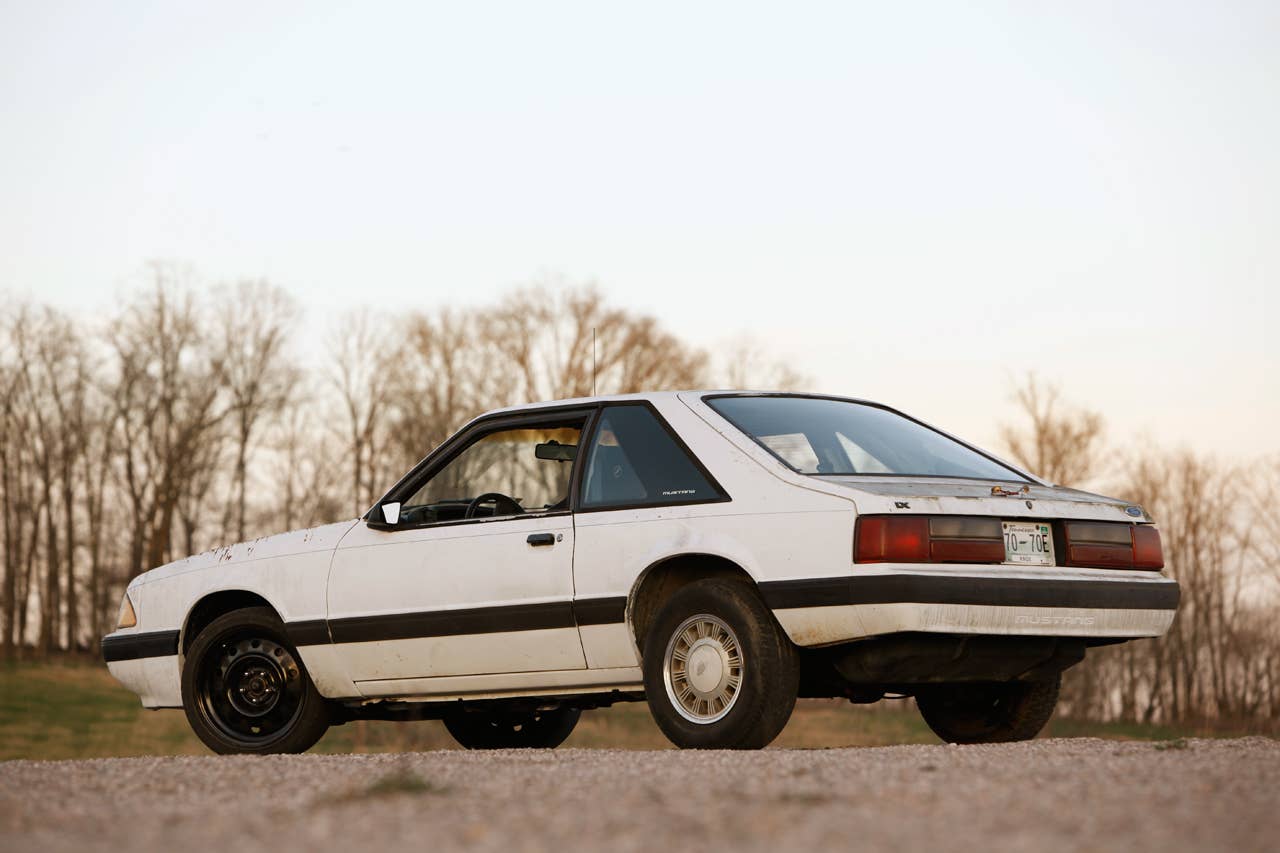
Project Ugly Horse: 1989 Ford Mustang LX rear 3/4 wide

Project Ugly Horse: 1989 Ford Mustang LX rear 3/4 wide

Project Ugly Horse: 1989 Ford Mustang LX rear

Project Ugly Horse: 1989 Ford Mustang LX engine bay

Project Ugly Horse: 1989 Ford Mustang LX with Chrysler steelies

Project Ugly Horse: 1989 Ford Mustang LX

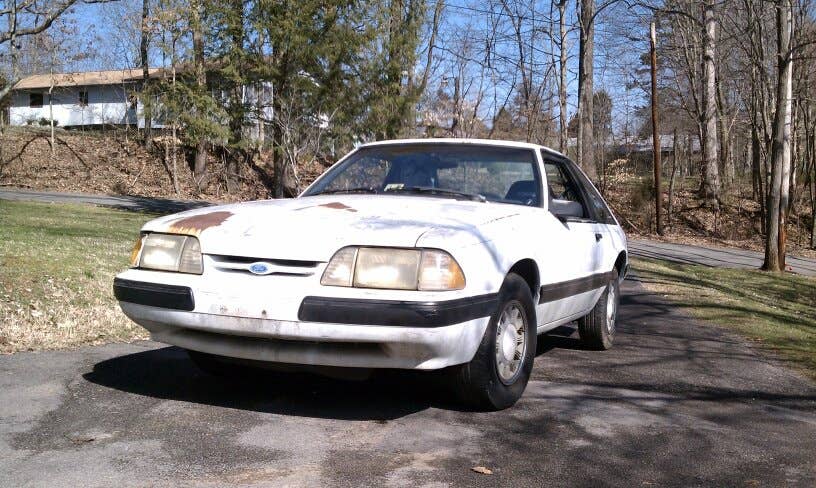
Home at last
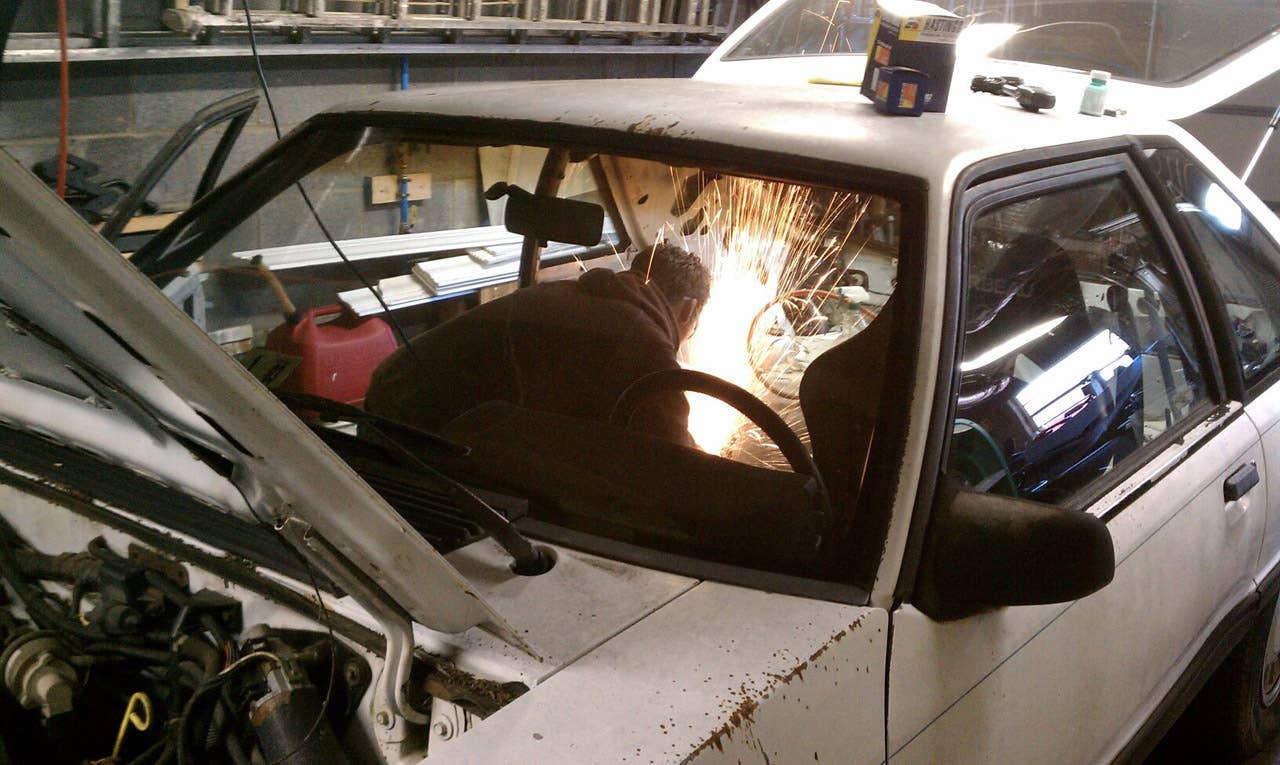
Removing a stubborn seat belt bolt
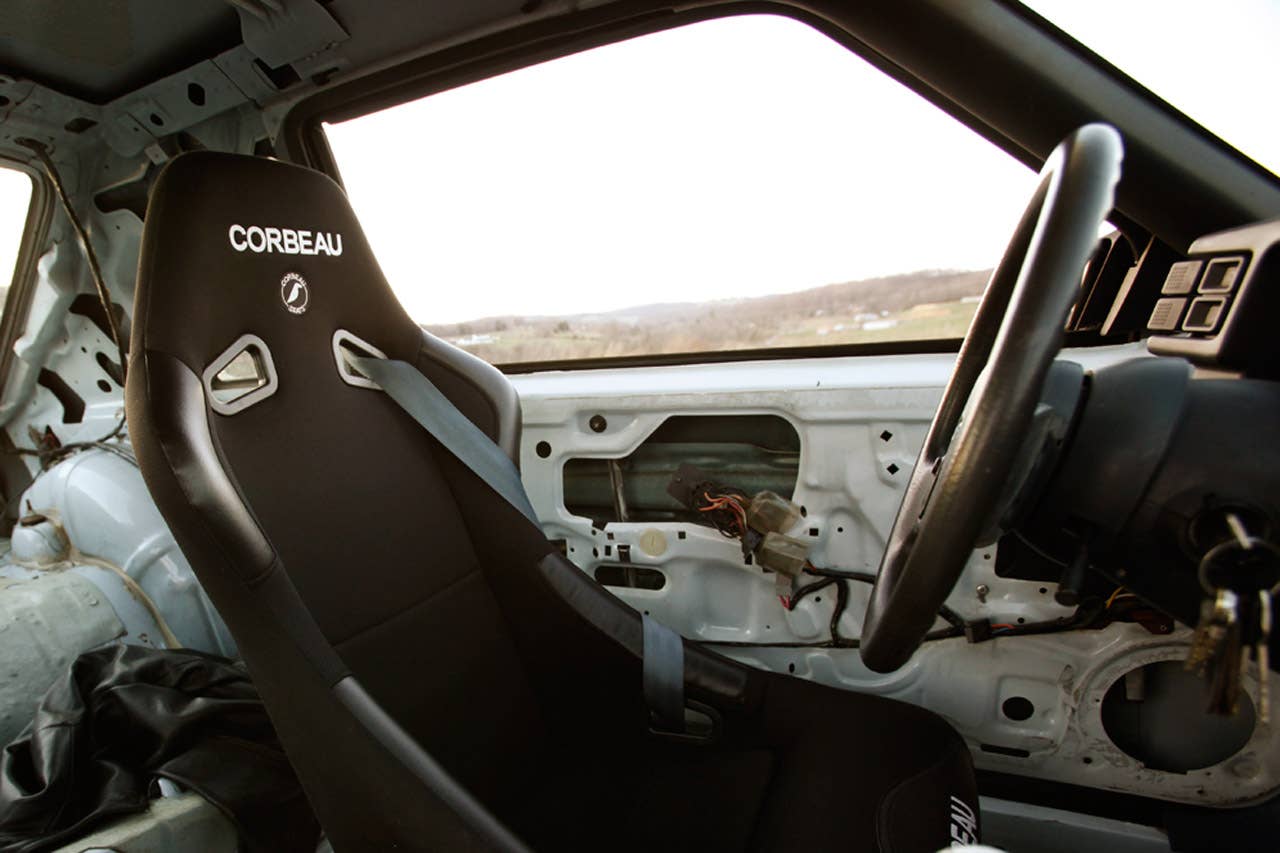
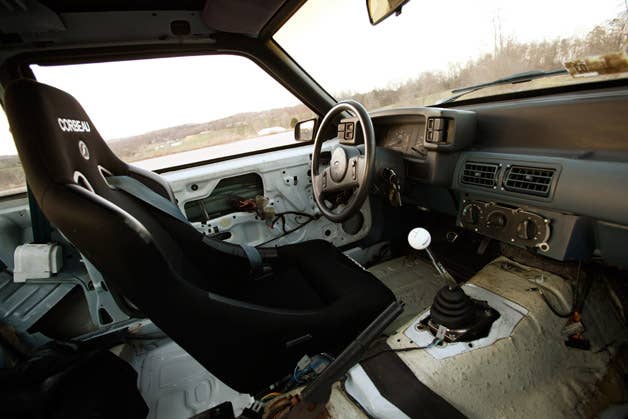
Corbeau Evo driver’s seat

View from the rear hatch

A trail of automatic transmission fluid

Out with the old slush box.

Differences in length: four-speed automatic to five-speed manual.

Gussied up T5 five-speed manual transmission.

New aluminum transmission mount.
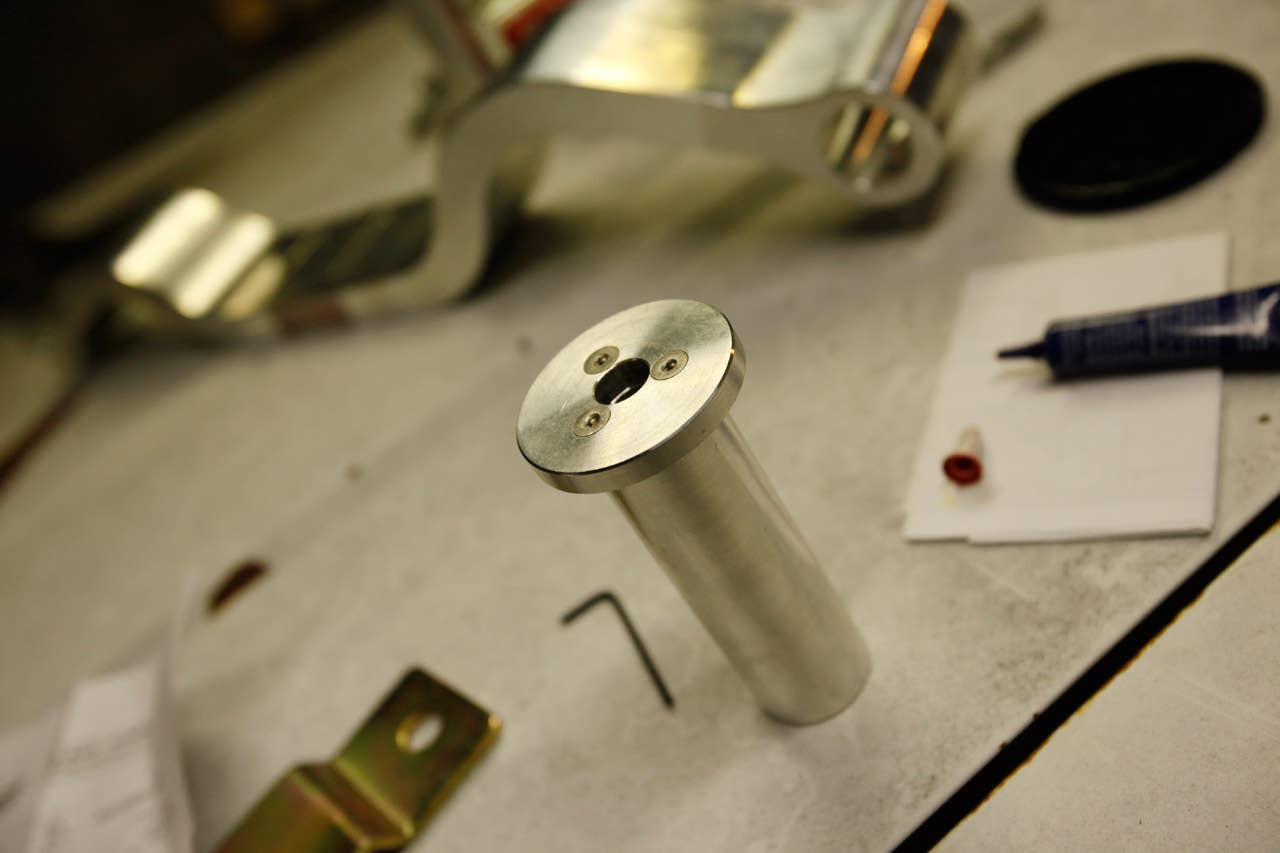
Assembling the end bushing.

This particular piece is adjustable front to rear thanks to a pair of set screws.

Each solid bushing is comprised of two end plates, a center sleeve and six machine screws.

The aluminum crossmember in its fully assembled glory.
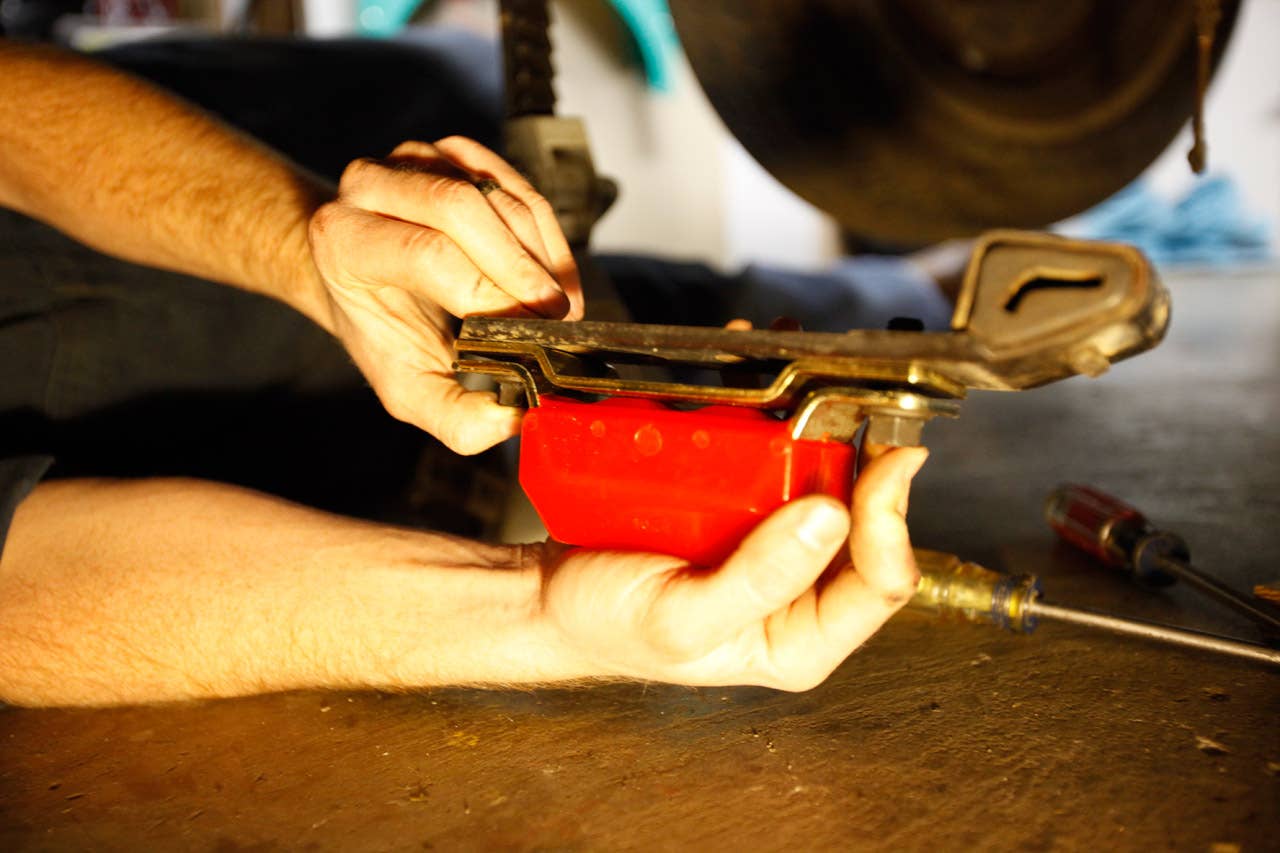
If you want to use the old exhaust hanger, make sure it’s facing the correct direction (passenger side).

Bolting everything in place.

A temporary crossmember solution

Installed.
Project Ugly Horse Cabin

Manual Pedal boxes: with clutch tube (right) without clutch tube (left)

Three pedals

Clutch cable adjustment quadrant

Manual pedal box with clutch tube removed

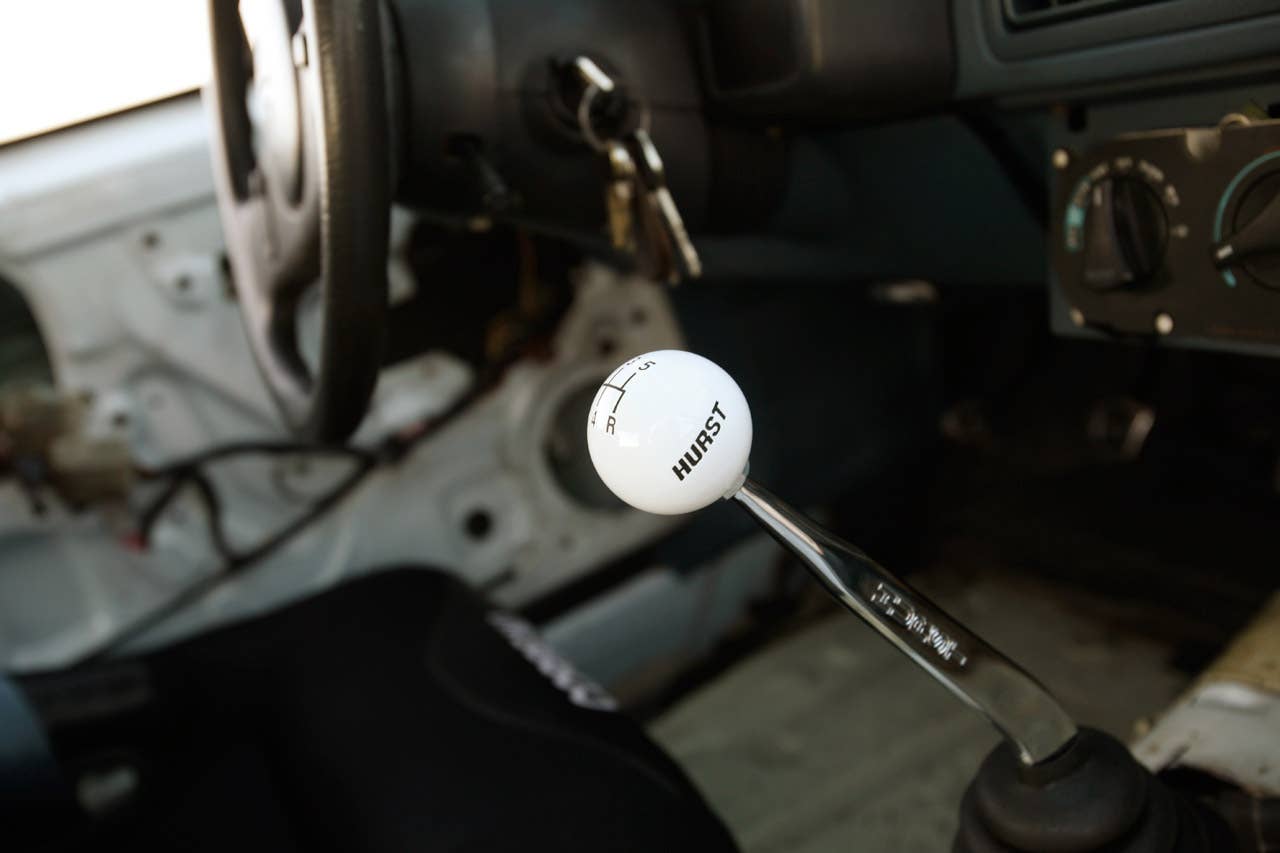
Hurst Billet Plus Shifter

Hurst Cue Ball
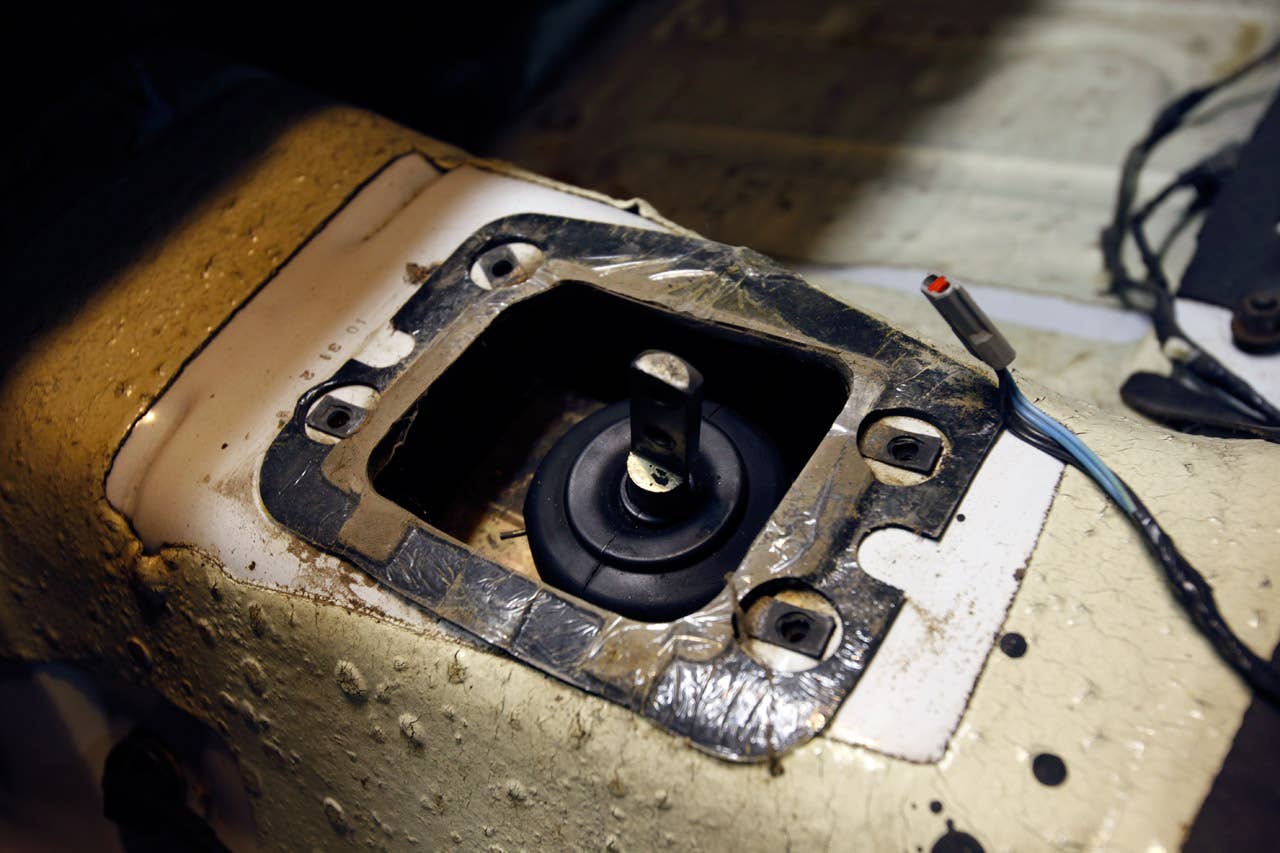
Stock shift mechanism

Hurst Cue Ball

Project ugly horse Cabin
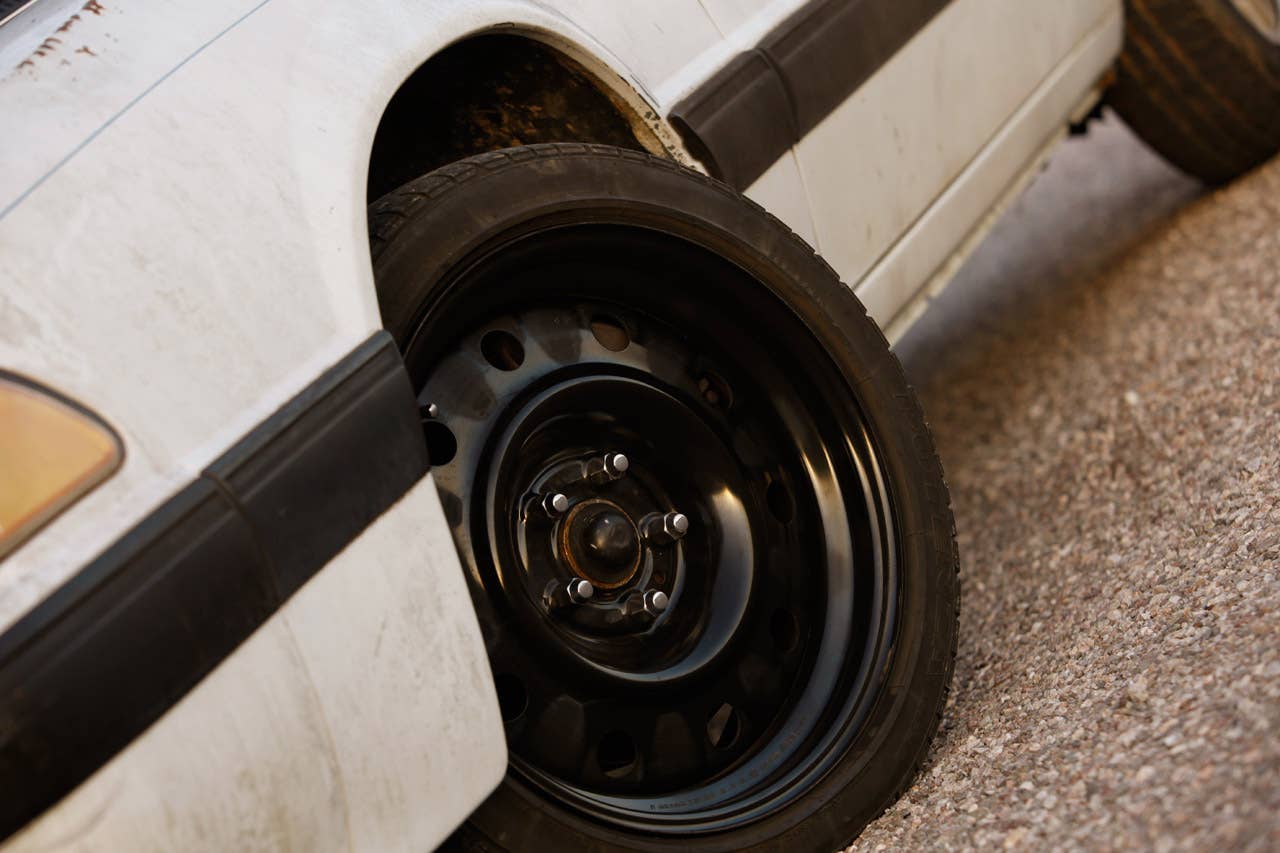
Fox Body five-lug conversion with Chrysler 300 wheels
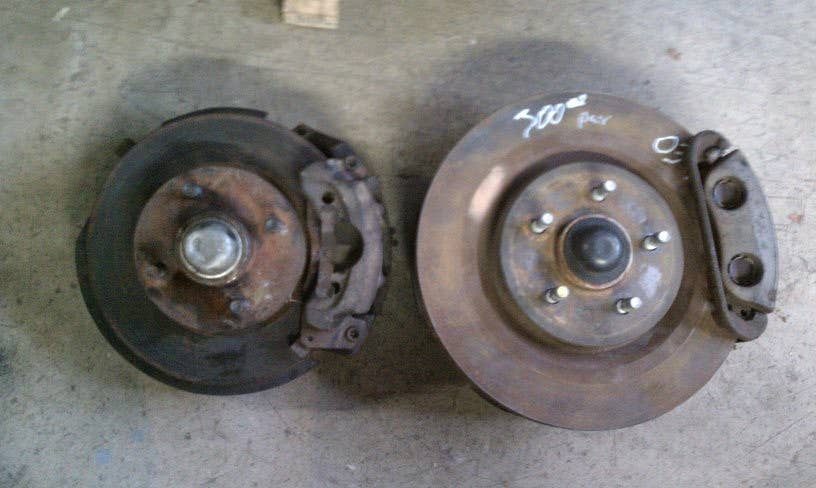
Factory 1989 Mustang brakes (left) with 2003 Mustang Mach I brakes (right)

Original 1989 Mustang brakes
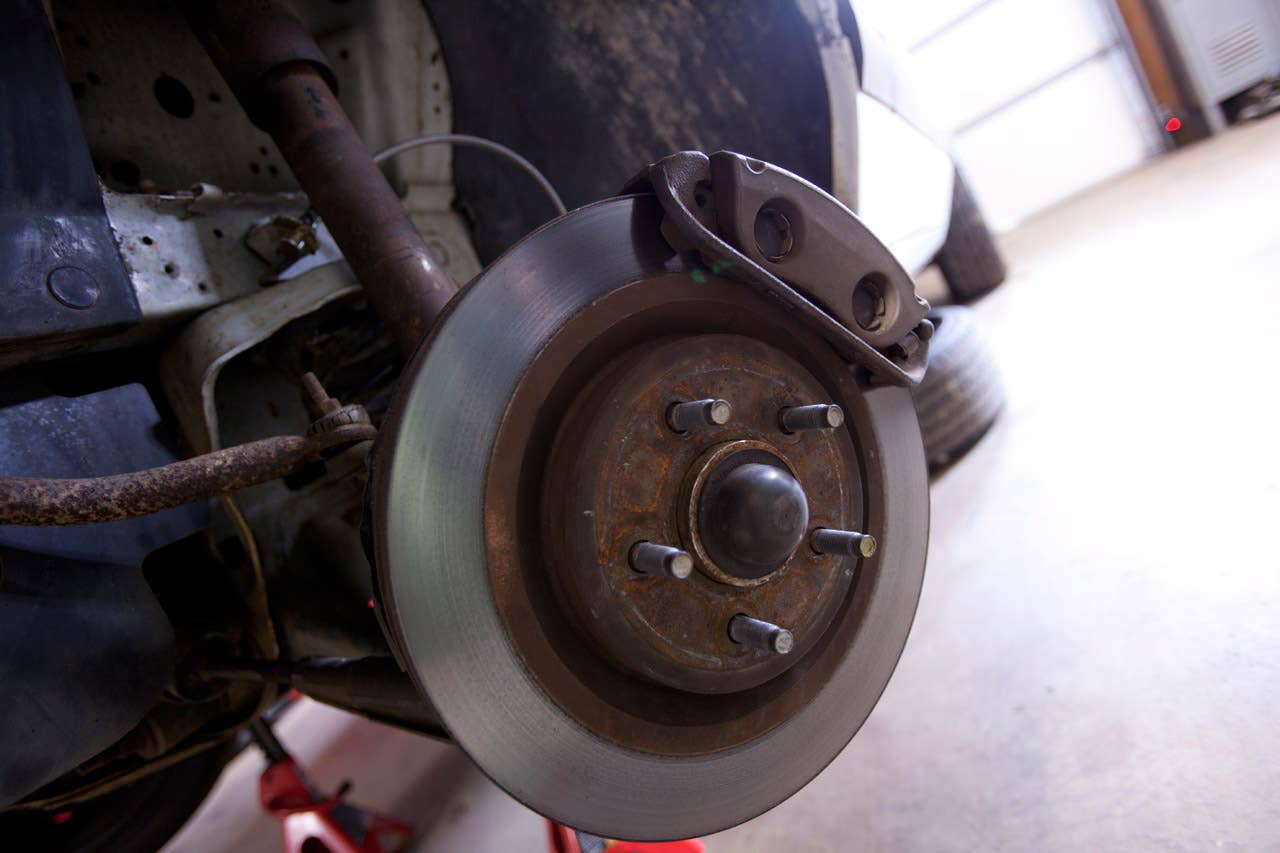
2003 Ford Mustang Mach I brakes installed on a Fox Body Mustang
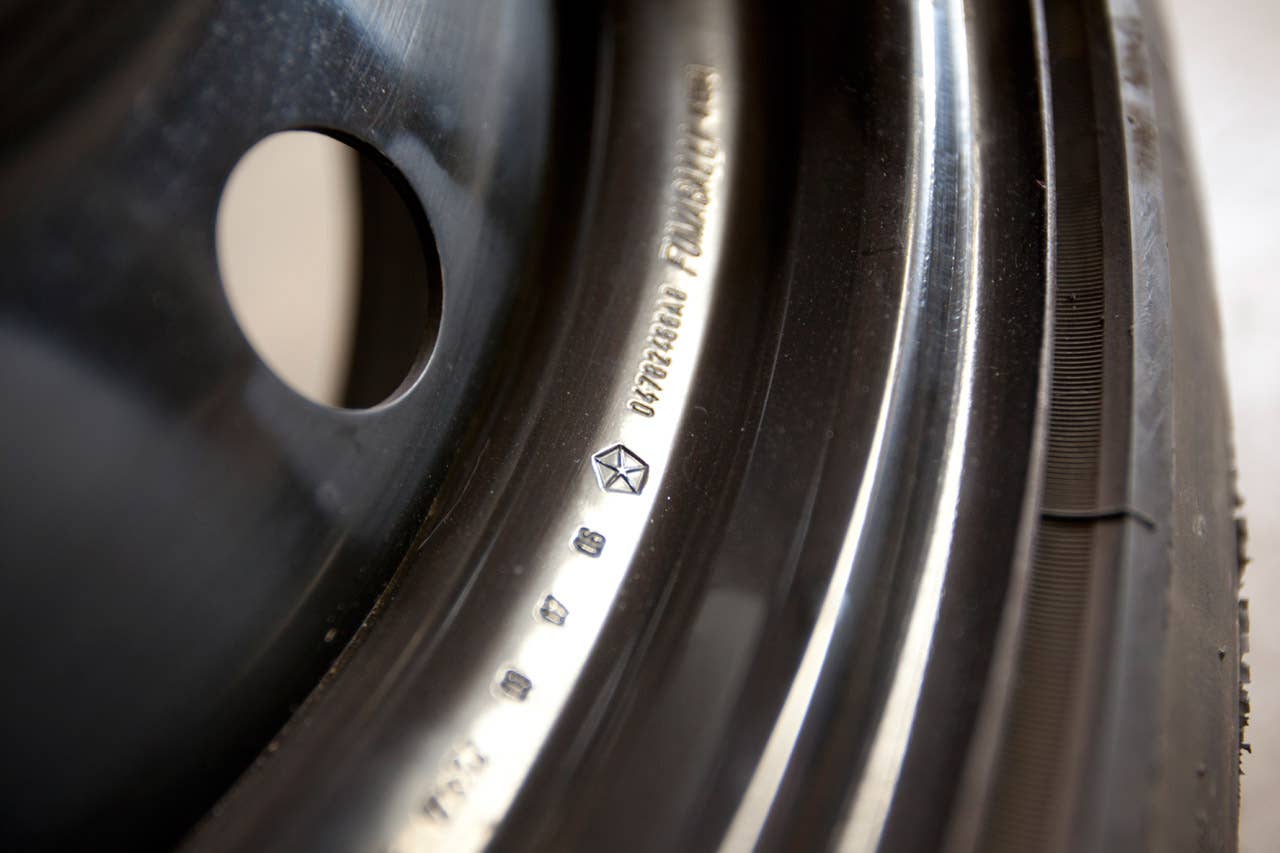
Chrysler 300 steelies
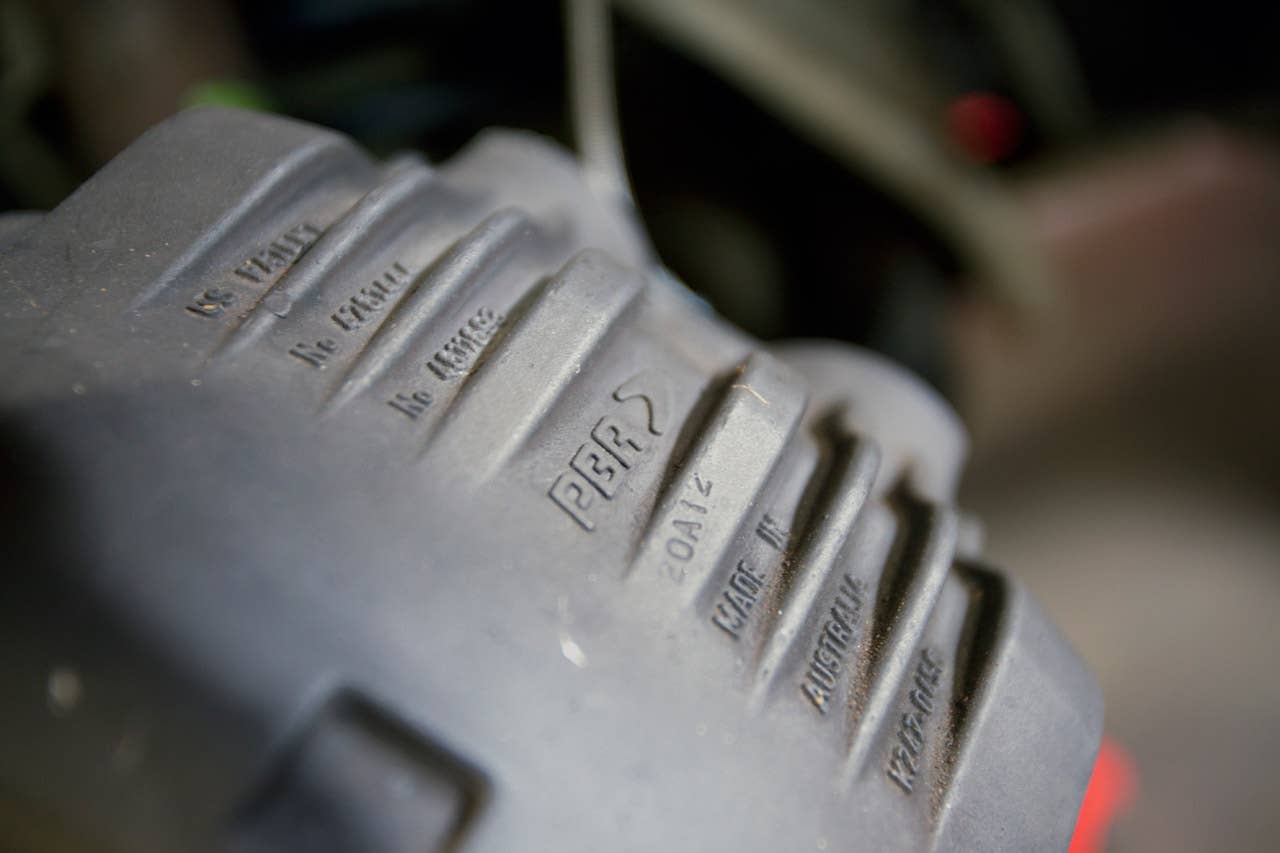
PBR Dual-piston calipers

Braided stainless steel brake line
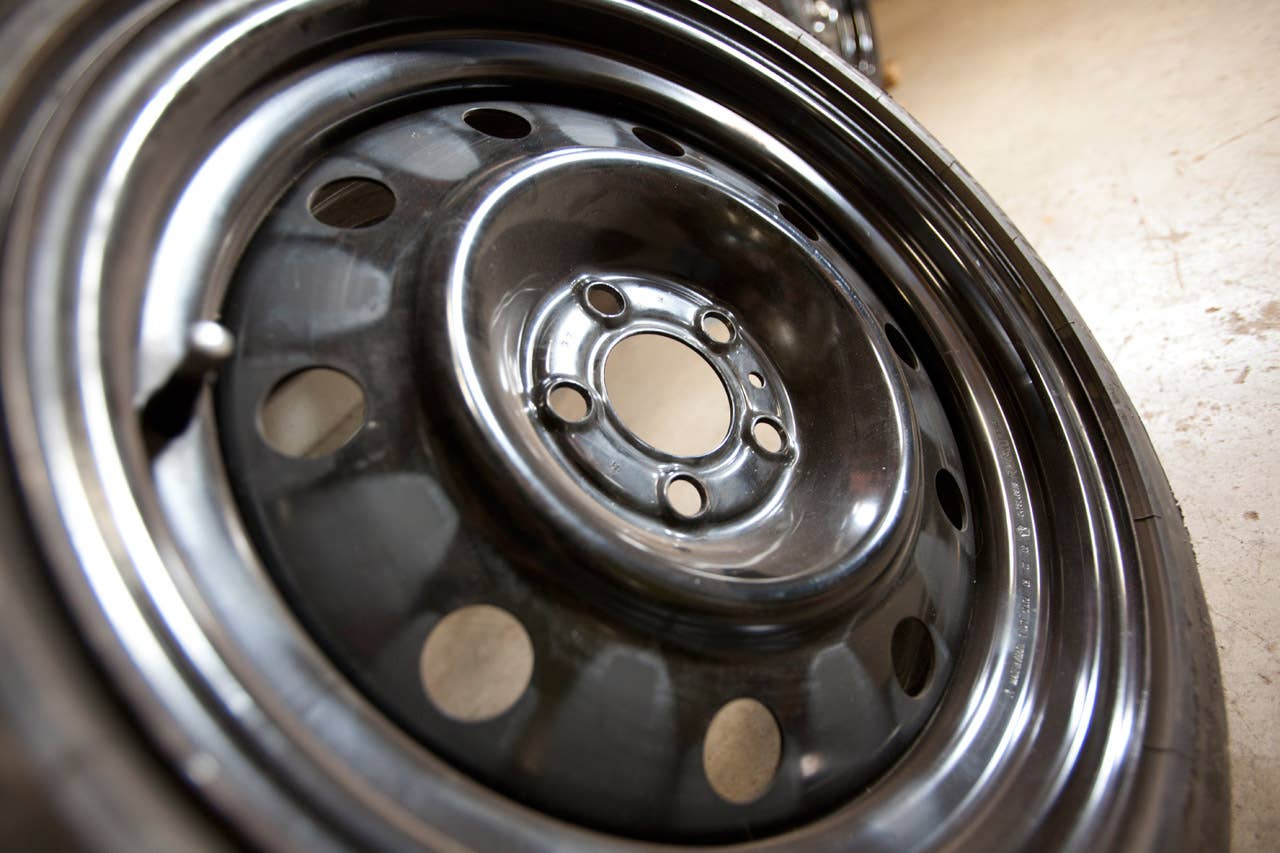
Chrysler 300 Steelies

Project Ugly Horse on the road

Independent Rear Suspension into a Foxbody Mustang

2004 Ford Mustang Cobra IRS

2004 Ford Mustang Cobra IRS into a 1989 Ford Mustang
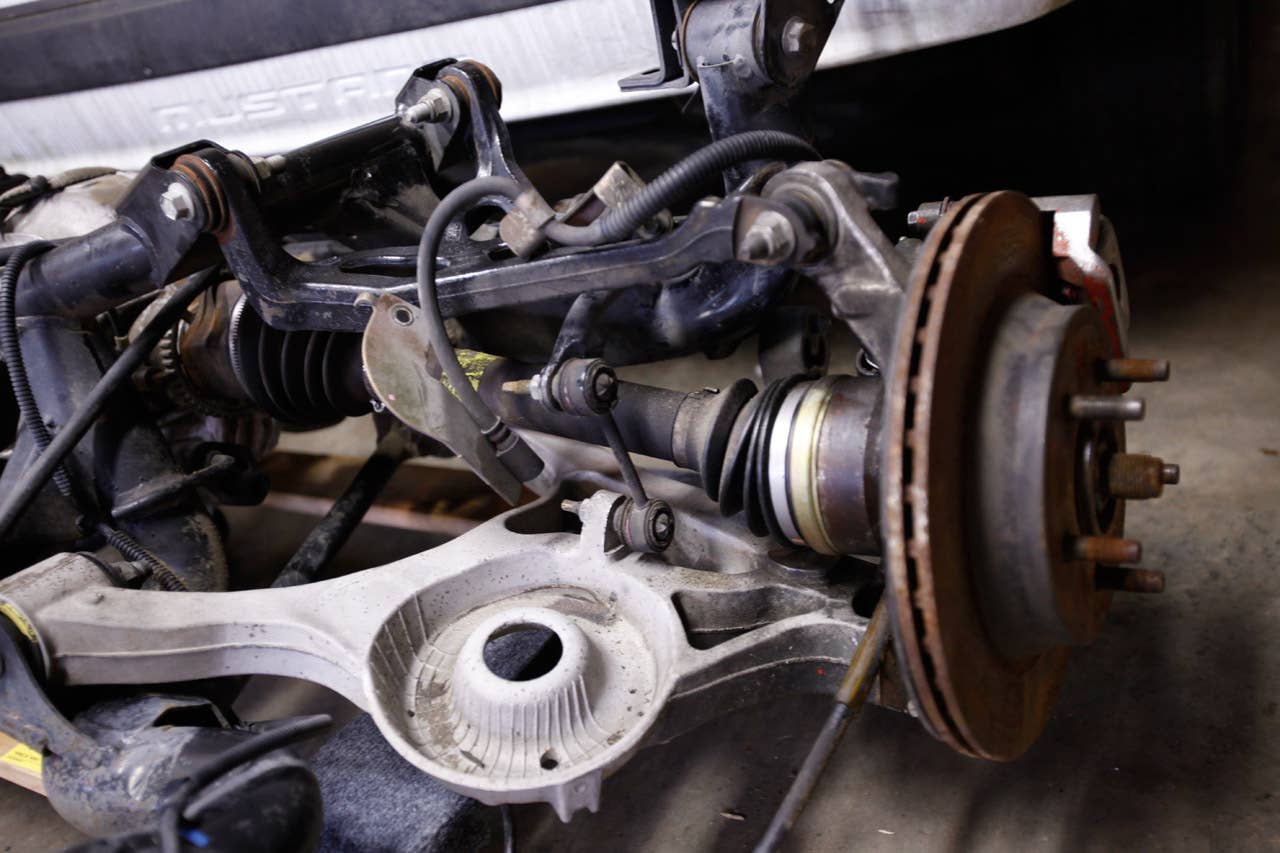
2004 Ford Mustang Cobra IRS detail
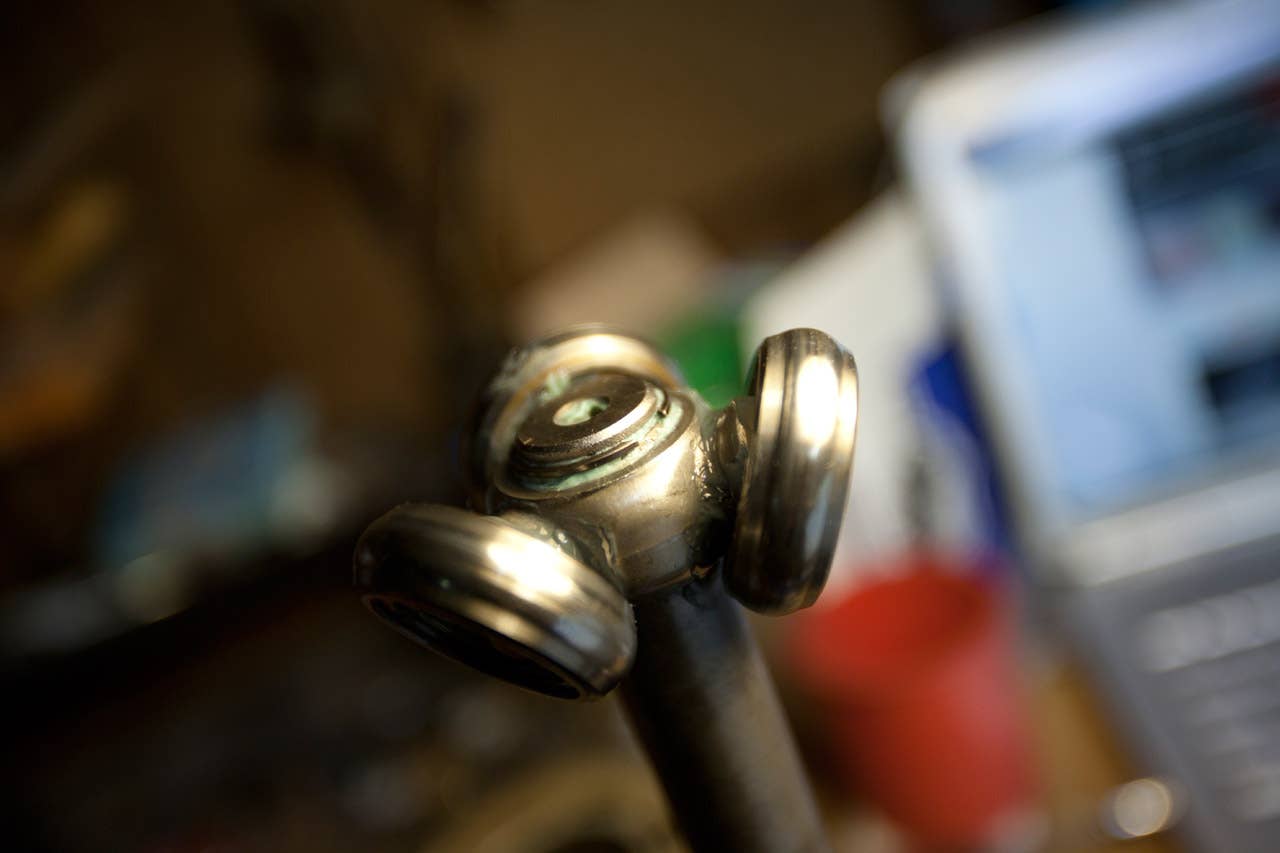
Ford Mustang Cobra Axle dissassembly

Ford Mustang Cobra Axle dissassembly

Ford Mustang Cobra Axle dissassembly

Ford Mustang Cobra Axle dissassembly
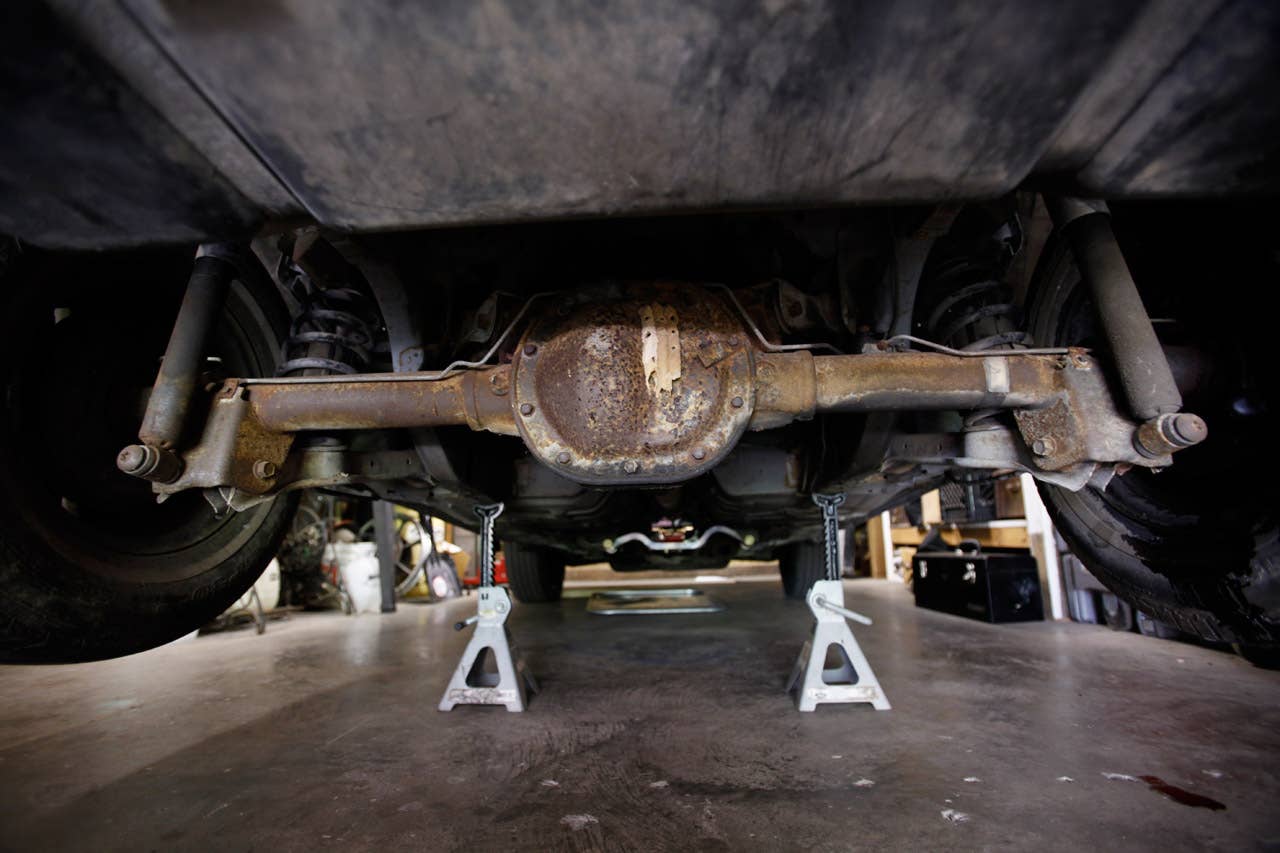
1989 Ford Mustang 7.8 Solid Axle
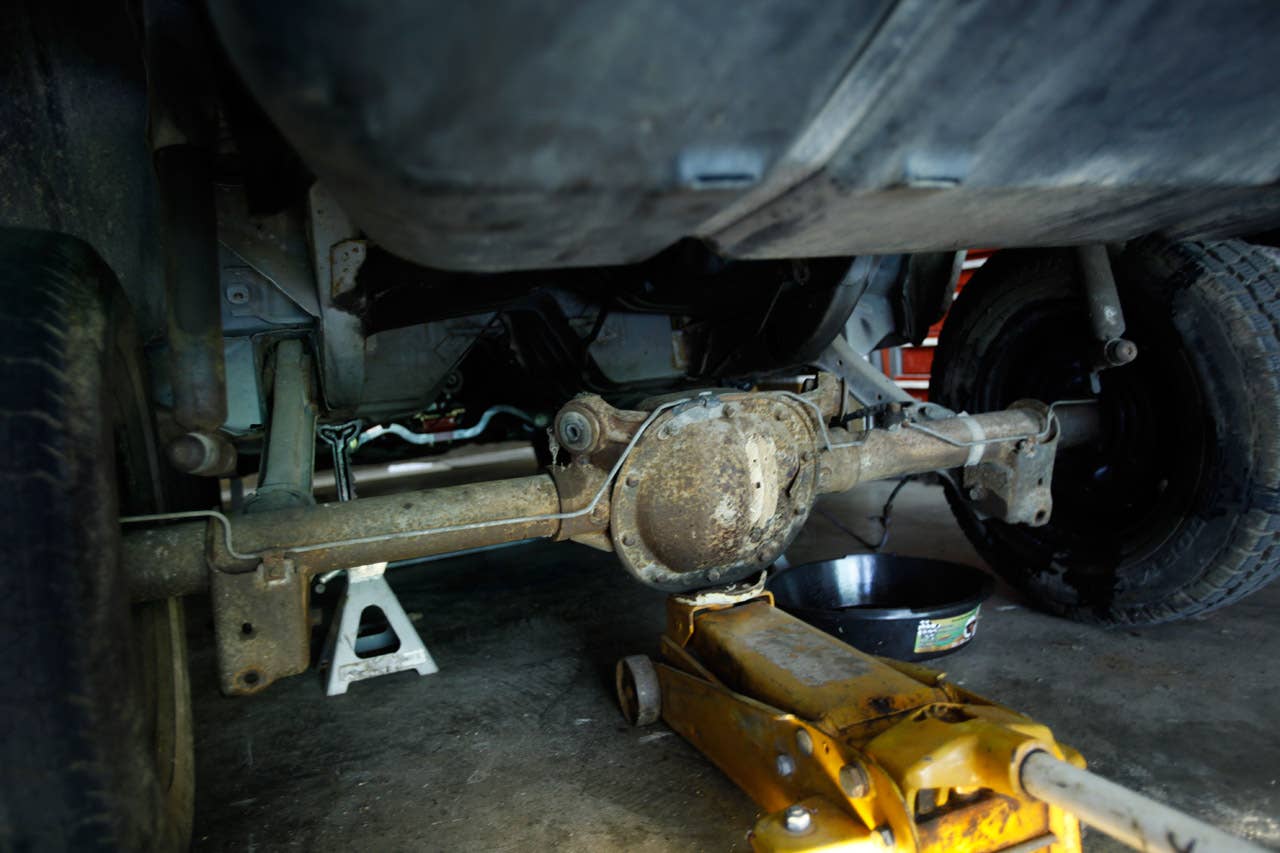
Removing Ford Mustang 7.8 Solid Axle
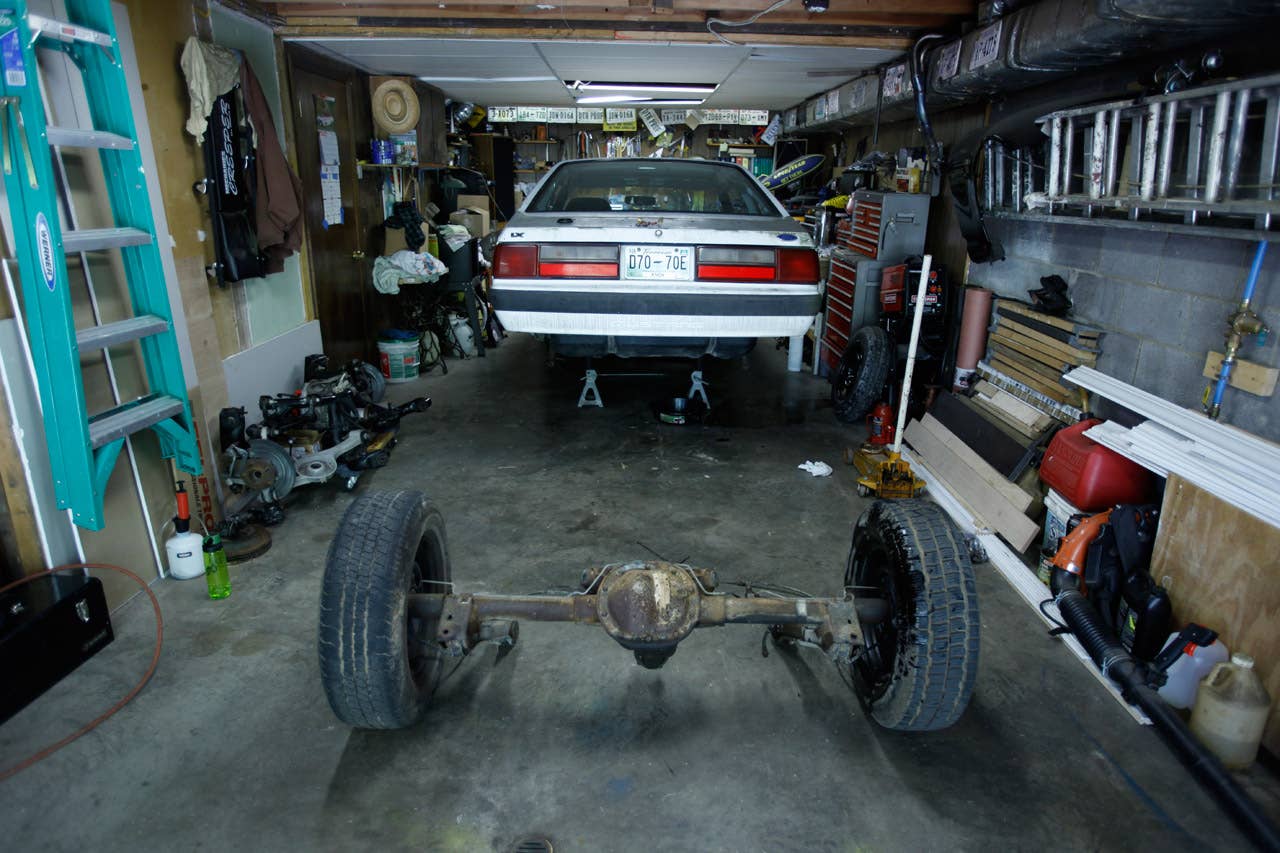
7.8 Solid Axle removed

2004 Ford Mustang Cobra IRS under a Foxbody Mustang

Trimmed inner fender

Marked bracket location

Installed Cobra IRS bracket

Cobra IRS installed in a Foxbody Mustang

New toys

Freeloading brackets

Removing spot welds

Removing spot welds

Routed hard brake lines
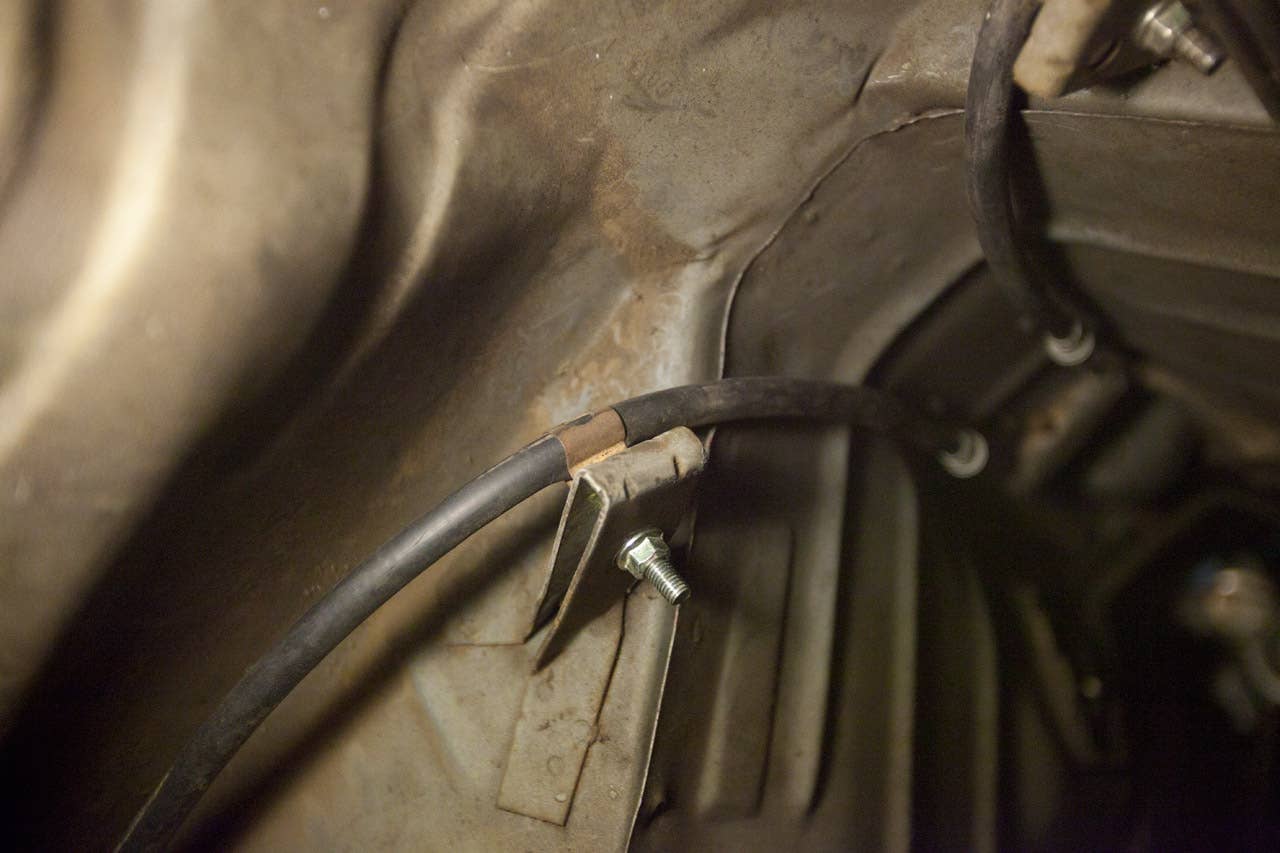
Independent rear suspension emergency brake cables in place
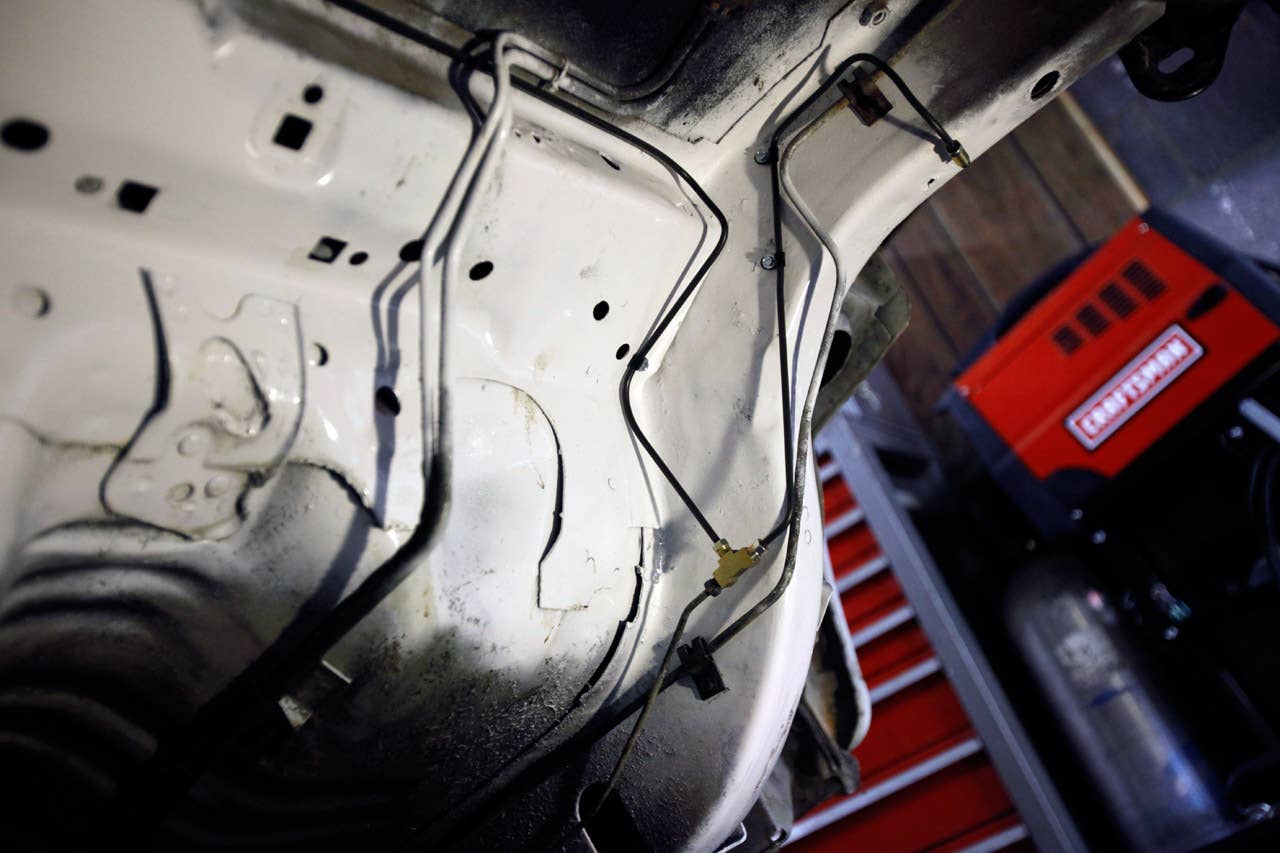
Brass T-Junction

Rear braided stainless brake hoses

Original driveshaft vs Ford Racing driveshaft

Installing the Ford Racing aluminum driveshaft

Companion Flanges. Left to right: GT, LX, Cobra

Companion flanges. Left to right: GT, LX, Cobra.
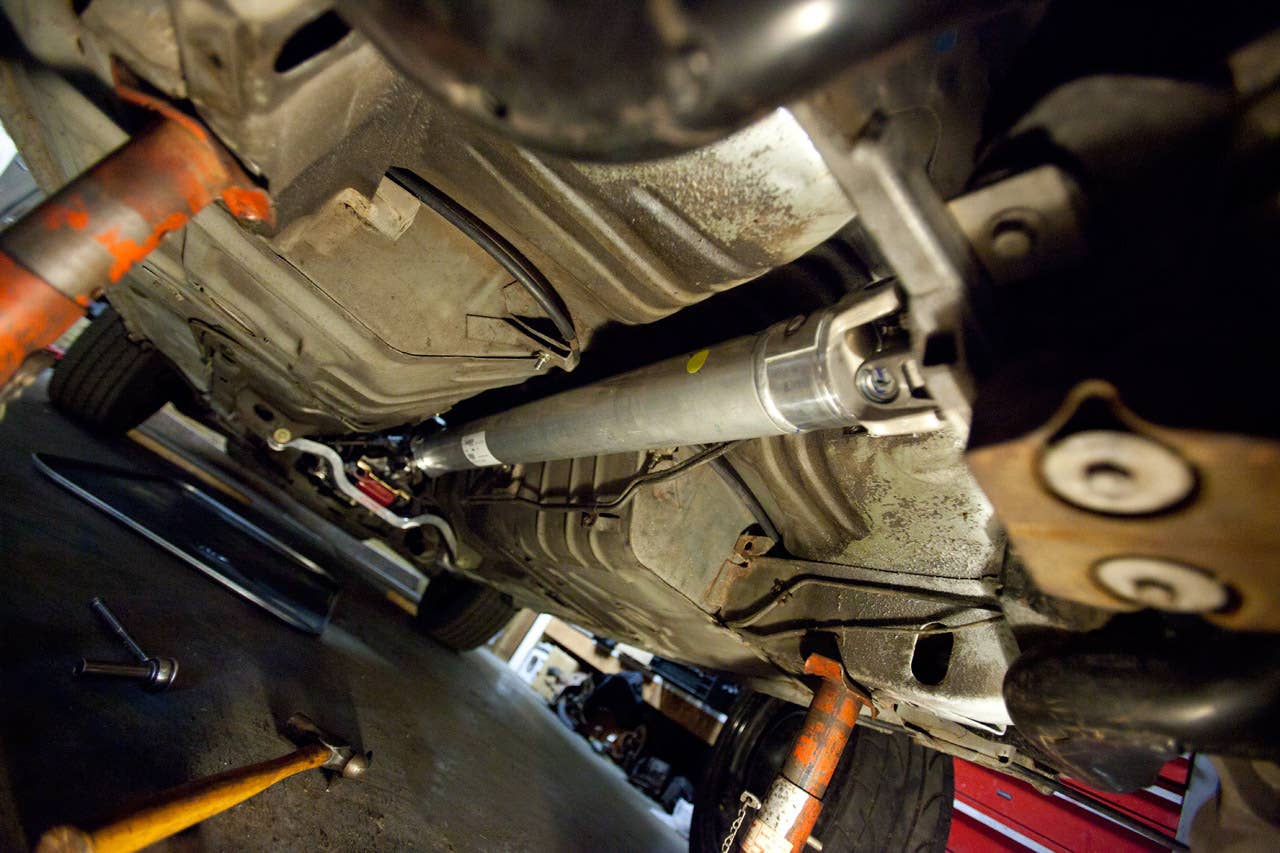
Complete installed driveline
Bits and Pieces
The asphyxiation-blue plastic of my dash looked like it would snap under a crass tone.
The line between cleverness and idiocy is a blurry one. After reading a number of write-ups on the best way to swap pedal boxes in a Fox Body Ford Mustang, I decided to eschew common wisdom and blaze a new trail of my own. Traditionally, putting three pedals where once there were two involves pulling the entirety of the ancient plastic dash from the vehicle in order to gain access to a few carefully hidden nuts and bolts. Undo some linkages, pull said hardware, reverse the process and voilà! You suddenly have a portion of the controls necessary to row your own gears.
It was pulling the dash on Project Ugly Horse that had me sweating. The asphyxiation-blue plastic of my dash looked like it would snap under a crass tone, so rather than go all hog wild with the ratchet, I took a closer look at the construction of both pedal boxes. From what I could spy with my little eyes, the swap could be accomplished with a little ingenuity, some sweat and a few well-placed curses. I busted out the grinder, set the welder to warm and got busy.
Every walkthrough I had read warned against pulling those bits apart with all of the seriousness of caution labels on a box of Ebola.
In reality, the two boxes are only differentiated by the presence of a metal tube that houses the clutch pedal shaft on manual transmission cars. There are two manual boxes pictured above, one with the clutch tube removed on the right and one with it in place on the left. I pulled the brake and clutch pedal from the donor box, ground off the flimsy welds that held the tube in place and installed the cannibalized pieces in the Mustang with my own flimsy welds. This process involved disassembling the plastic clutch quadrant on the right of the box. Every walkthrough I had read on the pedal box swap warned against pulling those bits apart with all of the seriousness of the caution labels on a box of Ebola, but since I planned to replace the brittle plastic with a shiny billet aluminum adjustable quadrant, I wasn’t as worried about popping the spring-loaded nightmare apart.
With the pedals and aluminum quadrant in place, I routed a salvage clutch cable through the firewall via my new firewall cable adjuster and under the car, where I attached a set of junkyard linkages to the shift fork. That’s when I noticed a problem with my set up. Had I read those Ebola warnings a little more closely, I would have noticed the OEM quadrant is crucial for keeping the clutch pedal taut against the cable. Without it, the pedal flops around like a despondent pool noodle, wandering up under the dash and generally being useless for changing gears. With a little head scratching, I worked up a system using one of the old springs to retain pressure on the cable and keep the pedal down where it should be.
That left me with just one missing piece of the puzzle: the shifter. You see, the T5 transmission had not come with a shifter of any variety, leaving me with a big hole in the trans tunnel and nothing to fill it with. Time for a confession: One of my motivating factors behind jumping into pony car waters was the chance to play with some of the storied brands from the American aftermarket scene. I’d grown up surrounded by names like Crane Cams, Moser Axles, Edelbrock, Holley, Moon and Hurst, but my personal automotive tastes had, for years, taken me far from the territories occupied by those companies.
I couldn’t pass up the chance to lay my palm on a genuine Hurst cue ball.
With a set of Mustang keys in my pocket, that all changed. When it came to the shifter, there were plenty of short-throw options to be had, but I couldn’t pass up the chance to lay my palm on a genuine Hurst cue ball. Blame it on years of prowling local auto shows and peeping through driver’s side windows, eying the ivory-white of a four-on-the-floor and dreaming of first-to-second slams, so any other shifter simply wouldn’t do.
On a whim, I reached out to Hurst to see if they wanted to be a part of the Ugly Horse build, and by what I can only attribute to a clerical error, they agreed to send over a Billet/Plus shifter for the T5. They bill the part as serving up reduced shifter throw as well as tricks like adjustable shift stops and a billet aluminum base. Of course, just about anything offers better feel and reduced throw over the old Ford parts. Gear selection in a stock GT of the Ugly Horse’s era feels more like stirring a pot of half-done spaghetti with a bundle of pipe cleaners than knocking cogs.
When I can’t sleep, I’ll sit in the driver’s seat and click from first through fifth.
Installation was incredibly simple with the interior out of the car, though since the chassis originally played host to an automatic gearbox, I had to trim the sheetmetal back a bit to make room for the taller manual shift base – something I would have had to do even with stock parts. Following the instructions, I torqued the four bolts down with the included gasket and I suddenly had one very nice bit of kit in the cabin.
The shifter sits at a nice height and is easy to reach from the steering wheel, but there’s no calling the throws short. It’s a lengthy jump from first to second gear or second to third. Fortunately, the stiff springs immediately snap the lever to neutral, and popping through gears serves up a satisfying metal *thunk* with each row. Sometimes, when I can’t sleep, I’ll sit in the driver’s seat and click from first through fifth. It’s magic, but I get strange looks from my wife. For $245.66, you can grab one for yourself here.
With the automatic transmission officially expunged from the car, I can turn my attention to more pressing matters like ditching the four-lug hubs and wimpy brakes for something with a little more bite. Stay tuned.
Project Ugly Horse is an ongoing series. Catch up by reading through the links below: